
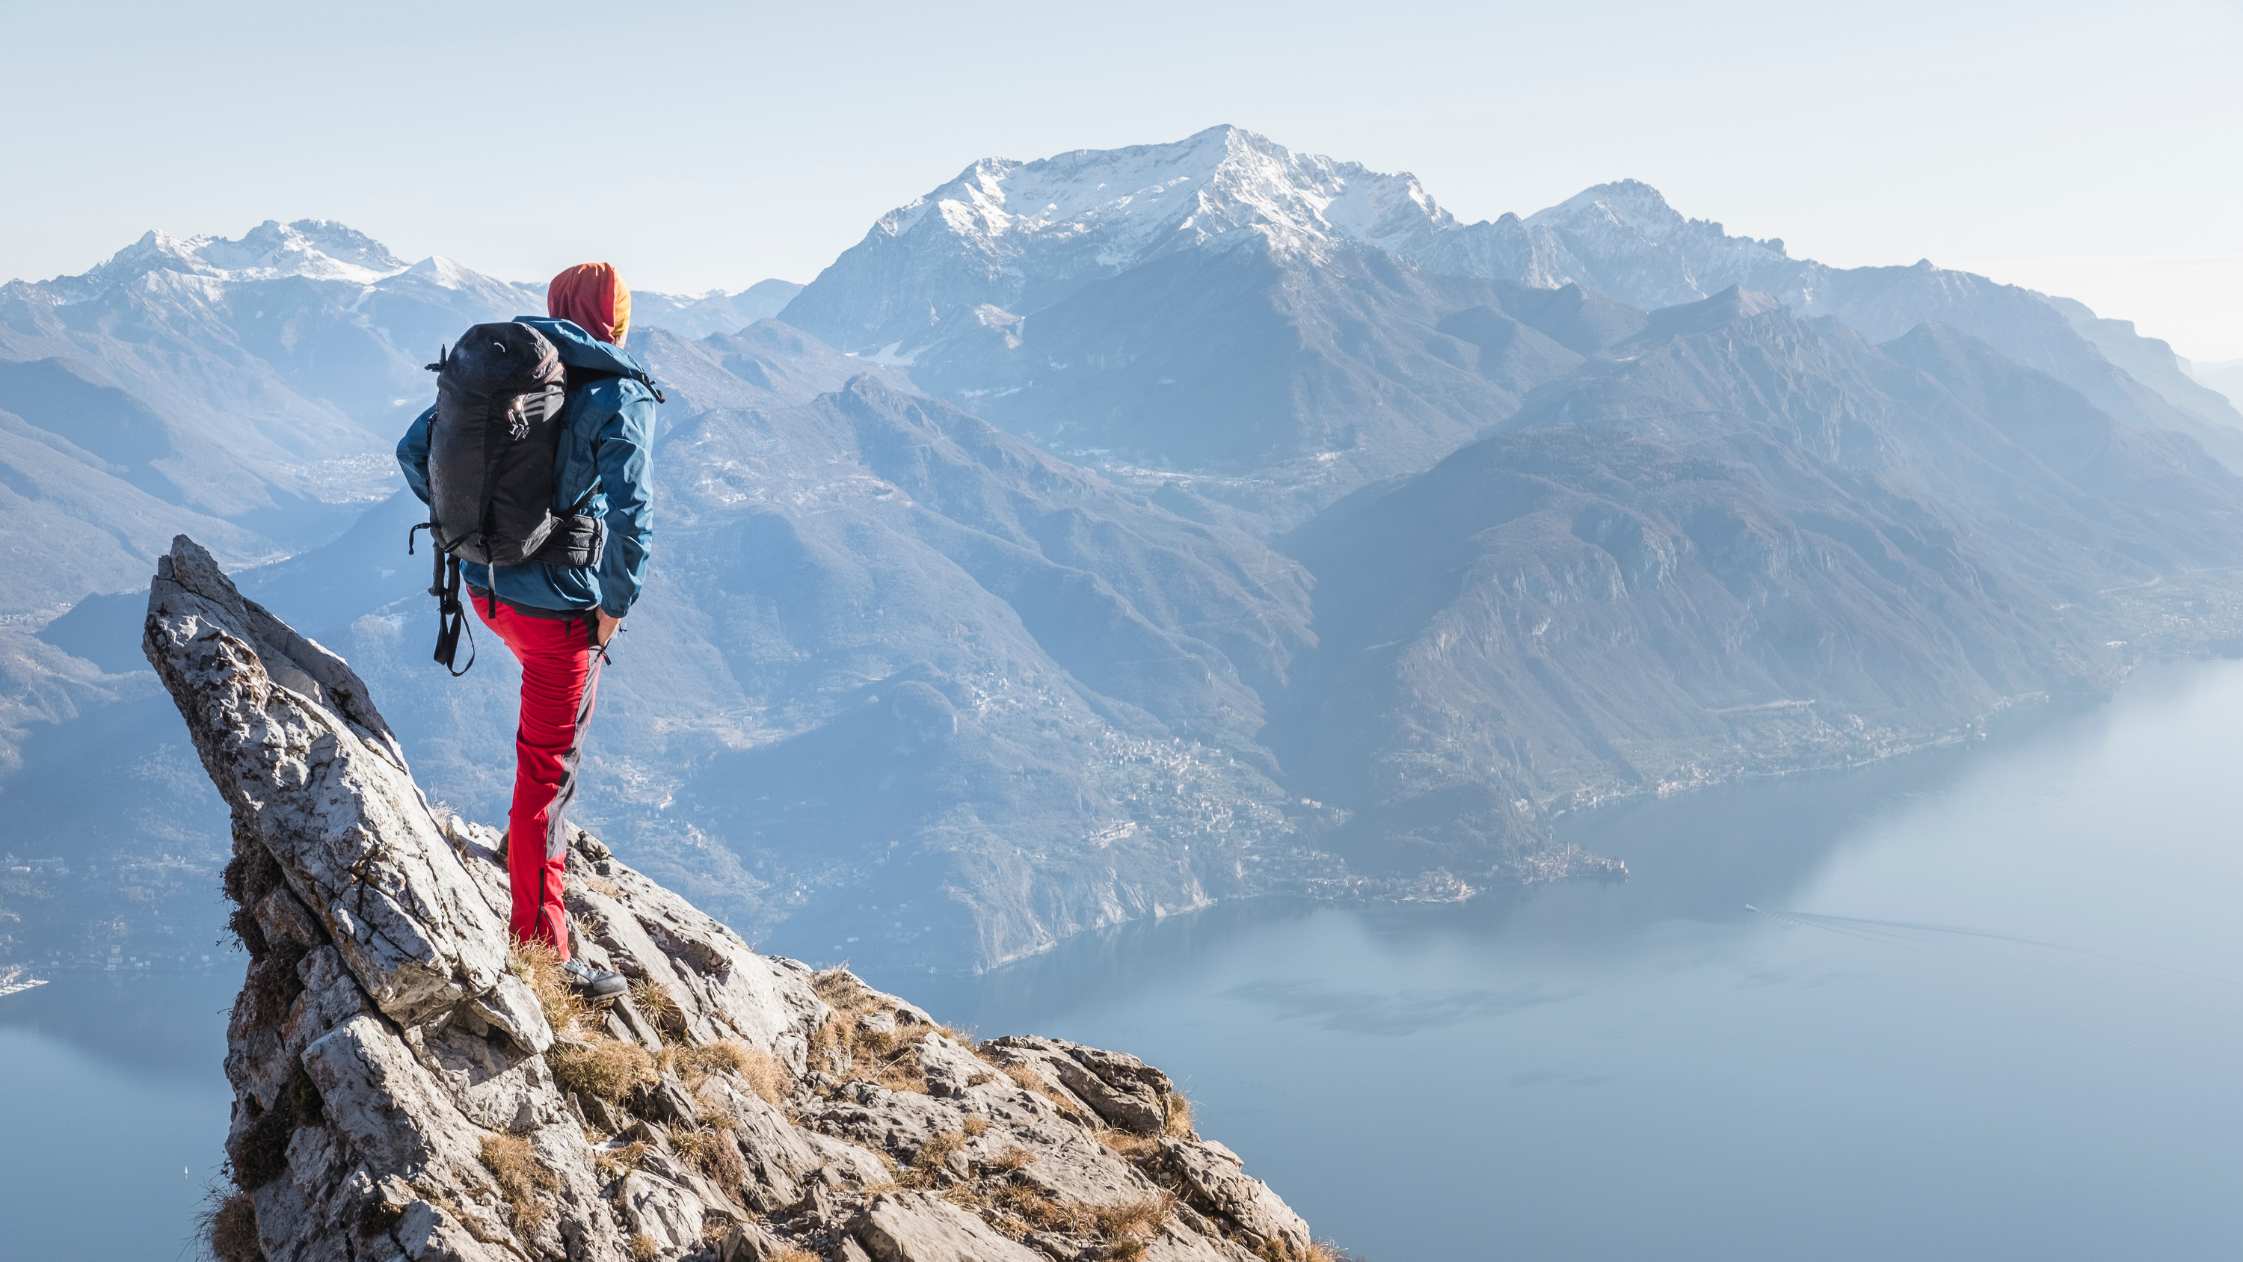
Have you seen mountain goats? These guys just don’t care about the laws of physics and are able to climb up steep cliffs to kilometres high! Just wow.
Overview of the challenges and rewards of mountain climbing
We are not mountain goats (and that’s great), but we like to climb mountains no less! But for this we need careful preparation, both physical and equipment, otherwise instead of fresh mountain air and marvellous panoramic view there will be a rapid flight downwards, with very sad consequences.
Pre-Climb Preparations
So, you are determined to conquer a mountain no lower than Everest! And you’re faced with the question “how can I make rock climbing easier”?
Physical Conditioning
The first and most obvious thing is to get fit! If you’ve spent your whole life slumping from couch to couch, it’s not enough. As a matter of urgency, start doing push-ups from the floor, planks and pull-ups on the bar.
Next, sign up for a local sport climbing club, where you will acquire basic skills by assaulting specially prepared ‘tracks’ for climbing.
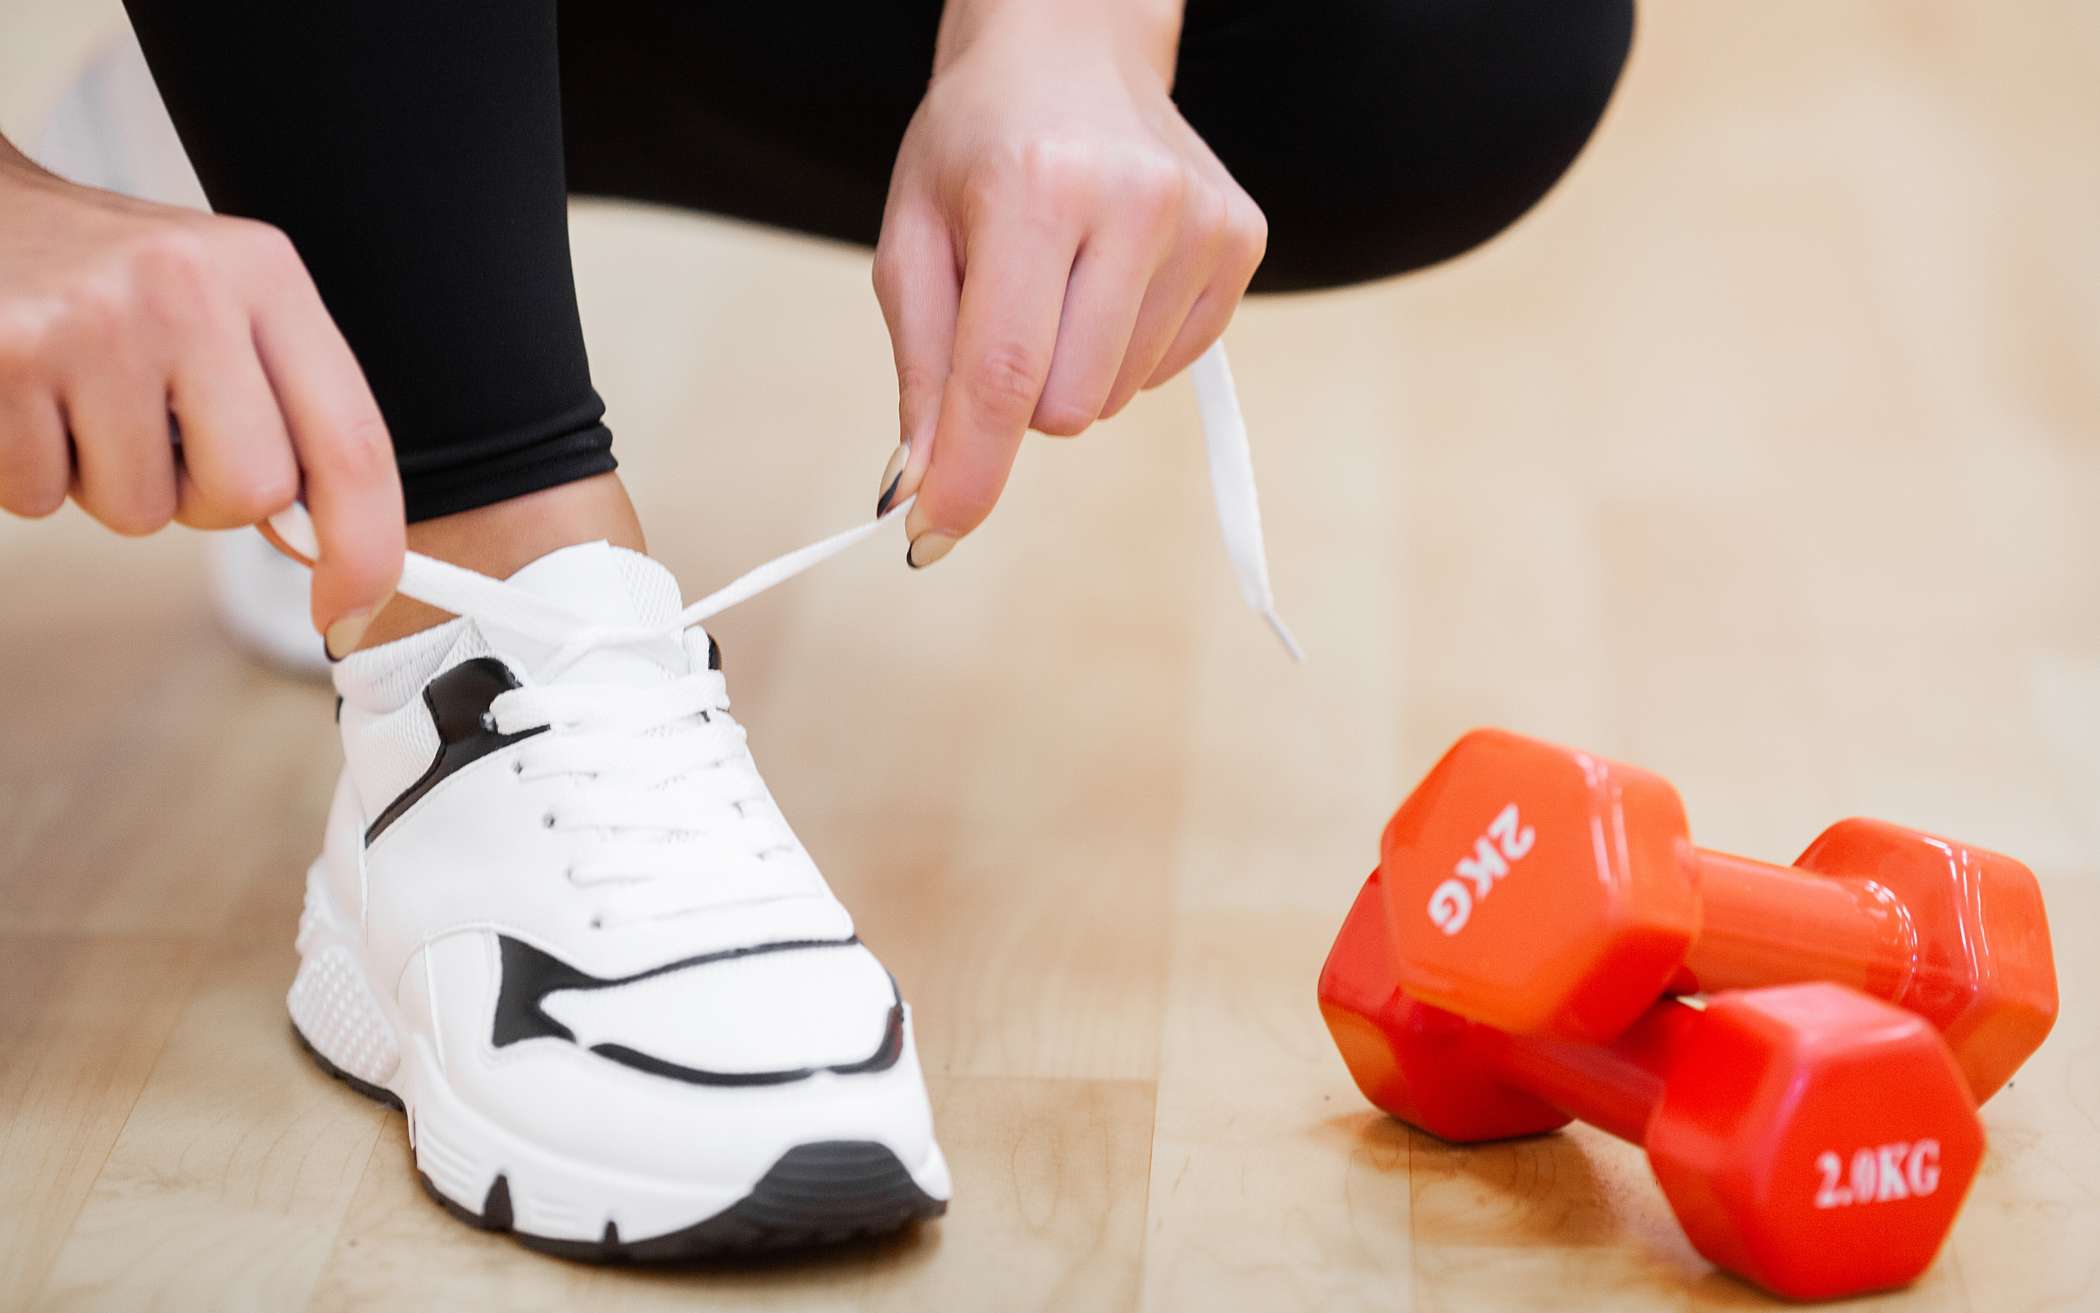
Next you need to:
1. Build Aerobic Endurance
Mountain climbing (or rock climbing) is an endurance activity that often requires long periods of physical exertion, sometimes at high altitudes with reduced oxygen. Building cardiovascular fitness will help you tackle long climbs, and recovery between challenging sections will be easier.
Key Activities:
- Running: Aim for steady-state runs (30-60 minutes) to improve overall aerobic capacity.
- Hiking: If possible, hike regularly on varied terrain with a loaded backpack to simulate the conditions of the climb. Increase the difficulty and duration over time.
- Cycling: Cycling can be a great alternative to running. Focus on long, moderate-intensity rides to improve stamina.
- Swimming: Swimming offers a low-impact, full-body workout that improves cardiovascular fitness and breath control.
Aim for 3-4 days per week of aerobic exercise to build a solid foundation. As you get closer to climbing a mountain, increase the intensity and duration.
2. Strength Training for Climbing-Specific Muscles
Climbing works your legs, core, arms, and back, so it’s important to focus on strength training exercises that target these areas. A strong body will help you move more efficiently and carry your load without excessive fatigue. And if you’re interested in extreme rock climbing, you should push the sport exercises triple!
Leg Strength:
- Squats (bodyweight, goblet, or barbell squats): Builds the quads, glutes, and hamstrings.
- Lunges (forward, reverse, and walking lunges): These build strength, stability, and balance.
- Step-ups (use a bench or platform): Helps with uphill movement.
- Calf raises: These are important for those long ascents that require calf endurance.
Core Strength:
- Planks (front and side planks): Core stability is crucial for maintaining good posture while climbing.
- Leg raises: Strengthens the lower abdominal muscles, which help with balance and control.
- Deadbugs: A great exercise for core stability and coordination.
Upper Body Strength:
- Push-ups: Builds chest, shoulders, and triceps, all of which are used to stabilize yourself during a climb.
- Pull-ups/Chin-ups: These help develop arm and upper back strength.
- Rows (dumbbell or barbell): Target the upper back, which is essential for maintaining good posture during a climb.
- Dips: Strengthens the shoulders, triceps, and chest.
Strength training should be done 2-3 times a week. Aim for exercises that target climbing muscles, and ensure you’re focusing on proper form.
Research and Planning
We’ve dealt with physical fitness. What about planning? That’s just as important!
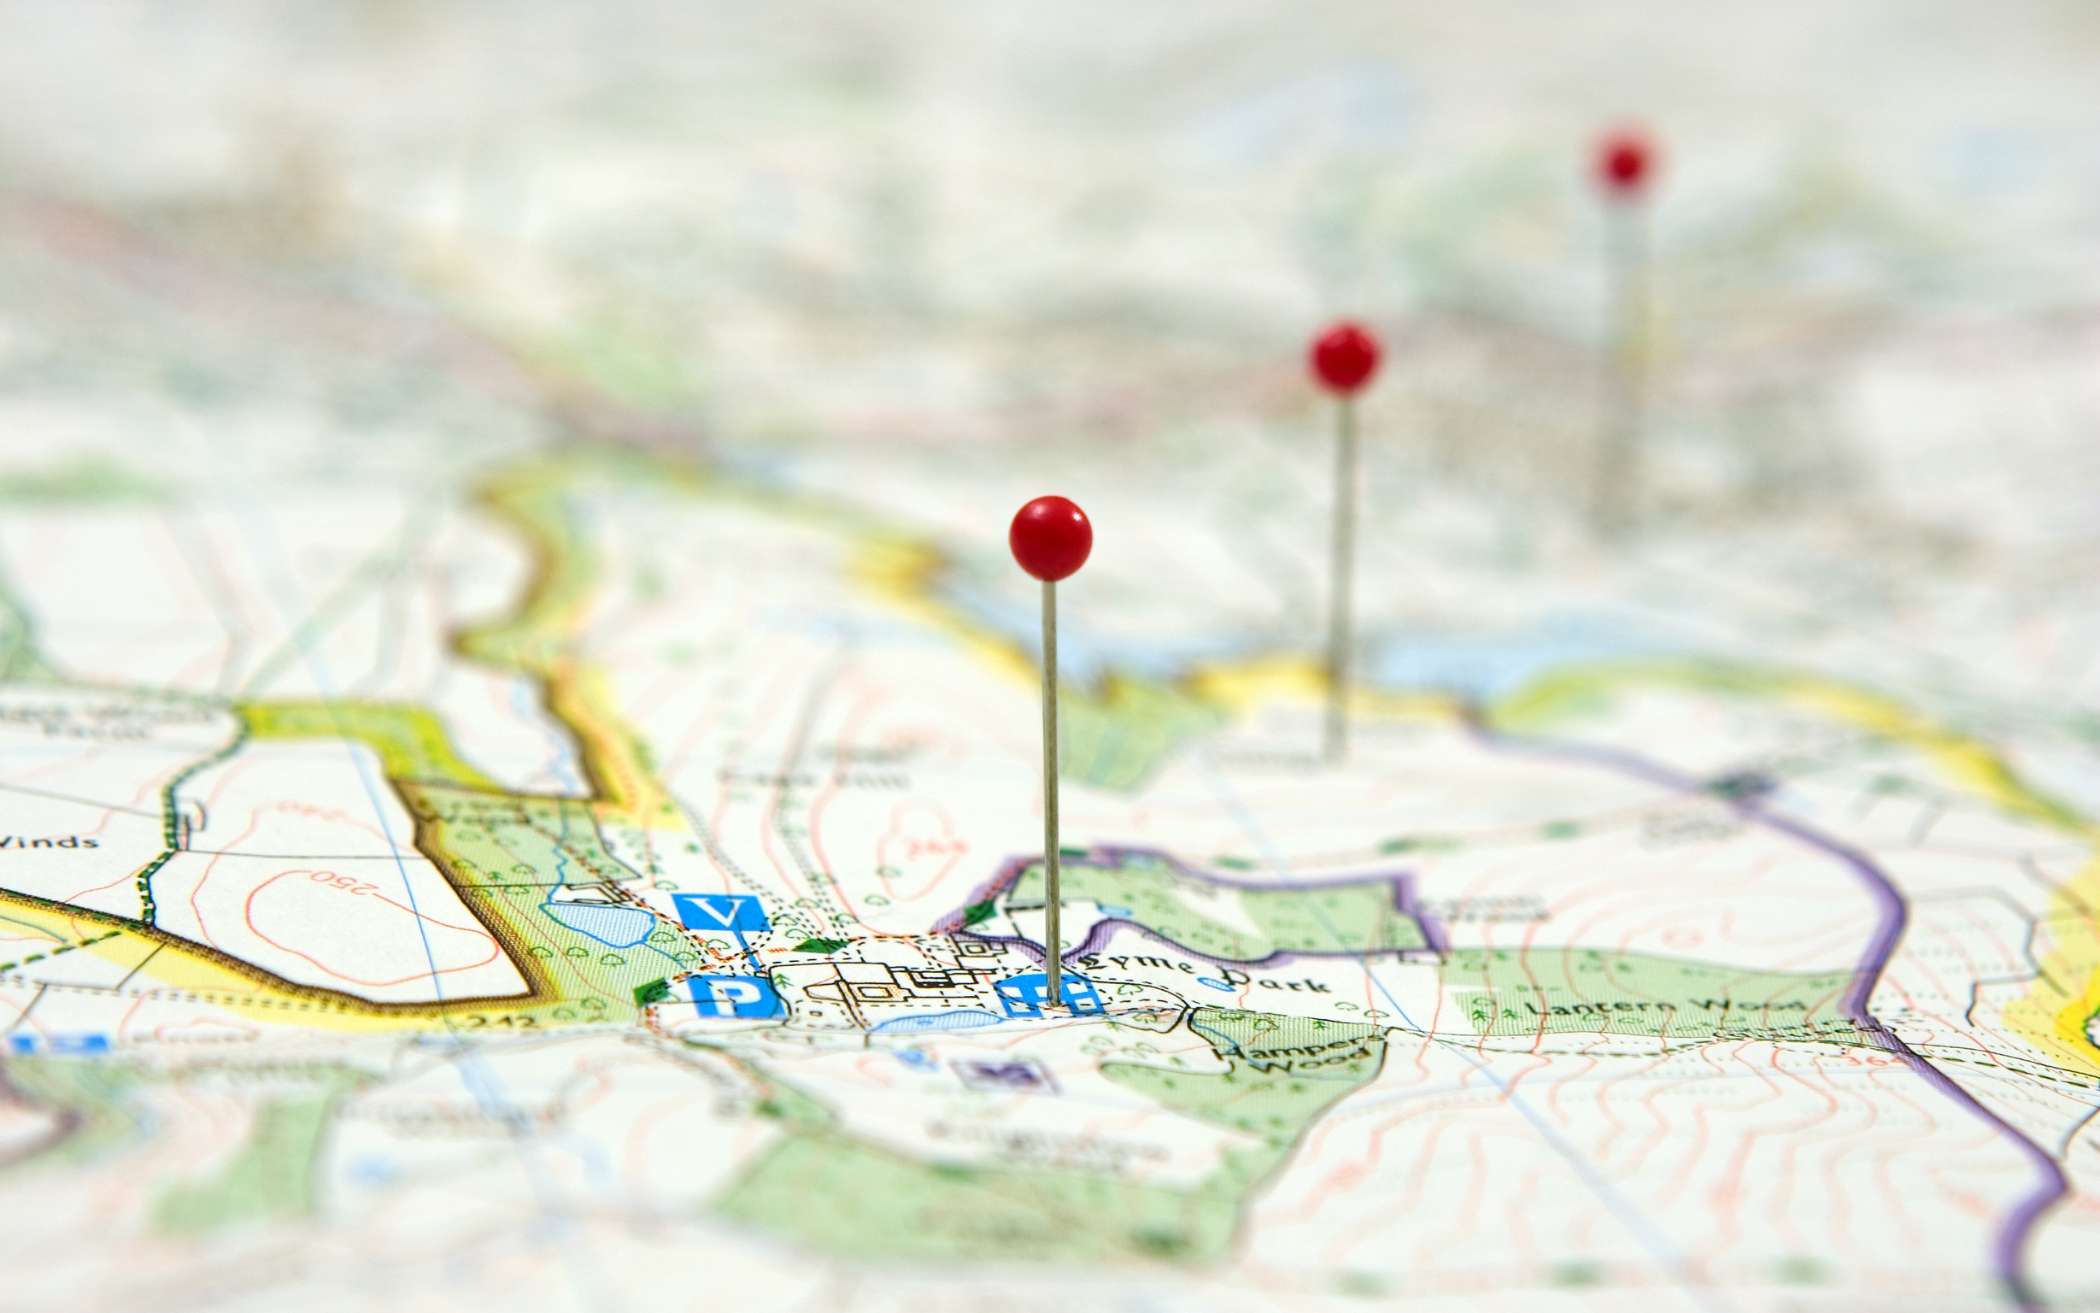
1. Do Thorough Research on the Mountain and Route
- Understand the Terrain: Research the mountain you’ll be climbing, including its altitude, terrain types, and weather conditions. Sites like Mountain Project, AllTrails, or official guides can provide detailed route descriptions.
- Choose the Right Route for Your Skill Level: Not all climbs are the same. Be realistic about your abilities. Consider factors like difficulty (class 1 to 5), technical requirements, and whether it’s a popular or remote route.
- Study the History and Culture: Knowing the history or cultural significance of the mountain can enrich the experience and prepare you for potential local rules or customs.
2. Plan for the Weather
- Use Specialized Weather Apps: Weather on mountains can change quickly. Apps like Mountain Forecast, Windy, or specific ones for your area provide accurate high-altitude weather predictions (temperature, wind, precipitation, etc.) for multiple days in advance.
- Know the Seasons: Understand the best seasons for climbing. Summer may offer ideal conditions, but winter and spring climbs may require different gear and preparation due to snow and ice.
- Look for Weather Patterns: Watch for sudden weather shifts or storms that could make climbing dangerous. A day of clear skies could quickly turn into a snowstorm or thunderstorm.
3. Create a Detailed Itinerary
- Route and Time Estimates: Map out your route carefully, including estimated ascent and descent times. Add extra time for unexpected delays, rest breaks, and acclimatization.
- Emergency Exit Plans: In case of injury or bad weather, know the nearest exit points or shelters. Have a backup route if the primary one becomes impassable.
4. Prepare for Altitude
- Understand Altitude Sickness: If you’re climbing at high elevations, acclimatization is key. Symptoms of altitude sickness can occur above 8,000 feet (2,400 meters). Gradual ascents and taking rest days are essential to avoid serious illness.
- Use Diamox or Similar Medications: Consult with your doctor before climbing for any medications that might help prevent altitude sickness.
- Hydrate and Eat: Stay hydrated and eat foods rich in carbohydrates. Dehydration and poor nutrition can exacerbate the effects of altitude sickness.
5. Packing and Gear Planning
- Lightweight Gear: Opt for lightweight but durable gear. Every ounce counts, so prioritize high-quality, multi-purpose tools (e.g., trekking poles that also function as anchors or supports).
- Layering System: Layering allows you to adapt to fluctuating temperatures. Use moisture-wicking base layers, insulating mid-layers, and waterproof, windproof outer layers.
- Smart Packing: Pack only the essentials but make sure you have a repair kit, emergency shelter (e.g., bivy sack), first aid supplies, and extra food/water. A compact stove for boiling water is also useful.
6. Navigation and Communication
- Map and Compass: Even if you’re using GPS or apps, always carry a traditional map and compass as backup. Electronics can fail due to battery drain or poor reception.
- Track Waypoints: Pre-program waypoints or key checkpoints into your GPS device or phone, so you can track your progress and easily navigate during the climb.
- Satellite Communication: If you’re going to remote areas, consider bringing a satellite phone or a device like a Garmin inReach for emergency communication.
7. Physical and Mental Preparation
- Train Specifically for Climbing: Build strength and endurance with activities like hiking, trail running, stair climbing, and weight training. Specific exercises for grip strength and lower body endurance are critical.
- Mental Resilience: Mental preparation is often as important as physical preparation. Cultivate patience and the ability to adapt to challenges. Focus on your goal but remain flexible with your plans.
- Know Your Limits: Learn how to recognize signs of fatigue, dehydration, or hypothermia. Push yourself, but don’t be afraid to turn back if conditions worsen or you feel unwell.
8. Understand the Local Wildlife and Safety
- Wildlife Awareness: Research what animals you might encounter—whether it’s bears, mountain lions, or smaller critters—and learn how to avoid or handle encounters. Carry bear spray if necessary, and follow any guidelines on wildlife safety.
- Leave No Trace: Practice sustainable mountain climbing by following Leave No Trace principles. Clean up all trash, avoid disturbing wildlife, and minimize your impact on natural areas.
9. Emergency and Safety Protocols
- Know the Emergency Services: Learn about local rescue teams or mountain guides who operate in the area. In case of an emergency, knowing the nearest point of contact can save crucial time.
- Basic First Aid: Have a basic understanding of first aid, including how to treat blisters, sprains, and hypothermia. Carry a small first aid kit with you.
- Use a Personal Locator Beacon (PLB): A PLB can send a distress signal with your location in the event of an emergency. These devices are small and easy to use.
10. Dealing with Logistics
- Permits and Regulations: Make sure you’re aware of any permits or regulations required for the climb. Some national parks or protected areas require permits, and these often need to be obtained in advance.
- Transport and Accommodation: Plan your transportation to and from the trailhead, as well as any accommodation needs. Whether you’re camping or staying at a nearby lodge, ensure you’ve accounted for logistics.
Gear and Packing Tips
What about the climbing gear?
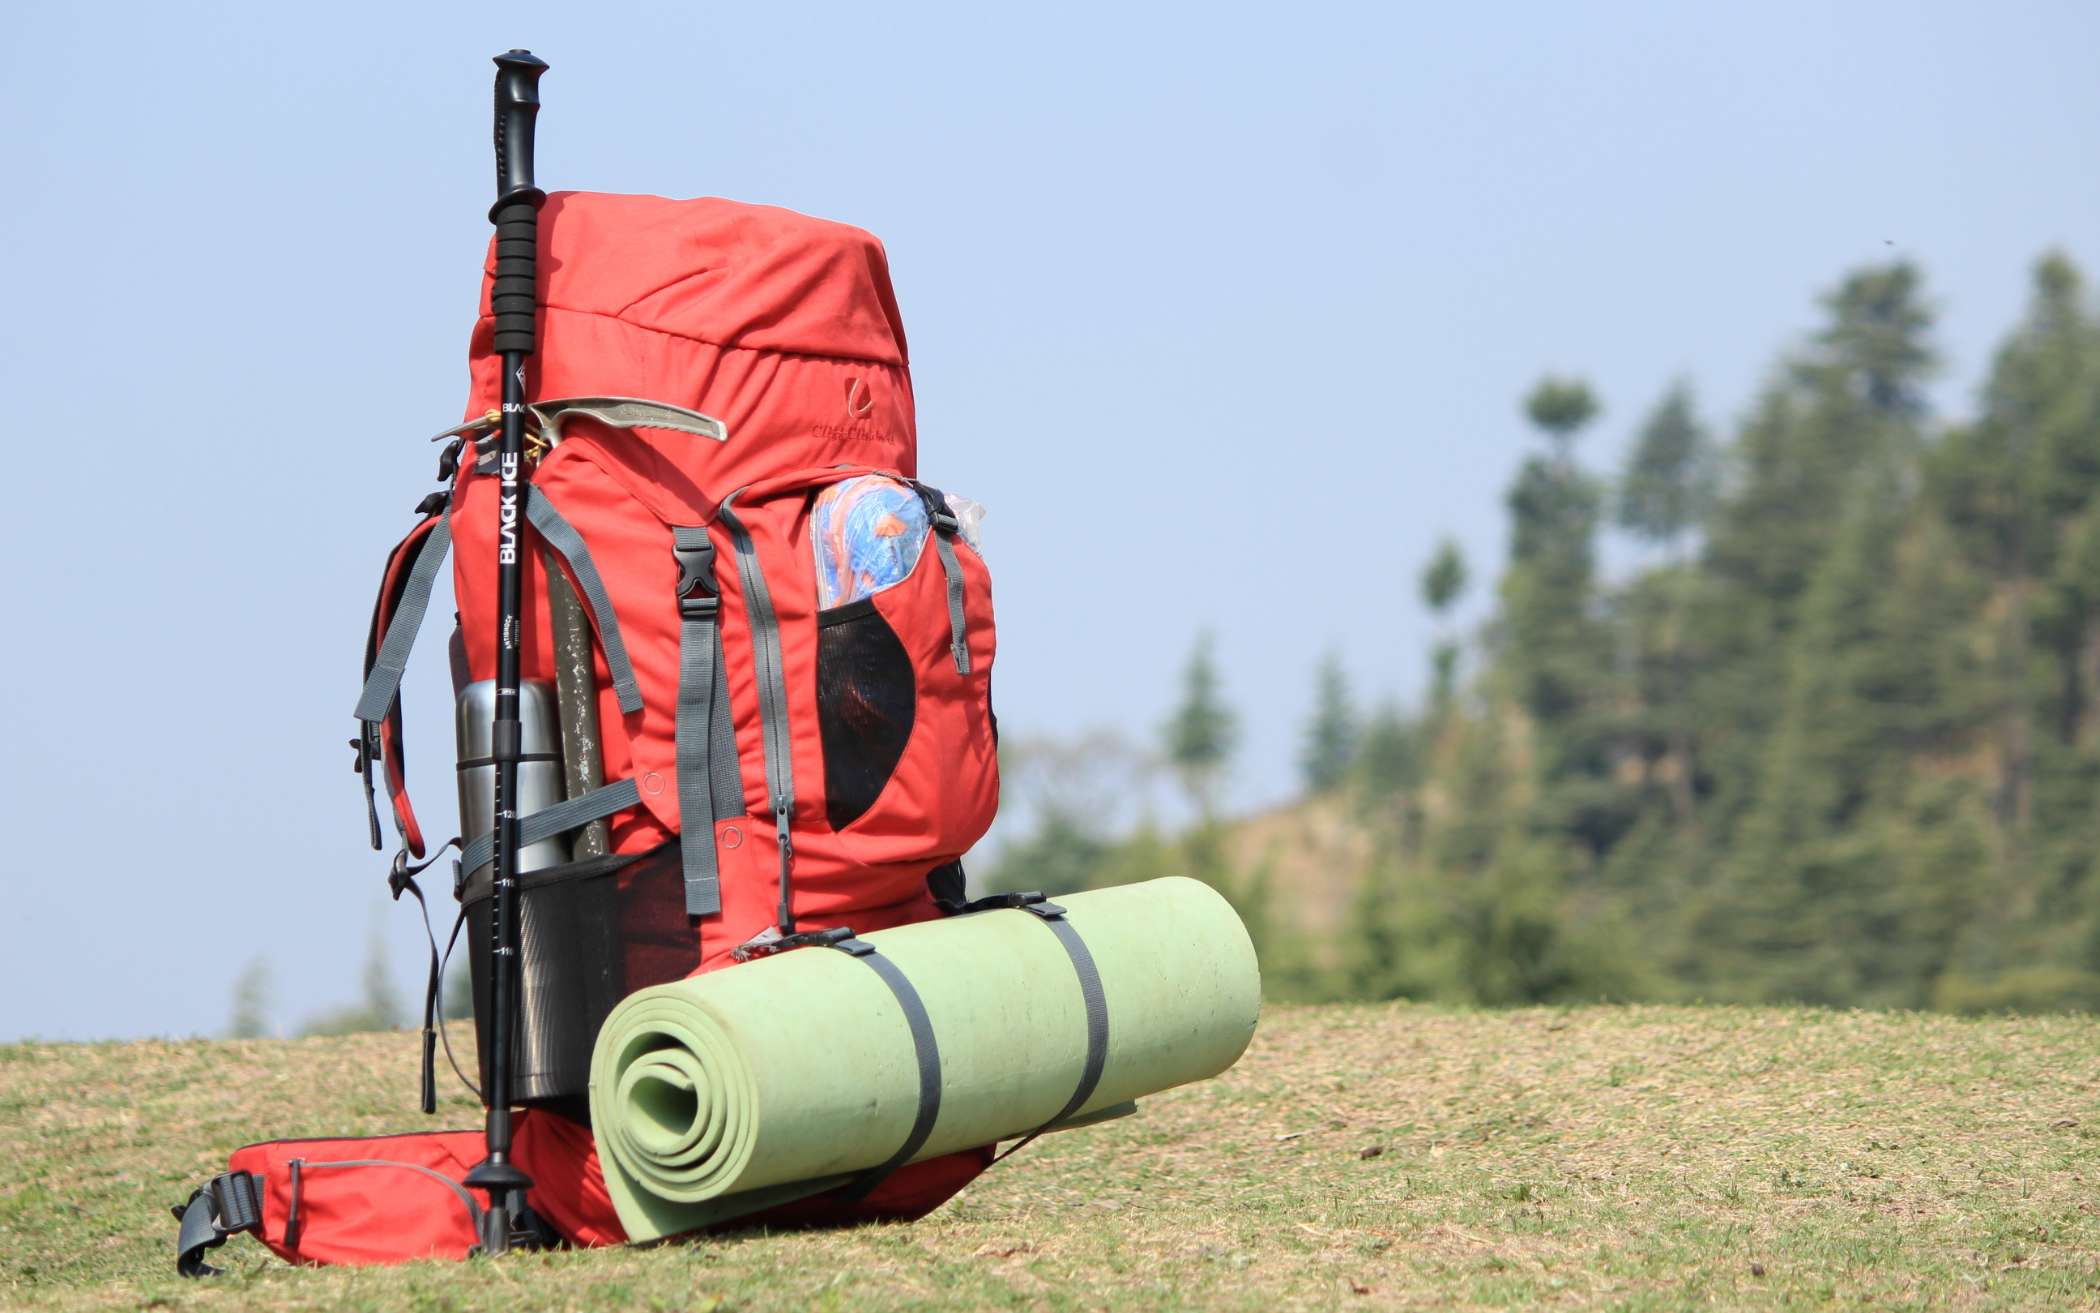
List of must-have items and gear optimization
The right equipment will not only save your life and health, but will also make it much easier for you to conquer the summits! Here is a list of things you should definitely take with you:
1. Footwear & Socks
Hack: Use blister prevention patches and always break in your boots before the climb.
Must-Have Gear:
- Approach Shoes or Mountaineering Boots (for technical climbs or snow/ice)
- Moisture-wicking socks (avoid cotton, go for merino wool or synthetic blends)
- Blister Protection: Consider blister bandages or specialized products like Leukotape to prevent rubbing.
2. Layered Clothing System
Hack: Dress in layers to manage body temperature and reduce sweating.
Must-Have Gear:
- Base Layer (moisture-wicking to keep sweat off your skin, preferably merino wool or synthetic)
- Insulating Layer (fleece or down for warmth)
- Shell Layer (windproof and waterproof to protect from the elements)
- Gloves (multi-layer gloves for flexibility and warmth, especially with a touchscreen-compatible layer)
3. Hydration & Nutrition
Hack: Drink frequently and eat energy-dense snacks that are easy to carry.
Must-Have Gear:
- Hydration System (e.g., CamelBak or a water bottle with an insulated sleeve to prevent freezing)
- High-Energy Snacks (cliff bars, trail mix, jerky, or energy gels)
- Portable Stove (for melting snow or boiling water if you’re in a remote area)
4. Climbing Gear
Hack: Minimize your load without compromising safety by selecting lightweight, multi-functional equipment.
Must-Have Gear:
- Crampons and Ice Axe (for icy or snow-covered mountains)
- Harness and Carabiners (lightweight options like DMM or Black Diamond for safety and versatility)
- Rope (if climbing with a team, make sure it’s a dynamic rope suited for your route)
- Mountain climbing knife
- Helmet (lightweight, breathable, and snug)
5. Navigation Tools
Hack: Always have multiple ways to navigate and orient yourself, especially in bad weather.
Must-Have Gear:
- GPS Device (reliable models like Garmin or Suunto, with preloaded maps)
- Map & Compass (learn basic navigation skills, as technology can fail)
- Smartphone with Offline Maps (apps like Komoot, Gaia GPS, or Caltopo allow you to download trails for offline use)
6. Emergency Kit
Hack: Prepare for the worst by carrying a compact, lightweight emergency kit.
Must-Have Gear:
- First Aid Kit (customize it with blister kits, bandages, antiseptic wipes, pain relievers, and any personal medication)
- Emergency Bivvy Sack (compact and lightweight for emergency warmth)
- Multi-tool or Knife (a compact tool for cutting rope, food prep, or minor repairs)
- Whistle and Mirror (for signaling)
- Headlamp (with extra batteries or a power bank)
- Fire Starter (waterproof matches or a magnesium fire starter)
7. Sleeping System (For Multi-Day Trips)
Hack: Keep your pack weight minimal but don’t sacrifice comfort or warmth.
Must-Have Gear:
- Ultralight Tent (e.g., Big Agnes or MSR for solo or small group trips)
- Sleeping Bag (down or synthetic, rated for the coldest possible conditions you’ll face)
- Sleeping Pad (lightweight, inflatable, or foam options to insulate you from the cold ground)
- Pillow (optional, but can make a big difference for a good night’s sleep)
8. Pack Optimization
Hack: Pack light, but ensure you have all essentials. Distribute weight evenly in your backpack.
Must-Have Gear:
- Backpack (choose one that fits comfortably, with adjustable straps and plenty of compartments)
- Compression Sacks (to reduce the volume of sleeping bags, clothes, etc.)
- Dry Bags (for keeping electronics, food, and clothes safe from moisture)
- Lightweight Trekking Poles (especially useful for stability and reducing strain on joints)
9. Sun Protection
Hack: High altitudes and snow reflect UV rays, so use protection even on cloudy days.
Must-Have Gear:
- Sunscreen (SPF 50+ for high-altitude climbs)
- Lip Balm with SPF (chapped lips can become an issue at high altitudes)
- Sunglasses or Goggles (UV-protective, preferably with side shields for maximum coverage)
- Sun Hat/Neck Gaiter (protects your face, neck, and ears from the sun)
Tips on selecting lightweight and multipurpose equipment
You should сhoose items that serve multiple purposes to reduce the number of pieces you need to carry. Look for gear made of lightweight, durable materials like carbon fiber, titanium, and high-quality synthetic fabrics. Also, select gear that can be compressed or packed down small to save space in your pack. Go for Modular Systems! Like jackets with removable liners or tents with detachable parts, it gives you versatility without adding bulk. And dont forget your best climbing knife. This should work!
Organizing your backpack for balance and accessibility
Properly storing everything inside your backpack is just as important, as organizing it well can help prevent fatigue, make gear easier to access, and reduce discomfort during your climb!
You should distribute the weight as evenly as possible on both sides of your back, ensuring your pack isn’t leaning too far to one side. Keep the heaviest items (tent, food, water) close to your spine for better stability.
Also, use compression sacks for your sleeping bag and clothes to reduce their volume and maximize space inside the pack. Before setting out, practice packing your bag several times to find a system that’s comfortable. Try walking around with a fully loaded pack to ensure it doesn’t cause pressure points.
Once your pack is fully loaded, adjust the straps, and make sure the load is evenly distributed, and nothing is pressing uncomfortably into your back. Consider using a hip belt to transfer some of the weight from your shoulders to your hips.
Nutrition and Hydration. Meal Planning.
To conquer the mountains, you need to eat properly! Try to focus more on high-energy foods and snacks for sustained energy.
For example:
Calorie-Dense Foods: When climbing, you need foods that provide a lot of energy without weighing you down. Choose compact, calorie-dense snacks such as:
- Nuts and Nut Butters: High in fats and proteins, they give you lasting energy and are lightweight.
- Energy Bars: Look for bars with a balance of carbohydrates, protein, and fats. Avoid overly sugary bars to prevent energy crashes.
- Dried Fruits: Packed with sugars for quick energy, plus fiber to sustain longer efforts.
- Trail Mix: A blend of nuts, seeds, dried fruits, and perhaps a bit of dark chocolate for a morale boost.
Carb Loading for Endurance
- Pre-Climb Meals: Focus on meals rich in complex carbohydrates a few hours before the climb. Foods like oatmeal, pasta, quinoa, or rice will provide sustained energy.
- Complex Carbs: Choose foods that digest slowly, like whole grains, sweet potatoes, and legumes, which keep your energy levels consistent.
- Avoid Too Much Protein: While protein is important for recovery, eating too much before a climb can make you feel sluggish. Keep protein intake moderate and balanced with carbs.
Snacking During the Climb
- Mini-Meals: Instead of big meals, eat small snacks every 30-45 minutes to keep your energy levels up. You could carry energy gels, dried fruits, or small packs of peanut butter.
- Incorporate Electrolytes: Many climbing snacks now include electrolytes. Look for electrolyte chews, gummies, or even salty snacks to help replenish what you’re losing through sweat.
Quick and Effective Recovery Foods
- Post-Climb Protein: After completing a difficult section or at the end of the day, focus on protein-rich foods (jerky, protein bars, or a protein shake) to aid muscle repair.
- Carbs + Protein: The ideal post-climb snack or meal includes a mix of carbs and protein to replenish glycogen stores and repair muscles.
Smart Food Storage and Cooking Hacks
Dehydrated Meals
- Freeze-Dried Meals: These are lightweight, easy to prepare (just add water), and nutritionally balanced. They’re great for multi-day climbs, especially in high altitudes.
- Homemade Dehydrated Meals: You can also make your own dehydrated meals by using a food dehydrator and packaging them in vacuum-sealed bags. This gives you more control over the ingredients and flavors.
Portable Cooking Gear
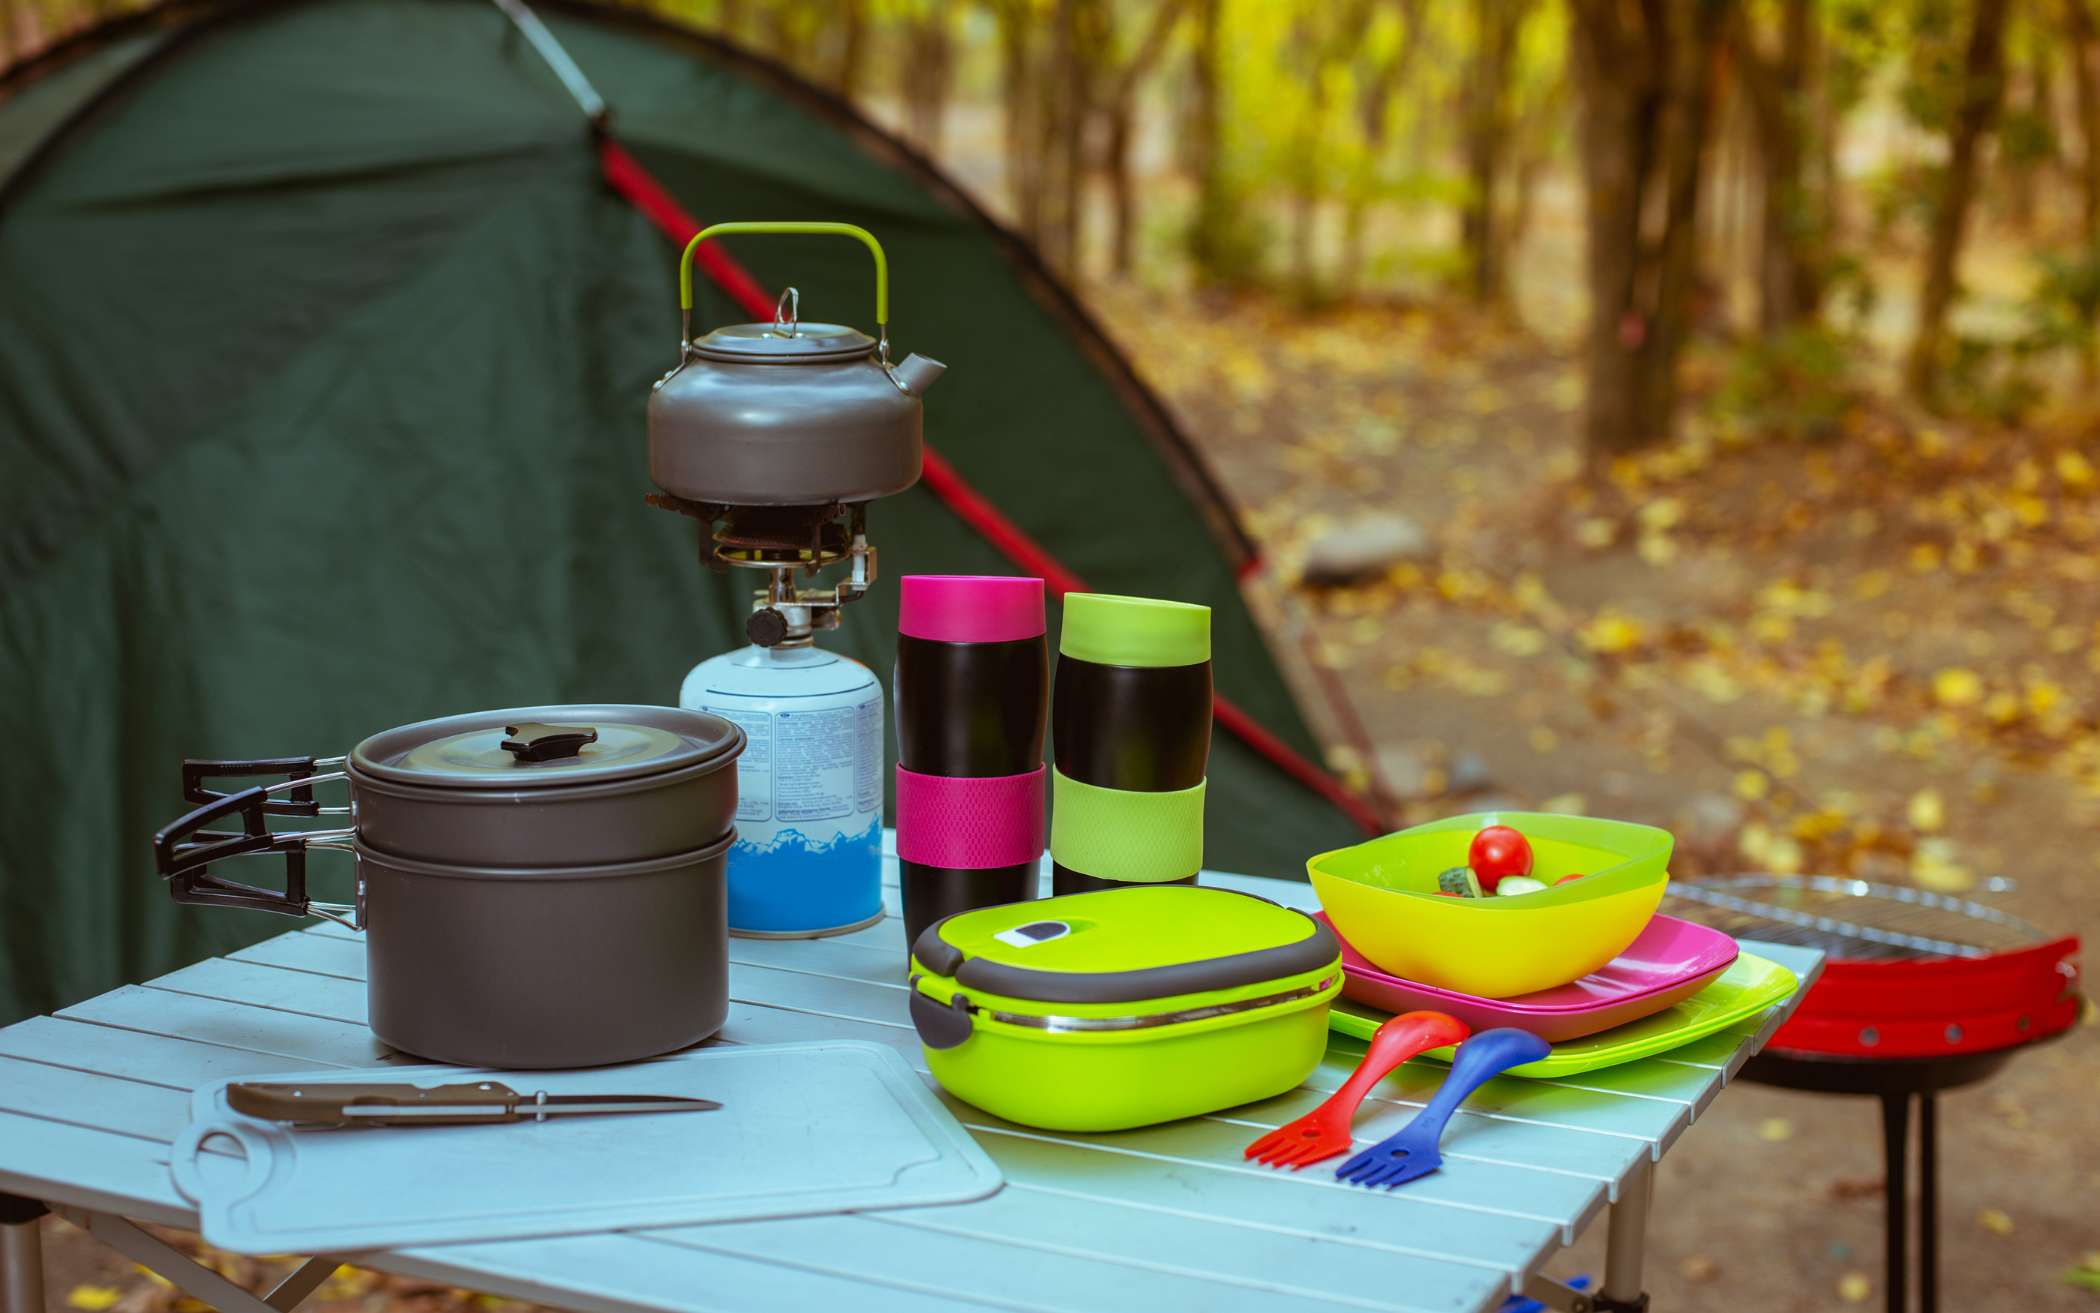
- Lightweight Stove: A small gas canister stove and a titanium pot are excellent for boiling water or cooking simple meals. They’re compact, durable, and easy to use.
- Multi-Use Utensils: A spork or multi-tool can save weight and space, allowing you to eat, cook, and clean without multiple items.
Managing Energy on the Mountain
Pace Yourself
- Eat & Drink Regularly: If you pace yourself and eat small amounts of food regularly (even when you don’t feel hungry), your body will perform better and won’t crash later.
- Climb Slowly, Rest Often: Going too fast burns more calories and increases the risk of exhaustion. Resting frequently ensures that your body has enough time to digest food and rehydrate.
Altitude Considerations
- Eat More Carbs at Higher Elevations: As you ascend, your body requires more carbohydrates for energy because the reduced oxygen levels can cause your body to rely more on anaerobic energy systems.
- Manage Appetite at High Altitudes: At high altitudes, your appetite may decrease due to reduced blood flow to the stomach. To overcome this, eat high-calorie foods that are easy to consume, like energy bars, nuts, and chocolate.
It’s also important to consume water wisely! And here’s how:
Pre-Hydrate Before the Climb
- Start the day hydrated: Drink water consistently the day before your climb to ensure you’re well-hydrated. Aim for at least 3 liters of water (depending on your size and the intensity of the climb) before heading out.
- Electrolyte Balance: Hydrating isn’t just about water. Your body needs sodium, potassium, and magnesium to balance fluids. Drink electrolyte-infused water or use electrolyte tablets to ensure you’re not losing essential minerals through sweat.
Carry Water Efficiently
- Hydration Bladders vs. Bottles: Use a hydration bladder (like a CamelBak) for easy sipping while on the move. It allows you to drink without having to stop and unscrew a cap, saving time and energy.
- Two-Bottle System: Carry two bottles — one for plain water and one with an electrolyte mix. This way, you can replenish lost electrolytes and avoid plain water dilution, which can lead to hyponatremia (low sodium levels).
Sip Small and Often
- Avoid Chugging: Instead of drinking large amounts of water at once, take small sips throughout the day. This keeps your body hydrated gradually and reduces the risk of feeling bloated or sluggish.
- Watch for Thirst: Don’t wait until you’re thirsty to drink. Thirst is a late signal, and you might already be dehydrated by the time you feel it.
Hydrate at Rest Stops
- Frequent Breaks: Take hydration breaks every 30 minutes to 1 hour, especially in hot or dry climates. If you’re not actively feeling thirsty, take a moment anyway to drink some water.
- Rest and Rehydrate: Don’t skip resting. During breaks, hydrate and eat a small snack to keep energy levels up.
Safety and Health Tips. What should you not do when rock climbing?
Always carefully check your safety rope and whether it is securely attached! In addition, never climb alone. Having a partner increases safety and ensures help is available in case of an emergency! Always keep communication open with your climbing team. Use radios, if available, or ensure everyone knows the plan and has a way to communicate in case of an emergency.
Be prepared for an emergency! Know where the nearest hospital or rescue team is located, and have a way to contact them. Carry a whistle, signal mirror, or flare for emergencies.
Unfortunately, it may happen that you or a member of your group gets hurt. For such cases, carry a well-stocked first aid kit and know how to use it. A basic knowledge of wilderness first aid is essential, including how to treat cuts, sprains, fractures, and blisters. If someone is injured or ill, don’t hesitate to turn back. It’s better to lose time than to risk worsening an injury or causing further harm. Never leave the wounded behind! Remember also, that the mountains can be unpredictable, so always prioritize safety, stay adaptable to changing conditions, and know when to turn back.

Conclusion
What a wall of text, just look at it! Arm yourself with our guide, the right gear, a solid plan, a positive mindset and you will conquer all mountains and rocks.
However, remember that this article is just an introductory part, a small entrance, your first steps in the science of rock climbing. This is a whole discipline, on which many books can be written, because there are a lot of subtleties, secrets and tips on this topic. We hope that we have motivated you enough to get your arse off the couch and go on an adventure! See ya.