
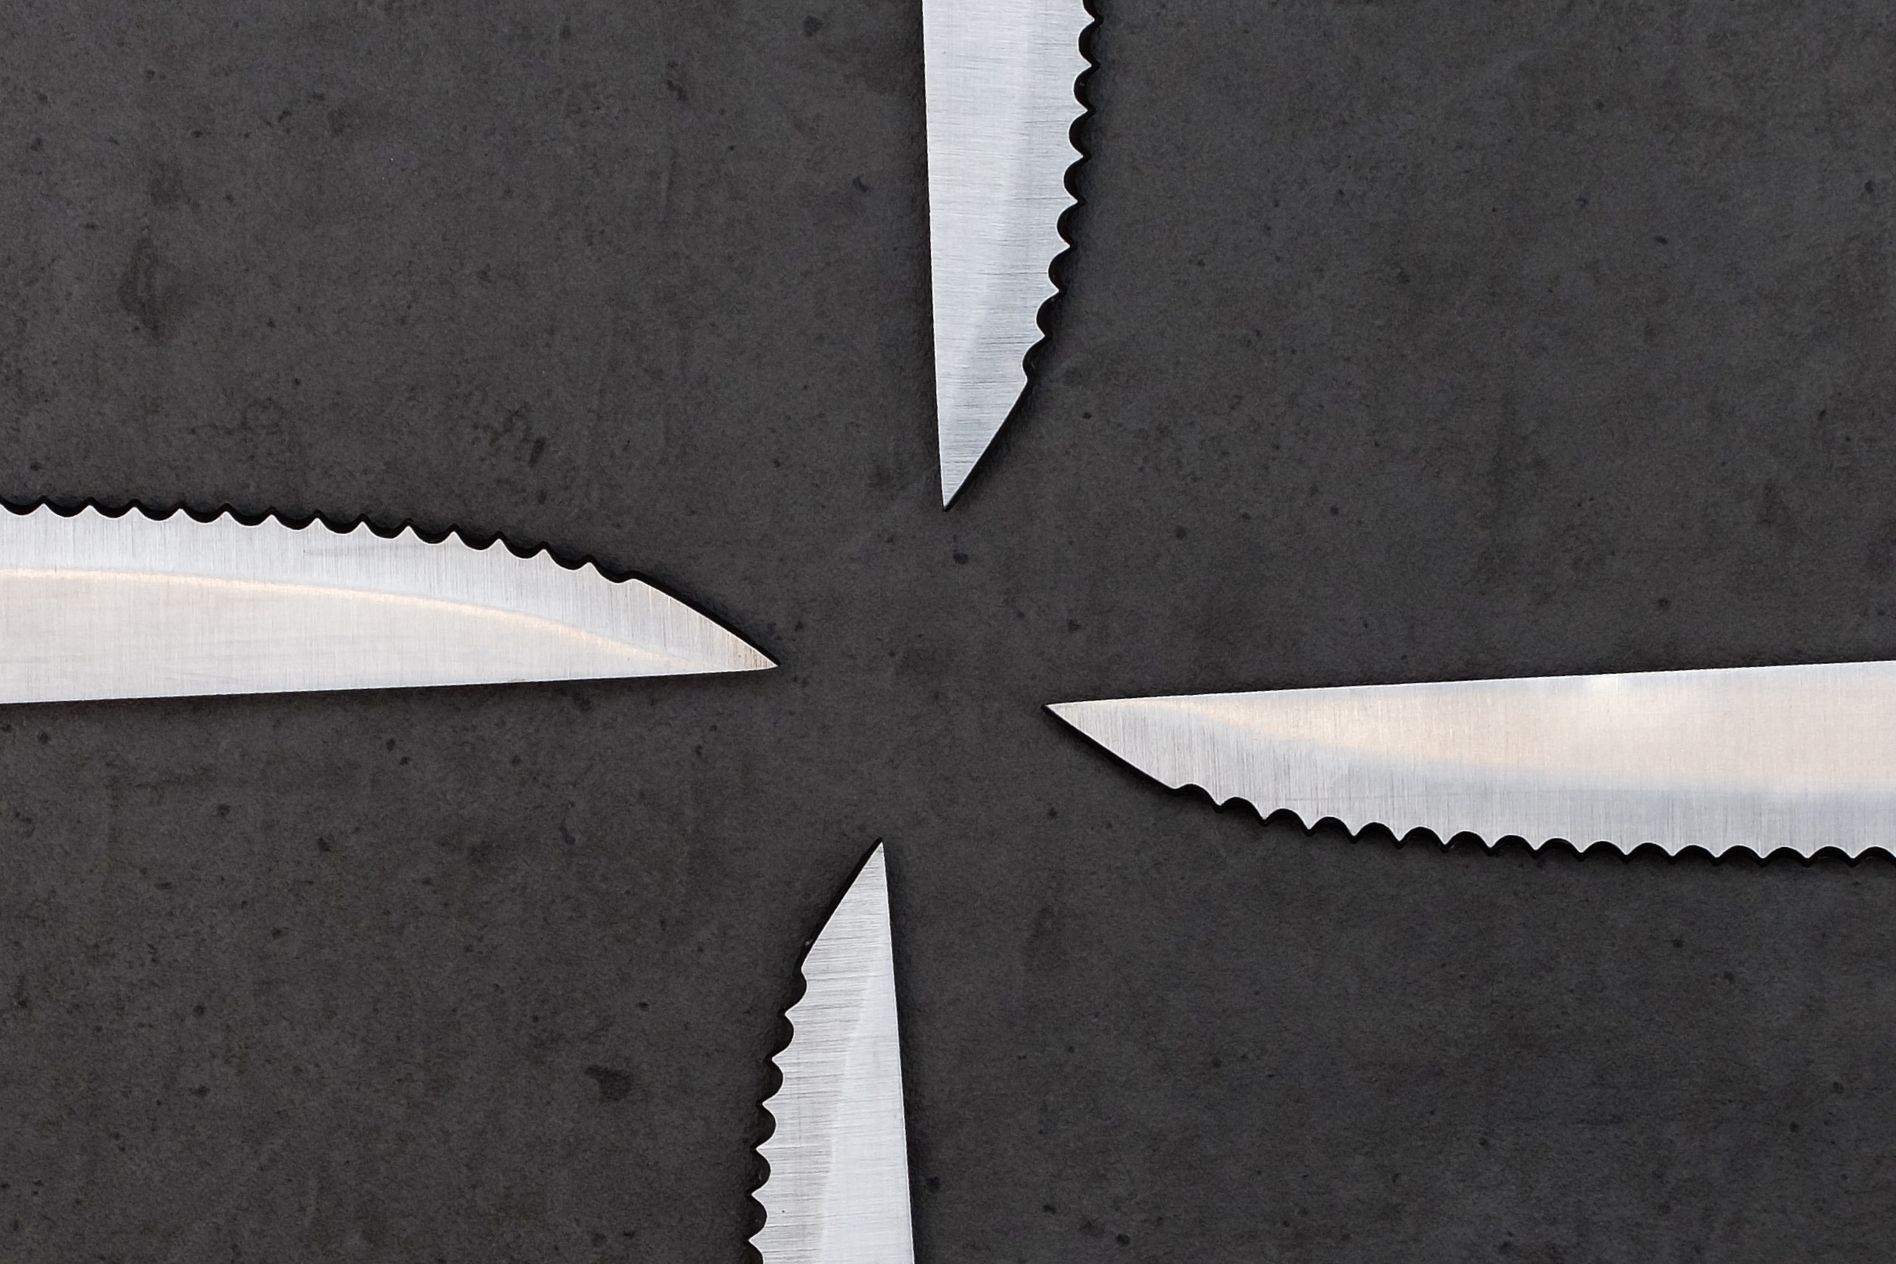
When you’re out hiking, camping, or — even more so — in a survival situation, you often have to cut ropes, clean fish, slice meat with bones, open gear boxes, or even chop branches for a fire. That’s when serrated knives come in handy! But sharpening a serrated blade knife is very different from sharpening a regular straight-edged blade. There are plenty of important details to keep in mind. Let’s go over them!
Why sharpening serrated knives is more difficult
At first glance, a serrated blade may seem more practical: it stays sharp longer, cuts through tough materials with ease, and doesn’t require frequent sharpening. However, it’s precisely the tooth-like structure of the blade that makes the sharpening process significantly more complex and labor-intensive compared to a smooth-edged knife. So, how do you sharpen serrated knives?
Tooth geometry and its impact on the sharpening process
A serrated blade consists of alternating teeth and gullets (the recessed areas between teeth). Each tooth plays a crucial role in cutting, providing a gripping action that improves the blade’s ability to penetrate and slice. The challenge lies in the fact that each tooth must be sharpened individually and at a specific angle. Incorrect sharpening can alter the tooth’s shape and reduce the knife’s overall effectiveness. If one tooth is ground down more than the others, or if a gullet is damaged, the balance between gripping and slicing is lost.
Why you can’t use a regular sharpening block
How can i sharpen serrated knives? Standard sharpening stones or blocks are excellent for flat, straight blades but completely unsuitable for serrated knives. Their flat surface can’t reach into the narrow gullets between teeth, and using them on a serrated blade often results in grinding down the teeth themselves rather than sharpening them. This flattens the serrations and drastically reduces the blade’s performance. In some cases, improper use of a sharpening block can damage the edge so severely that the blade must be reprofiled entirely.
The importance of maintaining the shape and sharpness of each tooth
Why do you need to sharpen your tools? Each serration on the blade is essentially a miniature cutting edge working in unison with its neighbors. If even a few teeth become dull or misshapen, the knife’s overall performance drops significantly. This is especially critical when cutting through materials like bread, rope, fabric, or meat with cartilage—scenarios where serrated knives truly shine. That’s why sharpening a serrated knife isn’t just about restoring sharpness—it’s about precisely preserving the original shape and angle of each tooth and its adjacent gullet.
 The right sharpening tools
You should start sharpening serrated knives by choosing the right tools for sharpening — and here’s what you’ll need:
Ceramic, diamond, carbide rods
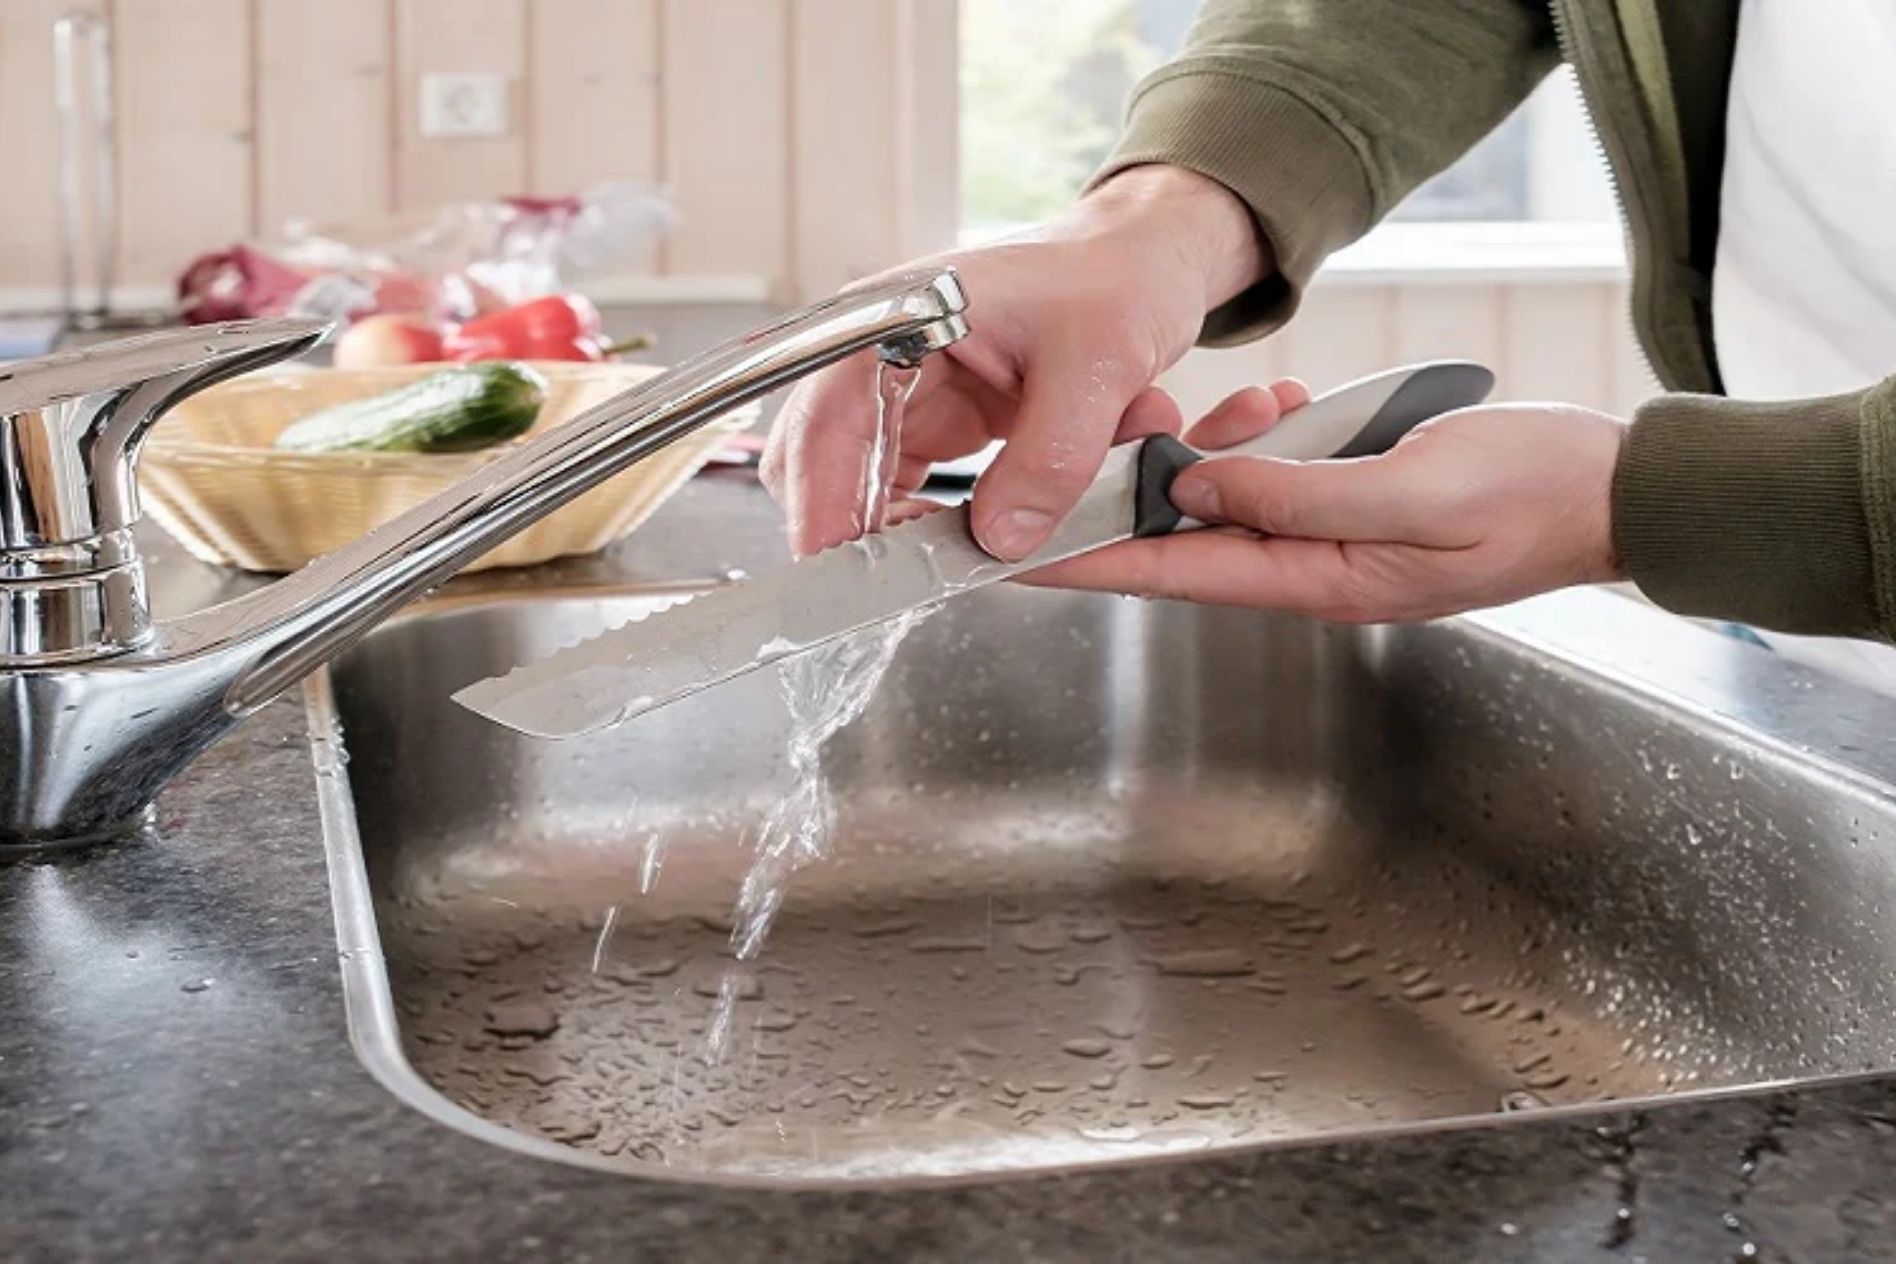
Sharpening rods—especially narrow, tapered ones—are the best choice for manual sharpening of serrated knives. Timeless classic! These rods can be inserted into each individual serration to restore sharpness without damaging the surrounding teeth. Common materials include:
- Ceramic rods – Ideal for fine-tuning and light maintenance, providing a smooth, polished edge.
- Diamond sharpening rod for serrated knives – More aggressive, suitable for harder steels or very dull edges.
- Carbide rods – Less common but useful for rough sharpening or shaping very worn edges.
It’s important to choose a rod that closely matches the size and shape of your knife’s serrations to avoid deforming them!
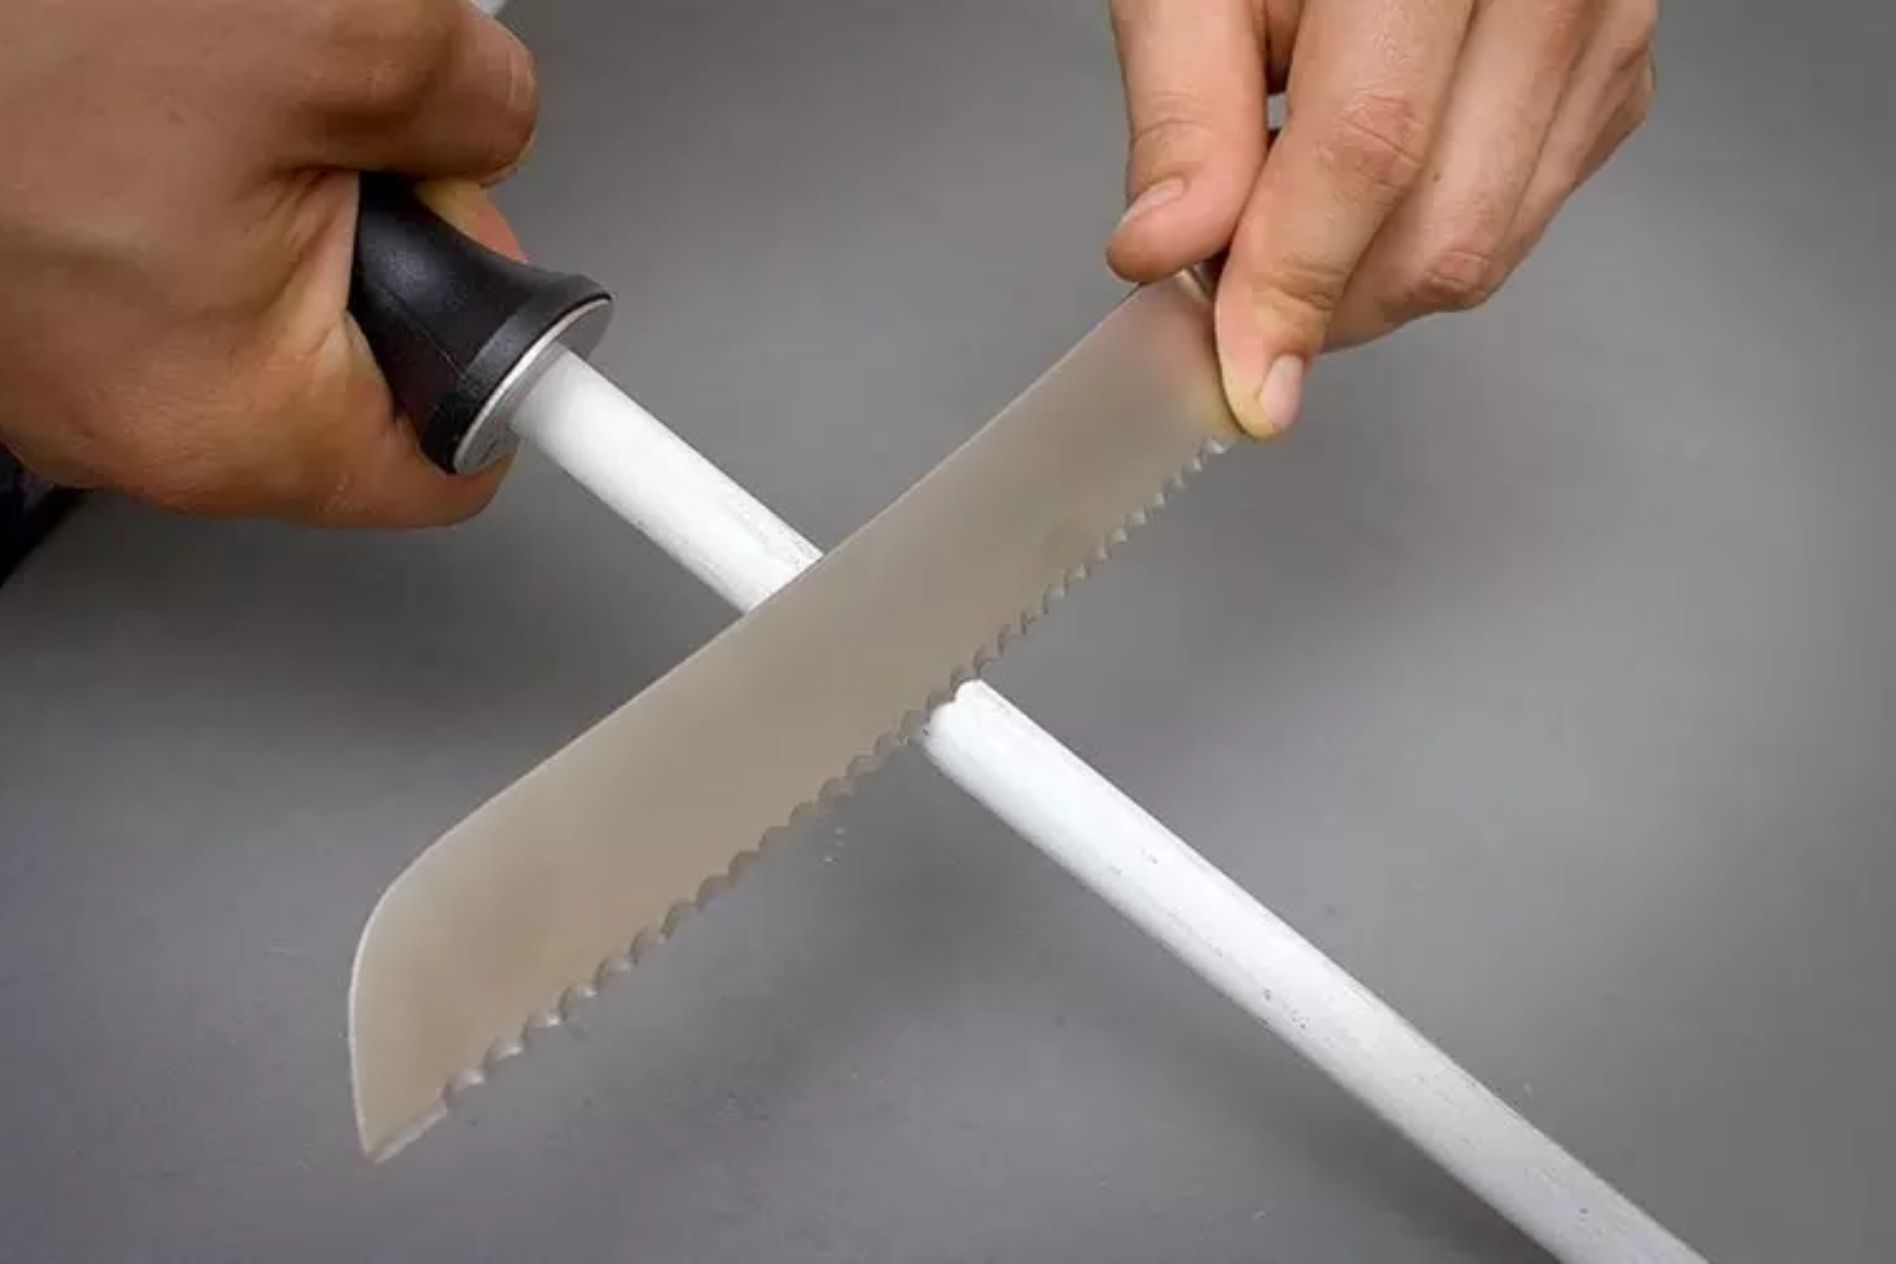 Electric knife-sharpener with attachments for serrated knives
And if you’re a fan of unconventional or avant-garde methods, then many modern electric sharpeners come with dedicated slots or attachments for serrated blades. Sharpening device like this can make the process quicker and more convenient, especially for users who are less experienced with manual tools. However, it’s crucial to ensure that the attachment is compatible with your specific serration pattern. Some electric sharpeners only sharpen the back (flat) side of the blade or may not accommodate deeply scalloped teeth, leading to uneven wear or damage.
 How to sharpen a serrated blade correctly
Now that you’ve got the right sharpening tools, you’re already halfway there! The other half depends on how steady your hands are — and, well, a bit of luck with where they come from.
The correct angle for sharpening the teeth
Serrated blades are typically beveled on one side only—the front or beveled side—while the back side remains flat or only slightly honed. It’s crucial to maintain the original factory bevel angle, which generally falls between 13° and 17°, though this may vary slightly by manufacturer.
To find the correct angle:
- Inspect the serrated edge and identify the beveled side.
- Place the sharpening rod (ceramic, diamond, or carbide) into the gullet at an angle that matches the original bevel.
- Avoid increasing the angle, as this can weaken the teeth or alter their shape.
Staying consistent with the factory angle ensures that the knife retains its slicing ability and tooth geometry.
Sequence of movements and frequency of passes on each tooth
- Insert the rod into the first gullet (near the handle of the blade).
- Match the rod’s position to the bevel angle.
- Make smooth, controlled strokes, moving the rod away from the edge (as if slicing outward).
- Use light to moderate pressure—don’t force the rod through the tooth.
- Repeat this motion 4–6 times per tooth, or until you feel a small burr forming on the flat side.
- Move to the next gullet and repeat the process, working your way to the tip of the blade.
- After all teeth are sharpened, use a fine-grit stone or ceramic rod to gently remove any burrs from the back (flat) side with 1–2 light strokes.
What to avoid when sharpening
- Don’t sharpen both sides of the blade unless it was designed that way. Most serrated knives are one-sided, and sharpening the flat side can ruin the edge.
- Avoid using flat sharpening stones or electric sharpeners not made for serrations—they can grind down the teeth and destroy the serrated pattern.
- Don’t over-sharpen individual teeth, as this leads to uneven wear and inconsistent performance.
- Avoid mismatched sharpening rods—using a rod that’s too thick can deform the gullets; one that’s too thin may not sharpen effectively.
Patience and consistency are key. While the process may take longer than with a straight-edge knife, the results are well worth the effort: a properly sharpened serrated blade will cut cleanly, grip securely, and serve you reliably for years.
Caring for a serrated knife after sharpening
Capturing a fortress is only half the battle — you still have to hold it. The same goes for your knife: after sharpening, proper care is essential to maintain both the blade’s sharpness and the knife itself.
Cleaning and lubrication
Serrated tactical knives often come into contact with rope, wood, nylon webbing, plastic, or even clothing and bone. These materials can leave debris lodged in the gullets between the teeth, reducing cutting efficiency and accelerating wear.
Post-use cleaning steps:
- Use a stiff nylon brush or compressed air to remove dirt, wood fibers, or metal shavings from between the serrations.
- For stubborn residue (like sap, glue, or synthetic fibers), apply a bit of isopropyl alcohol or mild solvent to dissolve buildup—being careful not to over-saturate the pivot area if it’s a folding knife.
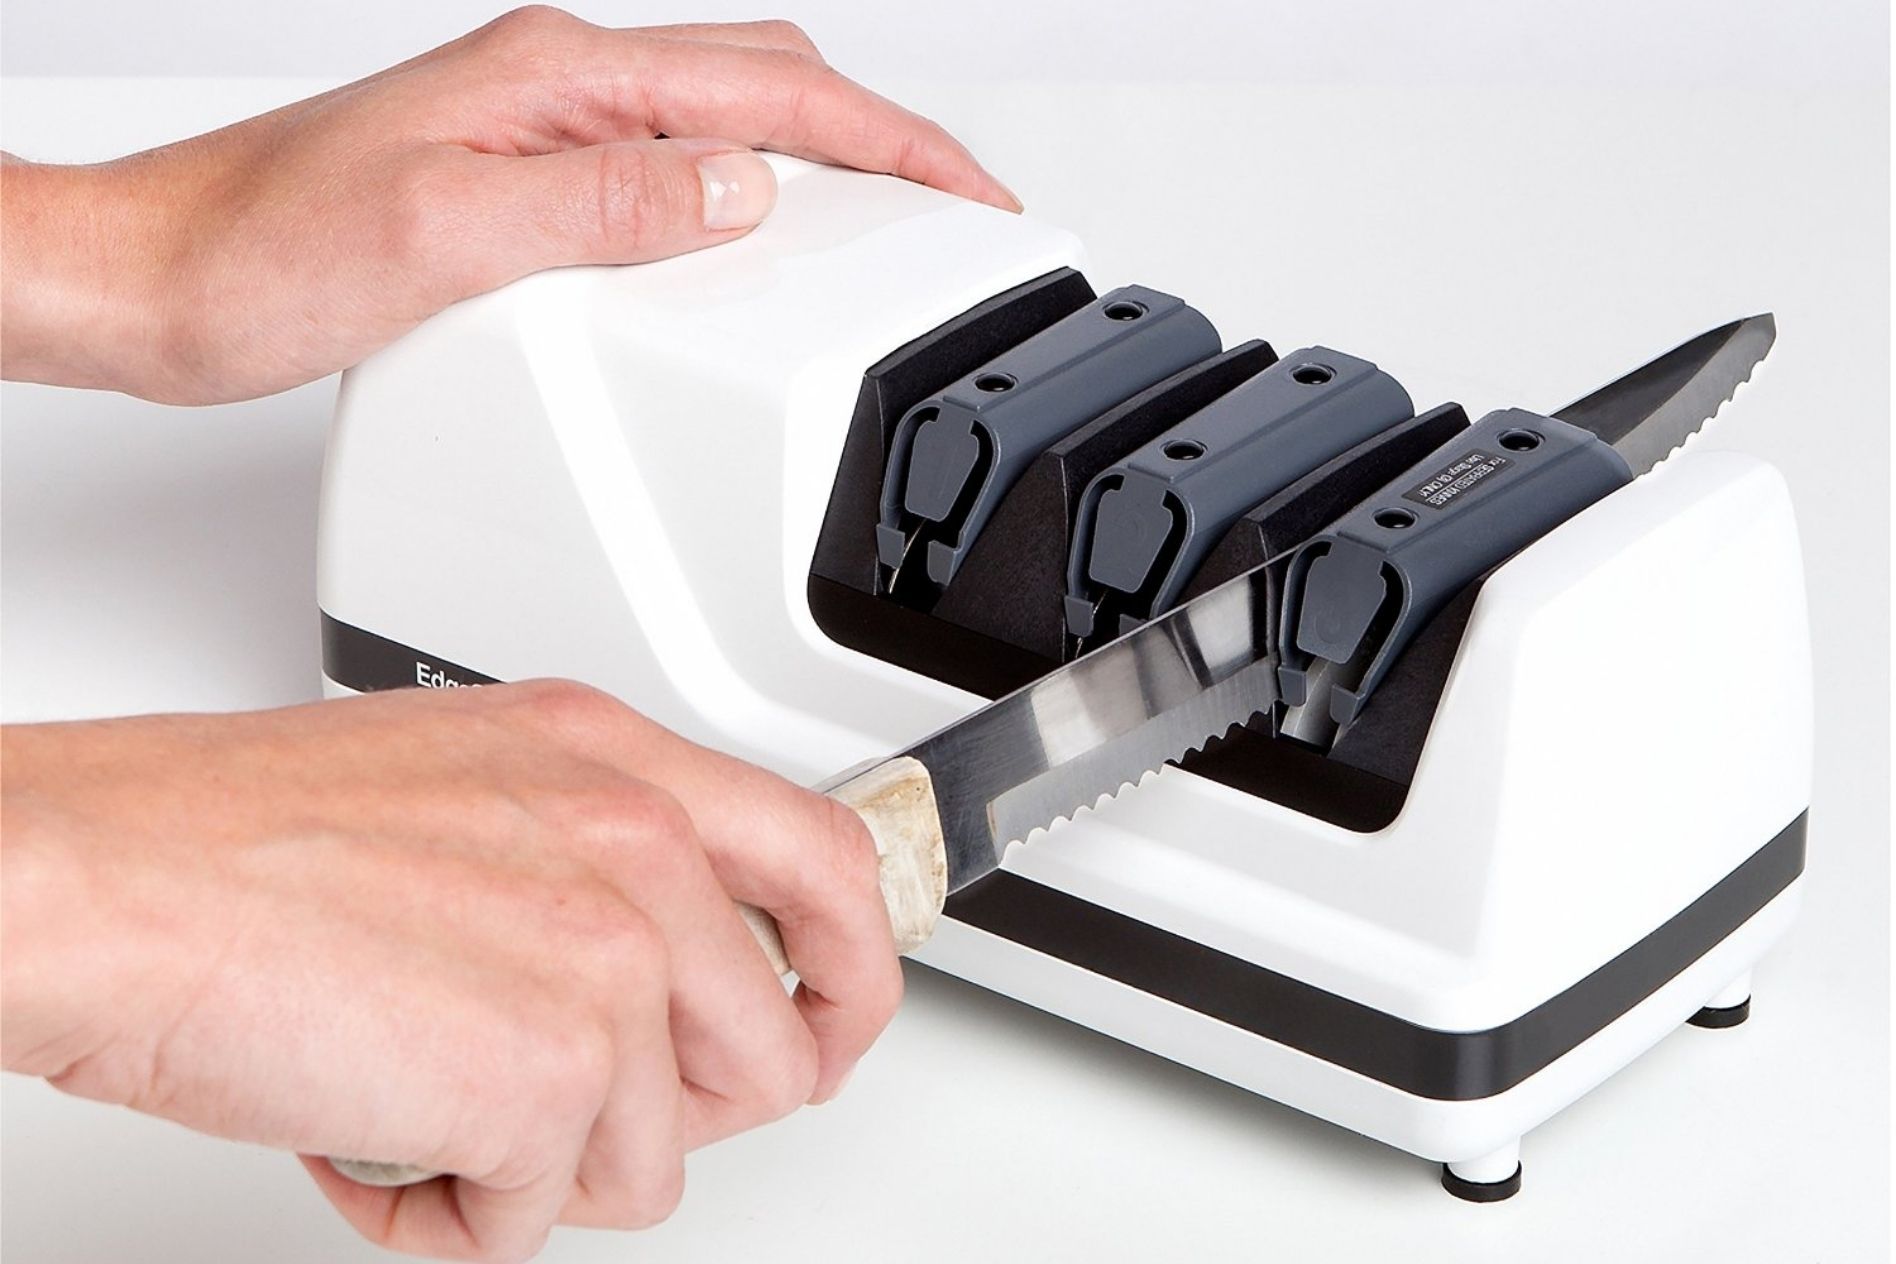
- Clean the entire blade with warm water and a non-abrasive cloth. Avoid soaking the knife, especially if it has internal components (like a locking mechanism).
- Thoroughly dry the blade with a microfiber towel. Moisture trapped near the serrations or in the handle can lead to rust.
- Apply a thin coat of oil (e.g., CLP, mineral oil, or specialized blade lubricant) to the blade to prevent corrosion. Focus especially on the serrated edge, which is more prone to moisture retention.
- If it’s a folding knife, apply a small amount of oil to the pivot and locking mechanism as well, and cycle the blade open and closed a few times to distribute it evenly.
 Storage in appropriate conditions
Serrated knives used outdoors or in tactical environments need storage solutions that protect both the blade and the user. Proper storage also helps prevent edge damage from accidental impacts or friction.
Storage tips:
- Use a sheath or dedicated knife pouch (Kydex, nylon, or leather) when carrying the knife. Ensure the sheath fits snugly to prevent the blade from rattling or getting dulled.
- Avoid loose storage in bags or toolboxes where the teeth might knock against hard surfaces or other tools. This can cause micro-chipping on the serrated edge.
- If storing long-term, especially in humid or marine environments, consider:
○ Using a desiccant pack in the storage container.
○ Wrapping the knife in a cloth lightly oiled with a rust-inhibitor.
○ Checking regularly for signs of moisture, rust, or mildew.
- For folding knives: close the blade before storage, and ensure the locking mechanism is clean and properly lubricated.
Tips for maintaining sharpness between sharpenings
Serrated edges retain sharpness longer than straight edges, but improper use or neglect can still wear them down quickly. With minimal effort, you can keep your knife performing well between full sharpening sessions.
Maintenance tips:
- Use the knife only for tasks it was designed for. Serrated tactical knives are great for cutting rope, webbing, fibrous materials, and packaging, but not for prying, batoning wood, or scraping.
- Avoid contact with metal, rock, or hard surfaces. If you’re cutting zip ties, cords, or wire near hard surfaces like concrete or steel, be careful not to drag the teeth against them.
- Wipe the blade down after every use, especially in wet, salty, or dirty environments. Dirt and salt can quickly degrade the edge.
- Use a ceramic or diamond rod for occasional touch-ups, especially if you notice the knife pulling or tearing rather than slicing cleanly. A few careful strokes per tooth can restore performance.
- Inspect the edge regularly for damage. Small chips or burrs are easier to correct early before they lead to deeper edge wear.
Conclusion
That’s a simple but very useful guide for you. Follow it, and you’ll be all set! And don’t forget to check out our online store — we have both serrated and regular blades of amazing quality and sharpening supplies. Until next time, adventures await!