
There may come a time when simply collecting and using knives no longer satisfies you. You’ll inevitably crave a truly unique, custom-made blade tailored to your exact preferences! Of course, you could always order one from a renowned master who will craft you a knife worthy of Excalibur for a hefty price. But there’s another, even more exciting path – to become the creator yourself!
How to make a knife? It All Starts with an Idea and a Drawing
For millennia, to the rhythmic clang of hammers and showers of sparks, humanity has been crafting true masterpieces from metal! Magnificent swords, Gothic and Milanese armor, intricate mechanisms, and stunning jewelry – not to mention knives. Why not try your hand at creating your own blade? The journey begins with its concept.
The Concept of a Knife
Before moving on to metal and blueprints, it is essential to define the key parameters:
- Purpose. What will your knife be used for? Cooking, outdoor adventures, fishing, active lifestyle, or perhaps as a collector’s piece? The choice of materials and shape depends on this.
- Knife Style. A traditional hunting knife, a sleek minimalist design, a tactical blade with aggressive lines, or maybe even a bold designer experiment?
- Blade Type. Drop point, tanto, clip point, spear point — each shape has its own strengths and unique applications.
A well-thought-out concept helps avoid mistakes in the following stages.
Sketches, Drawings, Knife 3d Reference Modeling
Modern methods take the creative process a step further:
- Digital Illustrations. They allow you to refine details, experiment with finishing styles, and select suitable materials.
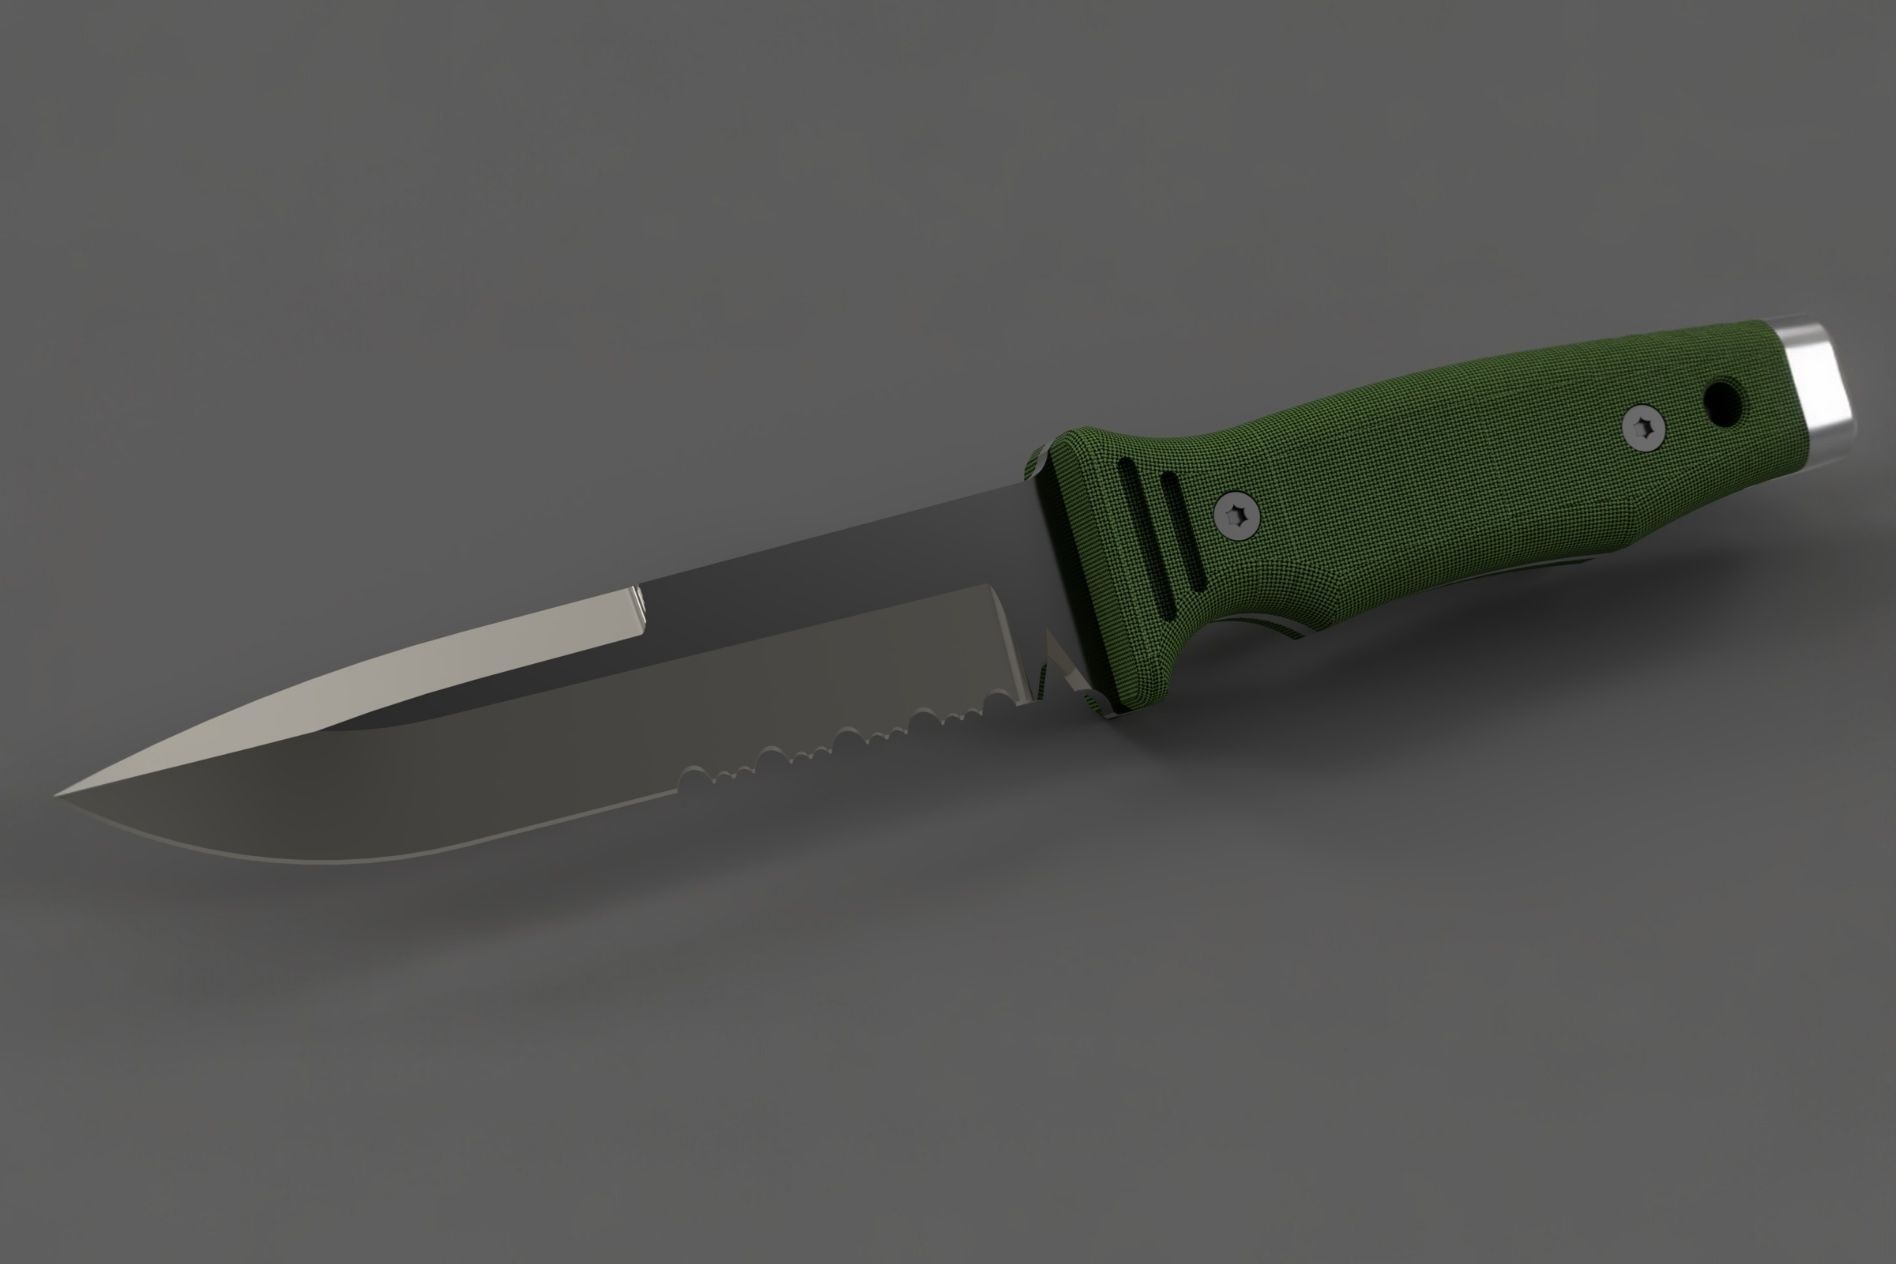
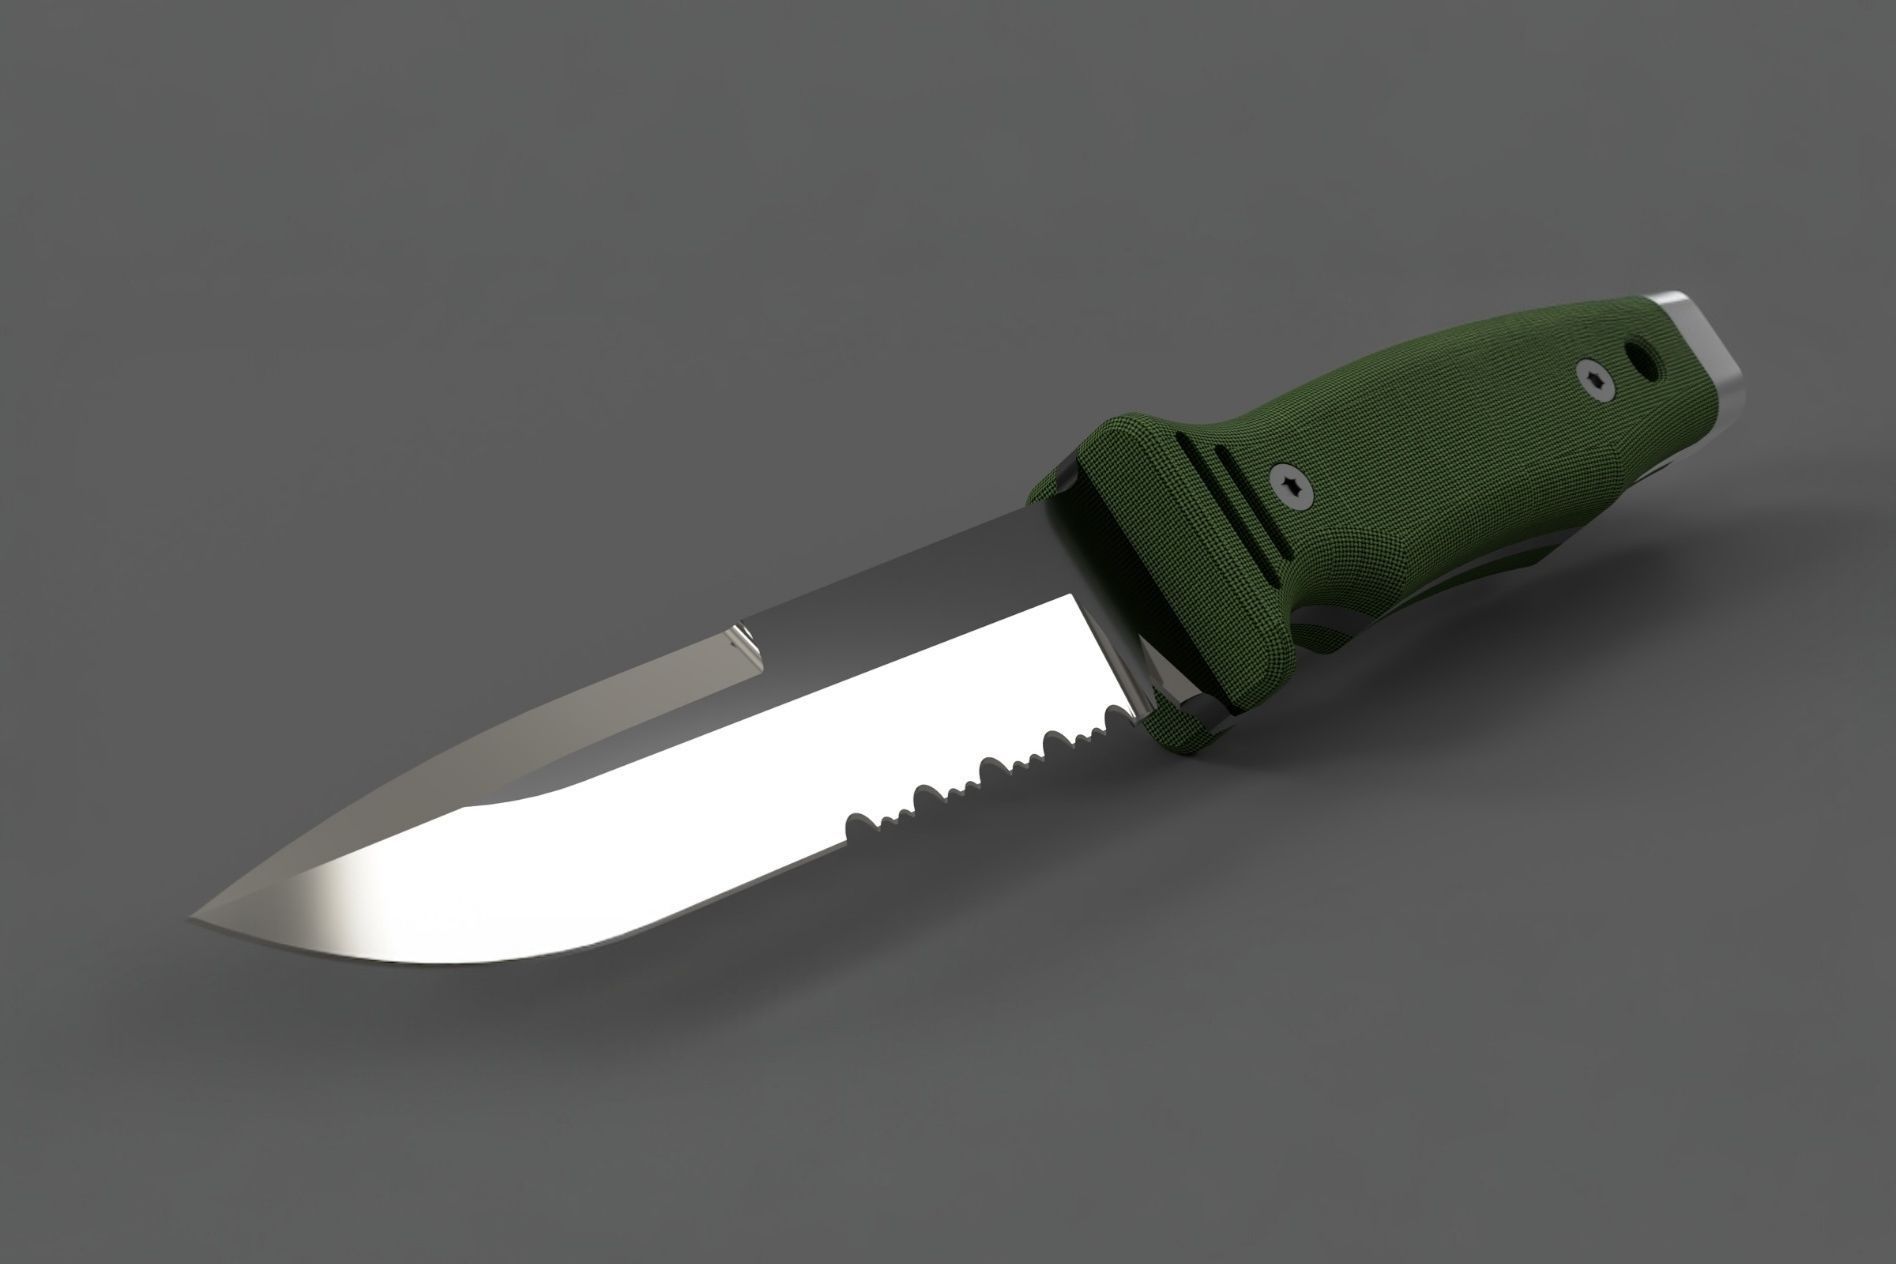
- 3D Modeling. This is a virtual prototype where proportions, balance, and even the look of the knife in hand can be tested.
This way, the designer doesn’t just see a picture but can actually “feel” the product before it’s made.
Technical Drawing – Geometry, Dimensions, Marking
Once the concept is complete, precision work begins. At this stage, every millimeter matters:
- Blade and Handle Geometry. Exact proportions, balance, and length are defined.
- Sharpening Angle and Bevels. These determine sharpness, durability, and functionality.
- Design Details. Placement of holes, screws, rivets, and the area for a logo or maker’s mark.
This stage is the bridge between art and engineering, transforming an abstract idea into a real tool ready to be forged in steel.
Material selection – steel and its properties
And now we come to the most important part – choosing the steel. It is this choice that will largely determine how reliable, durable, and unyielding your knife will be!
What steels are most often used and why
Several steels are commonly used in knife making, each chosen for its unique balance of properties:
- 1095 – A high-carbon steel known for its toughness and ease of sharpening. Common in survival and outdoor knives due to its durability. However, it is not stainless and requires maintenance to avoid rust.
- D2 – A semi-stainless tool steel with high wear resistance and edge retention. It’s harder to sharpen than 1095 but holds its edge longer.
- 440C – A high-carbon stainless steel offering a good balance of corrosion resistance, hardness, and affordability. Frequently used in mass-produced folding knives. Nice for design knives!
- N690 – A stainless steel produced by Böhler, offering excellent corrosion resistance, fine edge performance, and easy sharpening. Popular in both kitchen and EDC knives.
- Powder Steels (e.g., CPM S30V, S35VN, M390) – Produced using powder metallurgy, these steels offer superior edge retention, corrosion resistance, and uniformity. Ideal for high-end knives due to their premium performance and cost.
 The influence of steel composition on strength, hardness, wear resistance
Knowing this information is crucial for the knife builder! The performance of steel is heavily influenced by its chemical composition and heat treatment:
- Carbon (C) – Increases hardness and edge retention. Too much carbon, however, can reduce toughness.
- Chromium (Cr) – Adds corrosion resistance (minimum 13% Cr = stainless steel). Also contributes to wear resistance.
- Vanadium (V) – Enhances wear resistance and refines grain structure, improving toughness and sharpness.
- Molybdenum (Mo) – Improves toughness and high-temperature strength. Often used in stainless steels.
- Tungsten (W) & Cobalt (Co) – Present in some high-speed and powder steels to boost hardness and wear resistance at extreme conditions.
The balance of these elements affects how the steel behaves:
- Hard steels (e.g., M390, S90V) hold an edge very well but are harder to sharpen.
- Tough steels (e.g., 1095) resist chipping and breaking but may dull faster.
- Corrosion-resistant steels (e.g., N690, 440C) are ideal for humid or kitchen environments.
Features of choosing steel for fixed/folding/kitchen knives
- Priorities: Toughness, edge retention, and ease of maintenance.
- Common Choices:
○ 1095 – Excellent for bushcraft and survival.
○ D2 – awesome for well made knives, durable for hard-use tasks but needs care to avoid rust.
○ Tool Steels (A2, O1) – Offer great toughness and edge strength, good for working knife!
And as a bright example (and we only provide the bright examples), we’d like to present to you the pride of our craftsmen – the Beta knife (link). Its blade is made from the tough D2 tool steel, with a hardness of 60-61 HRC, featuring a Scandi grind, while the handle is crafted from durable Micarta. What does all this mean? Simply that this knife is capable of handling any task you throw at it! From basic food preparation to splitting firewood and woodworking. The set also includes practical and comfortable ABS plastic sheaths. An excellent choice for camping, hiking, and even survival situations! Marvellous hand crafted knife.
 Blade shaping
So, the steel is chosen, and the blade is forged. Now it’s time to sharpen it!
Profile Cutting (Rough Shape)
The first step in shaping the blade is to create the rough outline or profile. At this stage, the basic shape of the blade is cut from the steel stock.
- Methods:
○ Bandsaw: Often used to cut large sections of steel into rough profiles.
○ Waterjet or Laser Cutting: These methods offer precision and can be used for intricate profiles.
○ Abrasive Saw: Used for thicker steel when more precision is needed than with a bandsaw.
The goal here is to remove the bulk of the material, and the shape doesn’t need to be too refined at this stage.
Processing on Grinders, Sanders, or Manually
Once the rough shape is cut, the next step is refining the blade. This can be done using grinders, belt sanders, or even manually with files.
- Grinders:
○ Belt Grinders: These are commonly used to refine edges and create smoother contours, especially on the spine, tang, and edge.
○ Bench Grinders: Used for rough shaping or adding finer details to the blade.
- Hand Tools: For finer shaping or intricate areas (such as the tang or bolster), manual tools for making knives like files or hand sanders are employed.
- Surface Grinding: If the blade needs to be extremely flat and smooth, surface grinding may be used after the initial shaping.
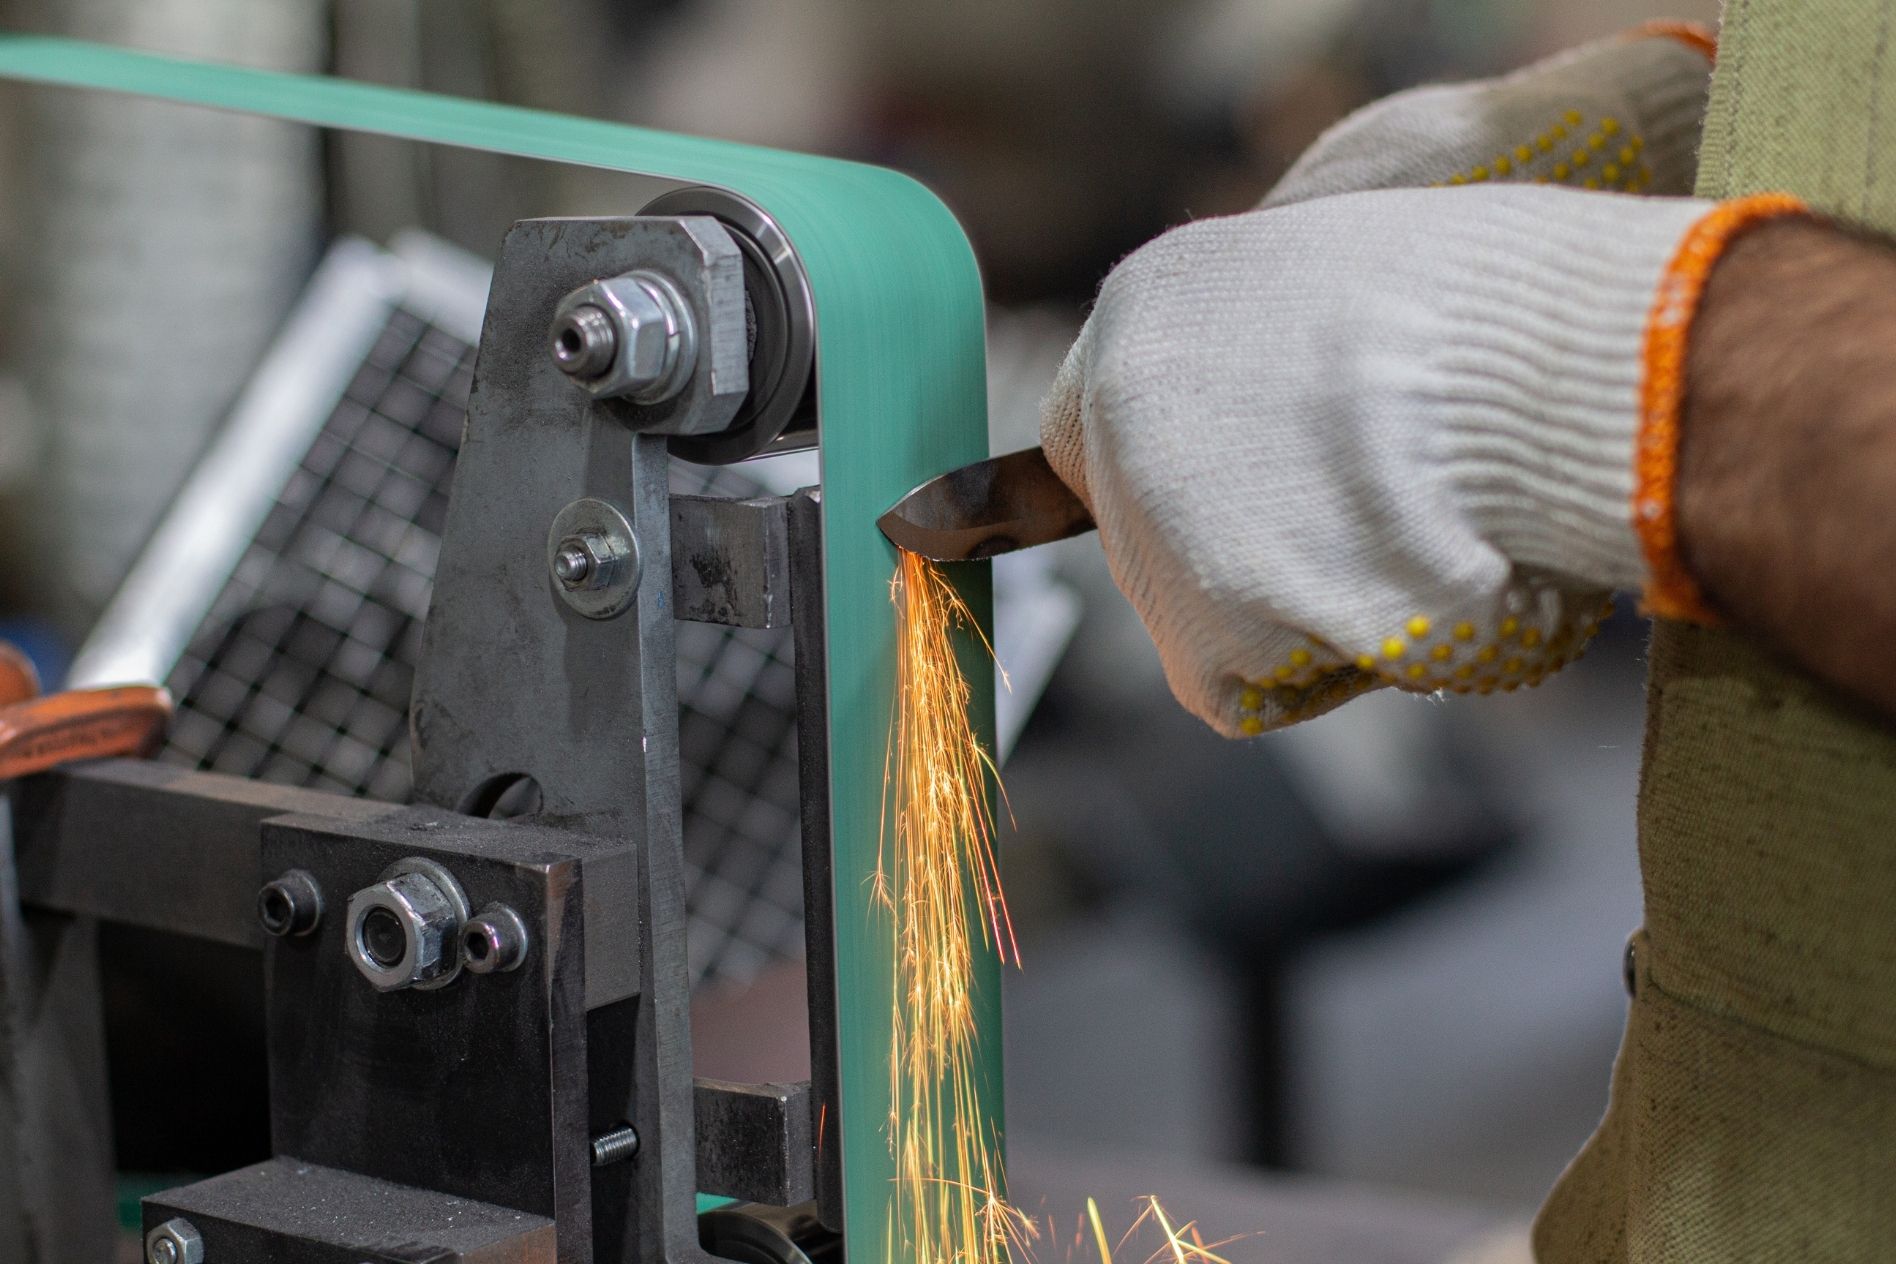 Creating Slopes and Blade Geometry (Flat, Hollow, Convex)
This is where the blade geometry starts to take shape. “Blade geometry” refers to how the blade is shaped in relation to its edge and spine. This step is crucial for both aesthetics and performance.
- Flat Grind: The edge and spine are ground flat to each other. This grind is simple and often used for knives that need a durable, sturdy edge. It’s good for chopping and slicing.
- Hollow Grind: This is a concave grind, where the edge is ground with a slight hollow curve. It reduces the amount of steel near the edge, making it sharper and easier to resharpen, but it’s less durable than a flat grind. It’s common in hunting and kitchen knives.
- Convex Grind: In this grind, the edge is ground with a slight convex curve. It’s more durable and resistant to damage than a flat grind while maintaining good sharpness, though it’s harder to sharpen. This grind is typically seen on heavy-duty knives like survival or tactical blades.
Heat Treatment – The Heart of Knife Quality
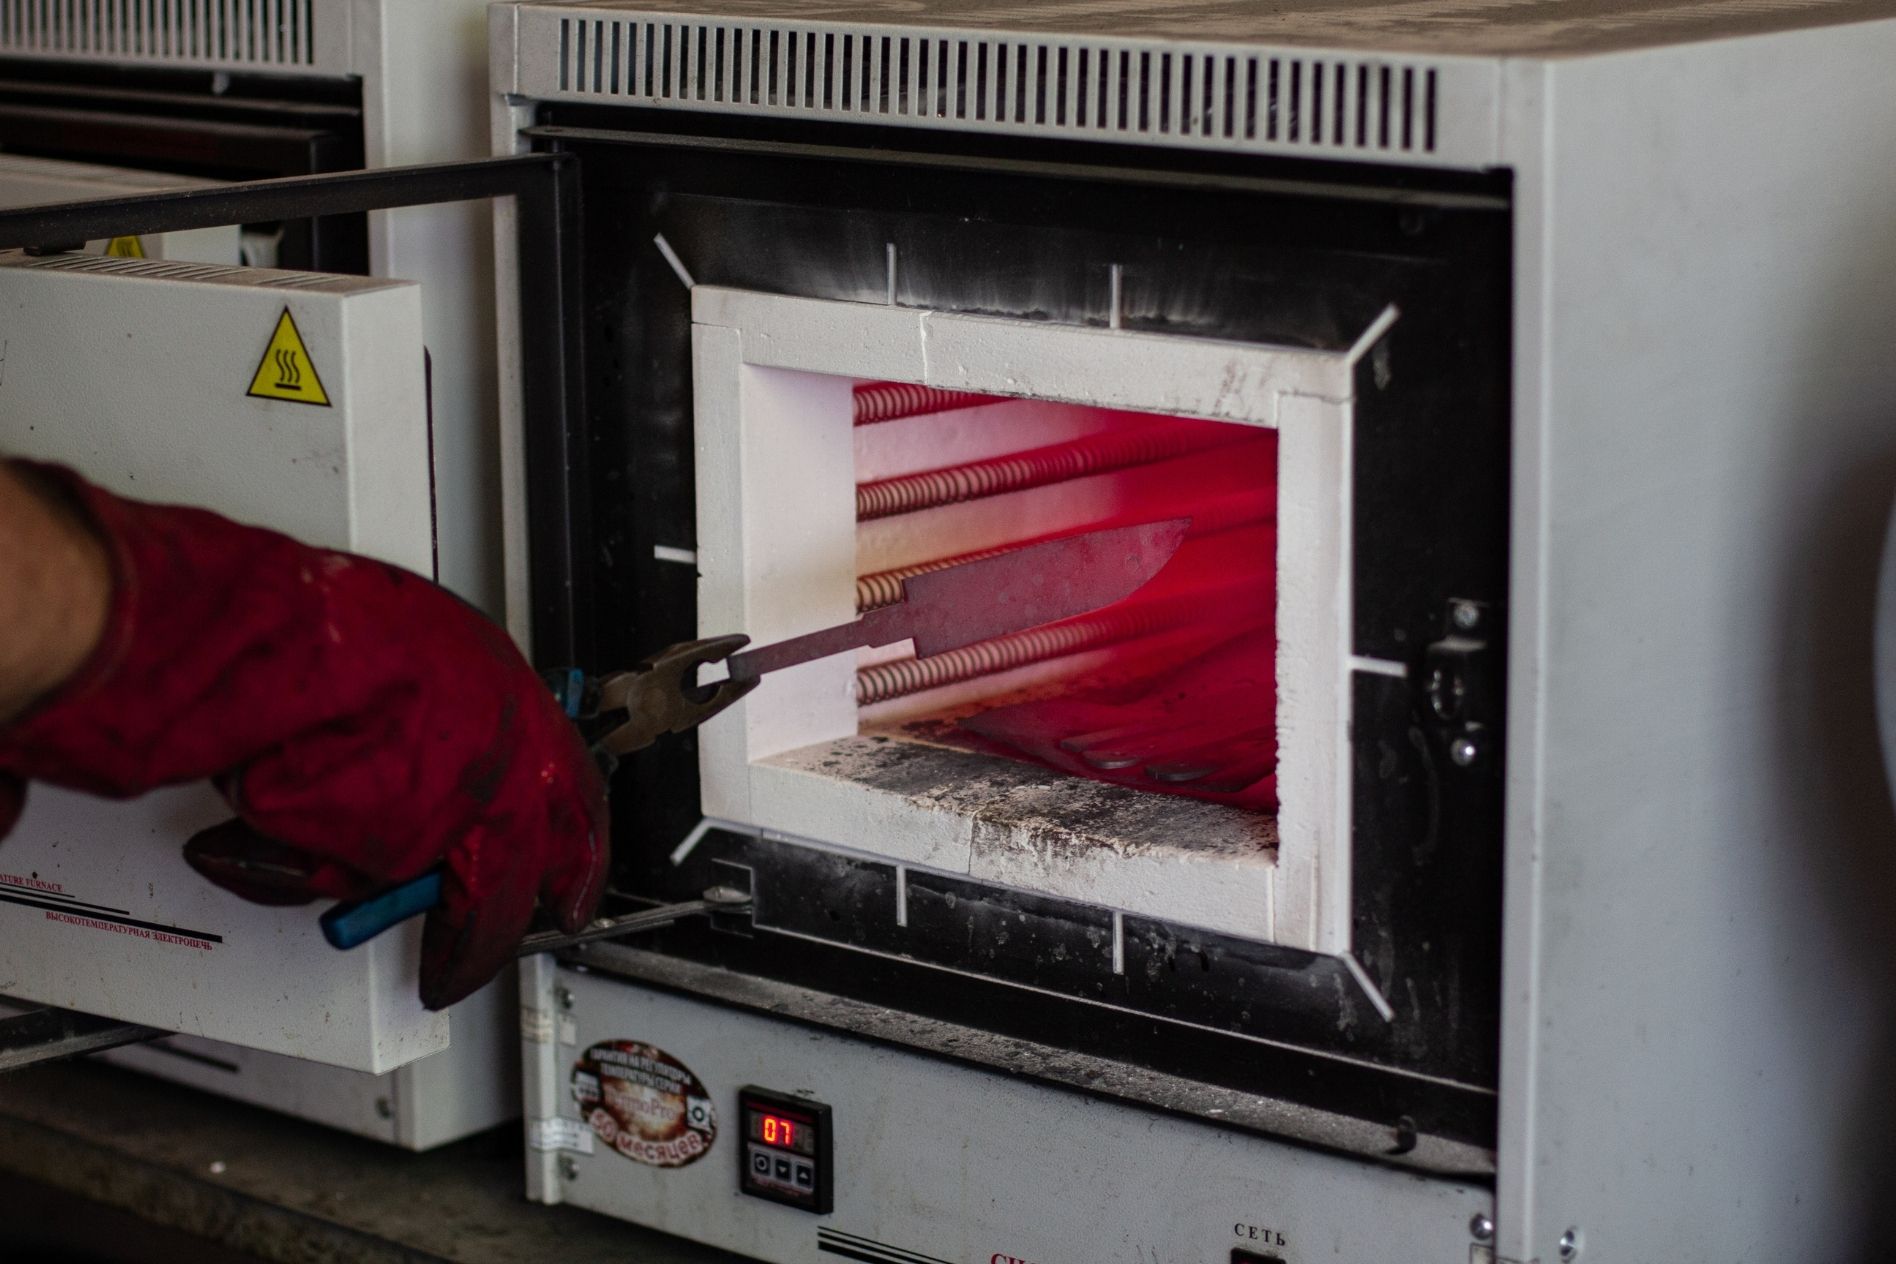
Heat treatment is crucial in determining the performance, durability, and sharpness of a knife. It involves a series of controlled heating and cooling processes to alter the steel’s properties, making it harder, more durable, and suitable for its intended use. This process can make the difference between a high quality blades and a poor-performing one.
Hardening: Temperature, Time, Cooling
Hardening is the first stage in heat treatment and is designed to increase the steel’s hardness, allowing the blade to hold a sharp edge.
- Temperature: The steel is heated to a specific temperature, usually between 800°C and 1,050°C (1,472°F to 1,922°F), depending on the type of steel being used. At this temperature, the steel undergoes a phase change, becoming austenite, which makes it more malleable and capable of absorbing more carbon.
- Time: The steel is held at this temperature for a specific amount of time to ensure it reaches the desired structure. The time depends on the steel thickness and type but typically ranges from 15 minutes to 1 hour.
- Cooling: After heating, the steel must cool rapidly to lock in the desired hardness. This is done through different methods:
○ Oil Quenching: The steel is dipped into oil to cool quickly, preventing the formation of unwanted microstructures.
○ Water Quenching: In some cases, water is used, though it’s riskier because it can cause the blade to warp or crack.
○ Air Cooling: Some steels, especially tool steels, cool in air to prevent thermal shock.
The speed and method of cooling are critical in determining the final hardness and structure of the blade.
Tempering – Stress Relief, Balance Between Hardness and Elasticity
After hardening, the blade is very hard but also brittle and prone to breaking. Tempering is the process of reheating the blade to a lower temperature to relieve internal stresses and improve toughness.
- Temperature: The blade is reheated to a lower temperature, typically between 150°C and 650°C (302°F to 1,202°F), depending on the desired properties. Lower temperatures give higher hardness, while higher temperatures result in more flexibility.
- Time: The steel is held at this temperature for a specific duration (usually 1 to 2 hours). This allows the internal structure of the steel to adjust, improving the balance between hardness and toughness.
- Purpose: The goal of tempering is to reduce brittleness while maintaining a strong, sharp edge. A well-tempered blade is tougher and less likely to chip or break while in use, making it more resilient under stress.
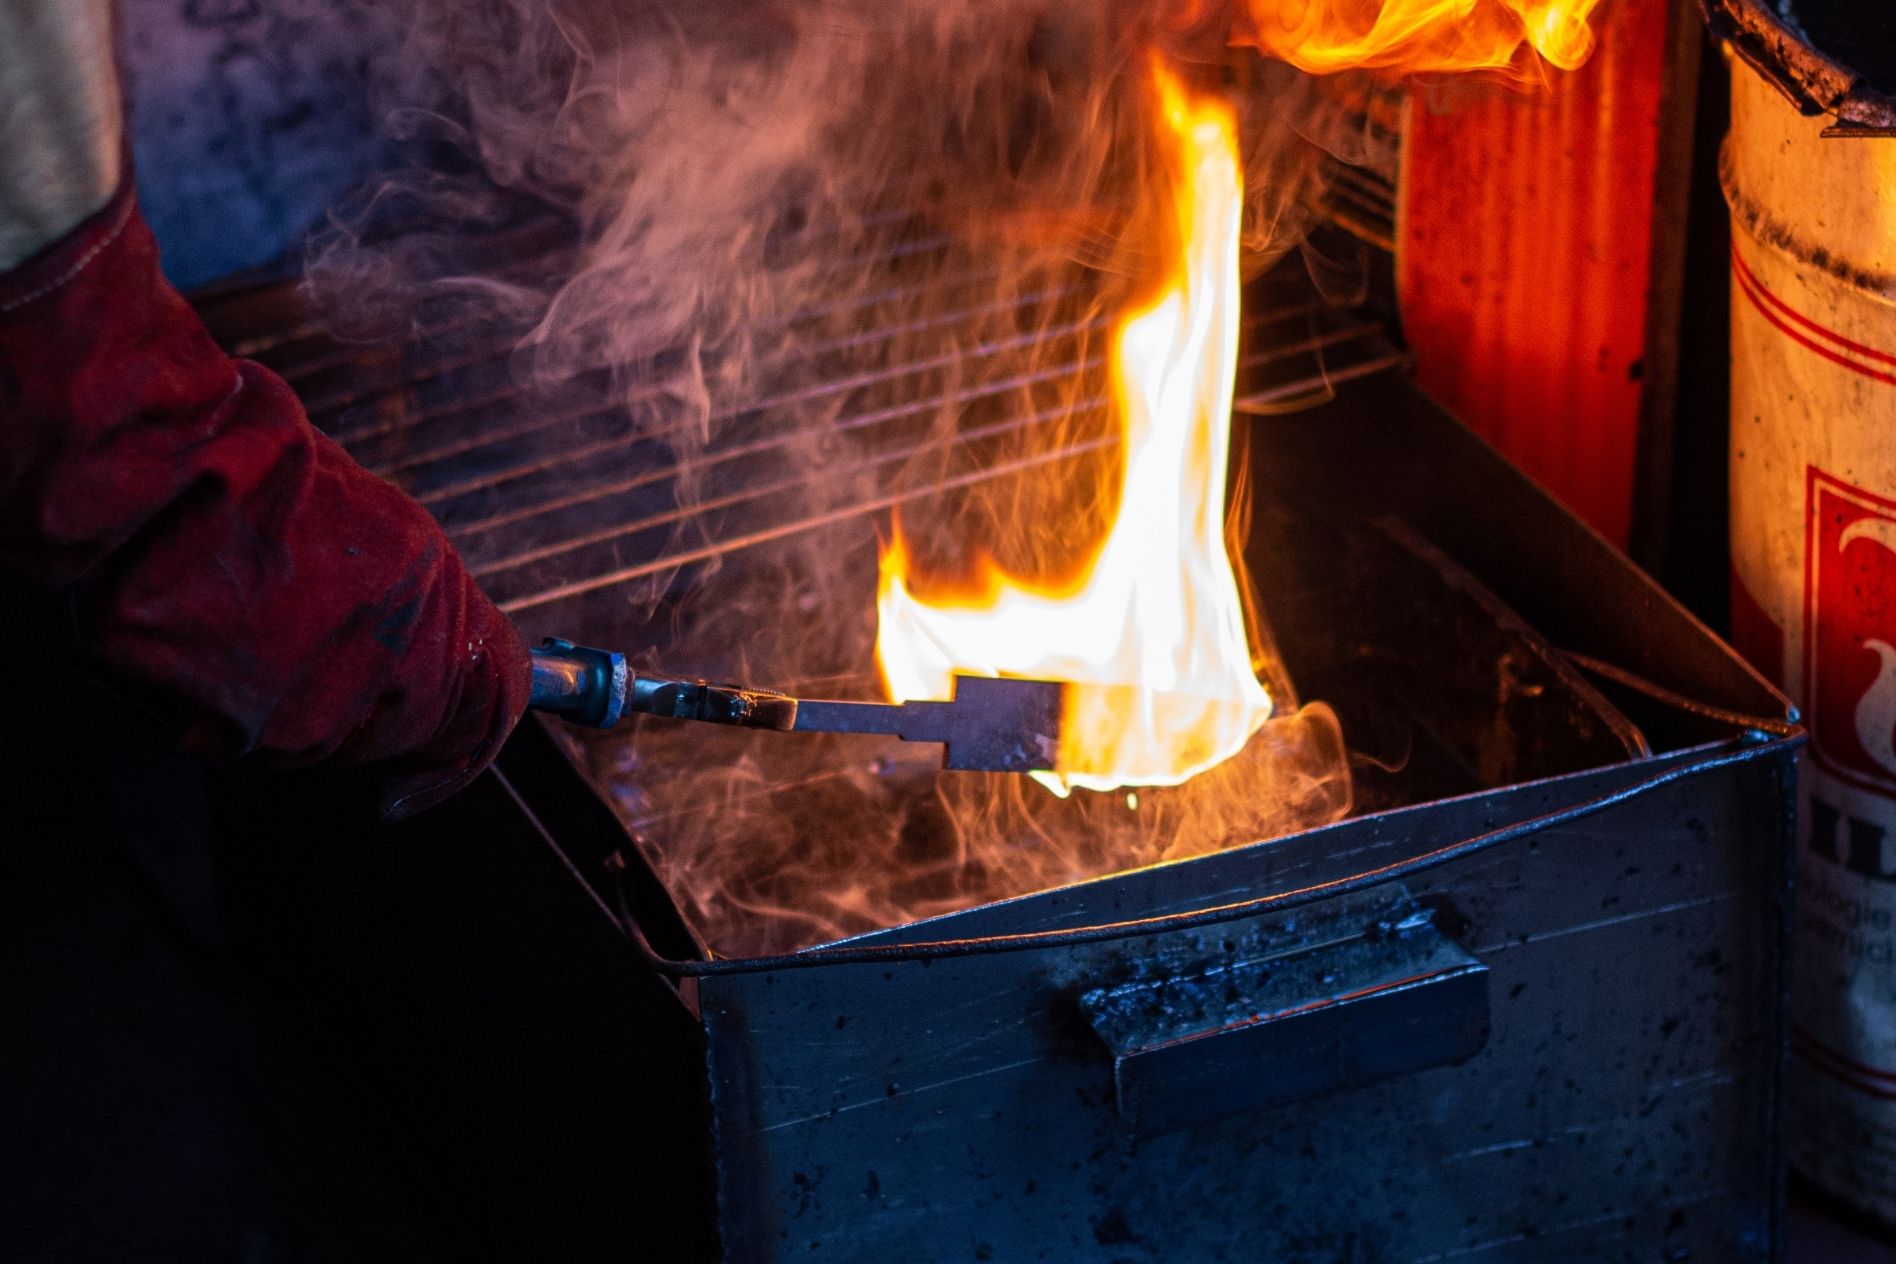 What Will Happen Without Heat Treatment or With Its Errors
Without heat treatment, or if errors occur during the process, even the best knives ever made will lack the desired properties that make it functional, durable, and sharp.
- Without Heat Treatment:
○ Soft and Dull: The blade will be too soft, meaning it won’t hold an edge well and will dull quickly.
○ Poor Durability: It will also lack the strength to withstand heavy use or any kind of impact, leading to premature wear and breakage.
- Errors in Heat Treatment:
○ Overheating: If the steel is heated too much or for too long, it can lose its ability to hold a sharp edge. Overheating also causes excessive grain growth, leading to a weak blade that may break or deform easily.
○ Inconsistent Cooling: Uneven cooling can result in warping, cracking, or uneven hardness across the blade.
○ Improper Tempering: If tempering is not done properly, the blade may remain too brittle (if under-tempered) or too soft (if over-tempered), which compromises both the edge retention and durability of the knife.
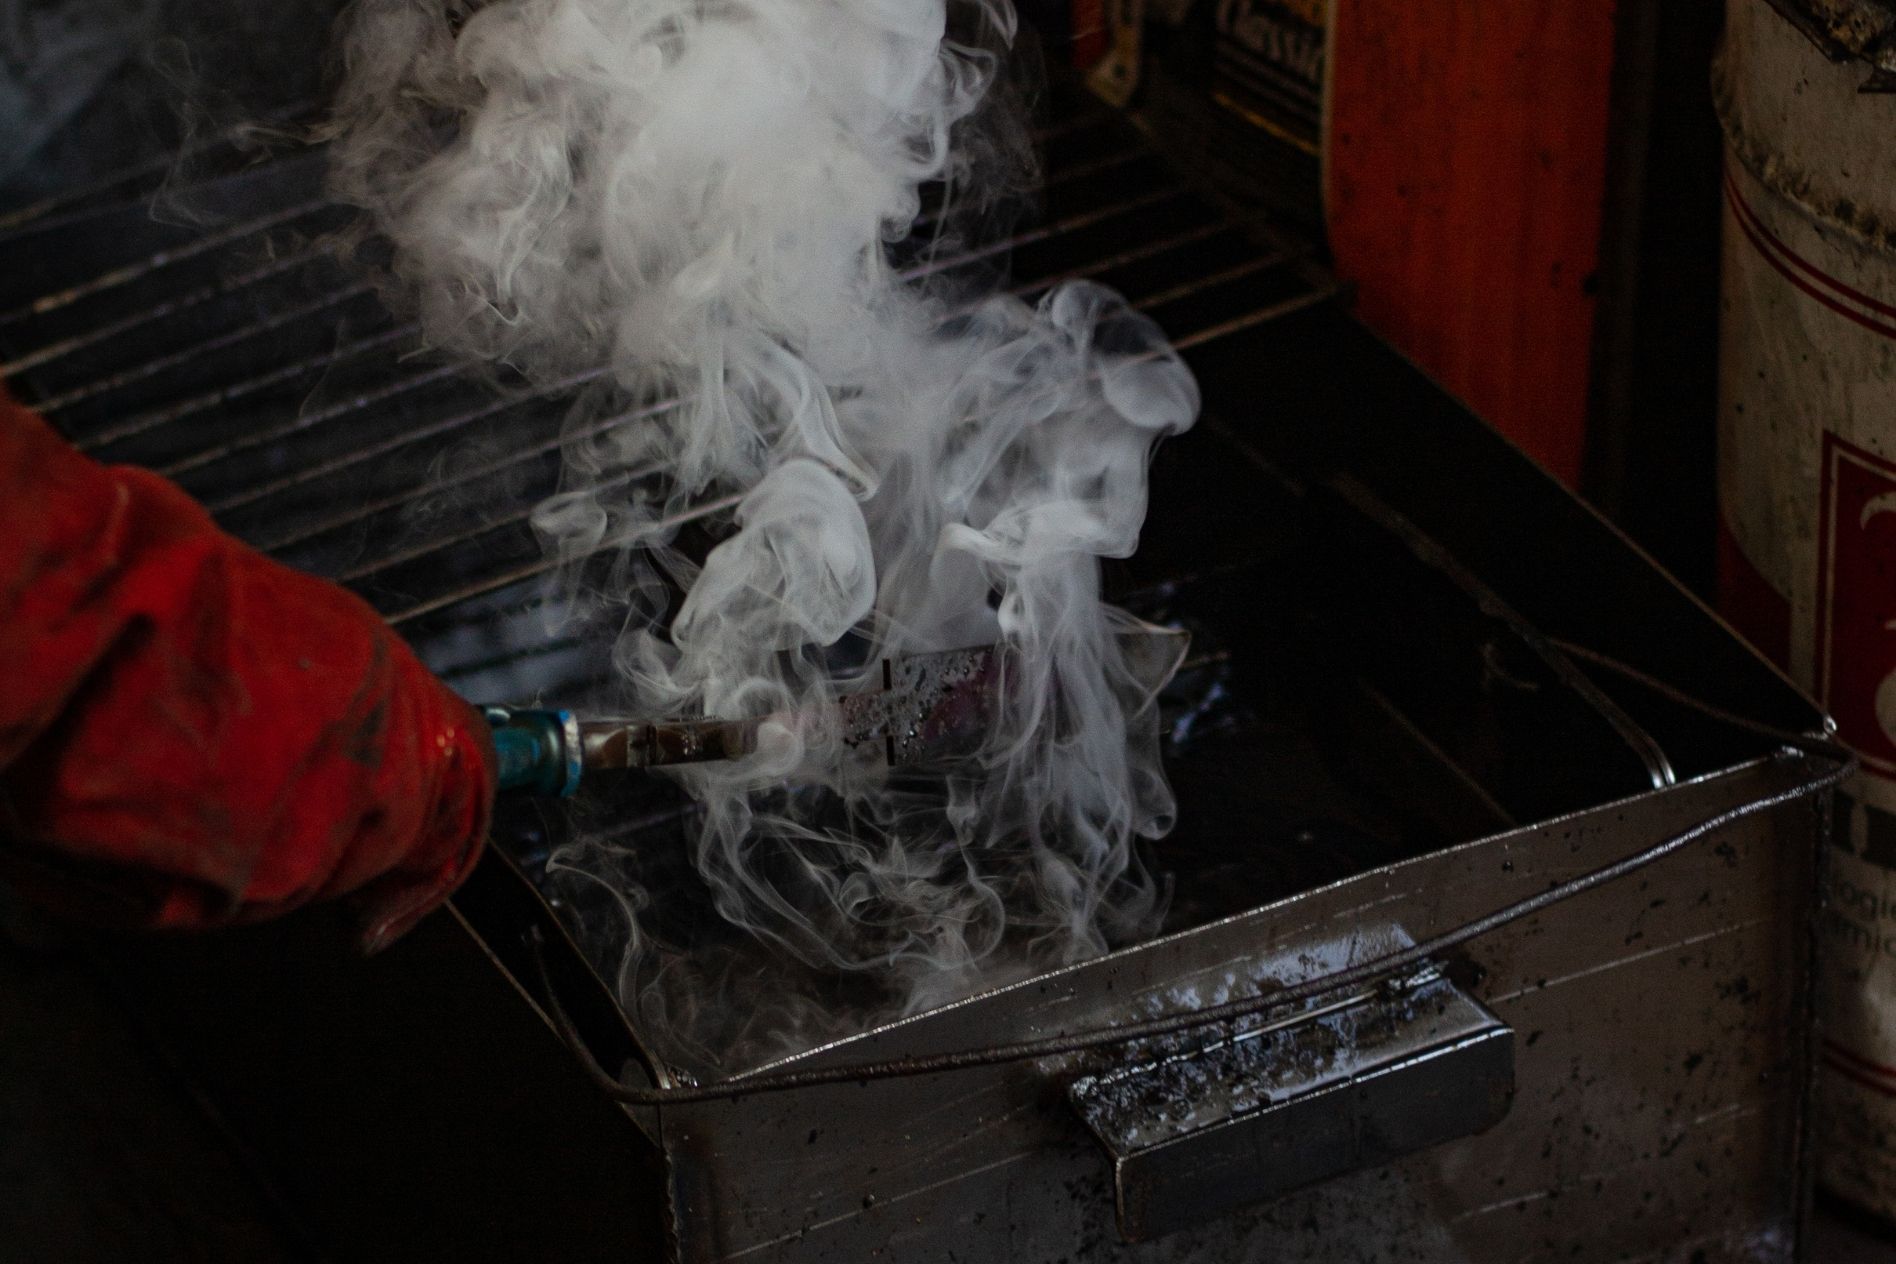 Blade quality control after heat treatment
And finally, the last stage – testing the product.
Hardness Check (HRC), Visual Inspection
One of the primary factors in determining the quality of a blade after heat treatment is its hardness, which directly impacts edge retention and overall strength.
-
Hardness Check (HRC):
The Rockwell Hardness Test (HRC) is commonly used to measure how hard the blade is. After heat treatment, a small indent is made in the steel, and the depth of the indentation is measured to determine the hardness. The ideal hardness will vary depending on the type of steel and the intended use of the knife, but most blades range between 55 and 62 HRC.
○ Too soft: A blade that is too soft won’t hold an edge for long.
○ Too hard: A blade that is too hard can become brittle and prone to cracking or chipping.
-
Visual Inspection:
A visual inspection checks for any obvious defects such as:
○ Cracks or chips: These are serious flaws and can lead to blade failure under stress.
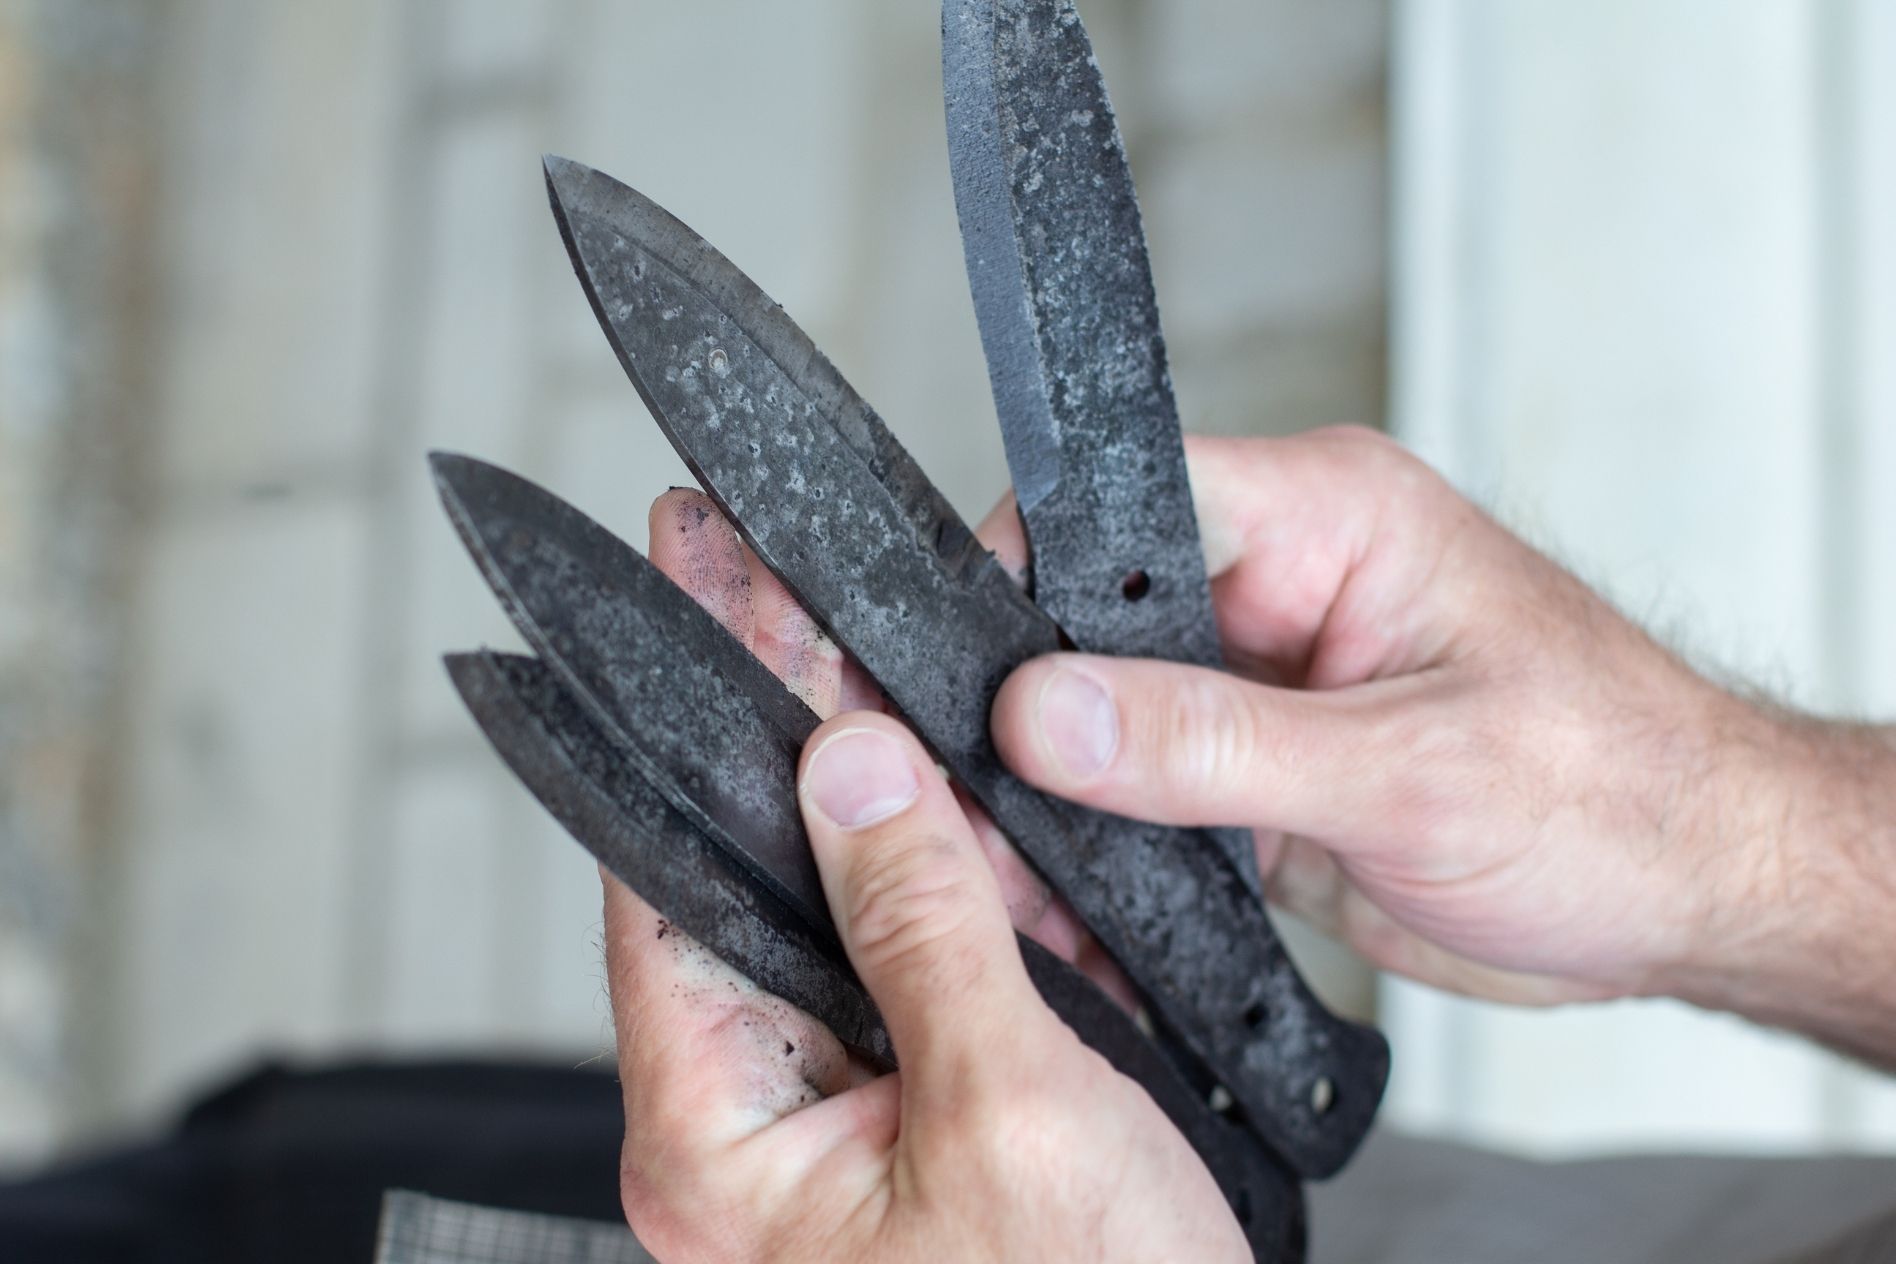
○ Discoloration or scale: Sometimes, a surface layer (called “scale”) forms on the blade during the heat treatment. While some discoloration is normal, excessive scaling can be a sign of overheating or poor cooling.
○ Warping or bending: Any irregularity in the blade shape is checked to ensure the blade is still straight.
Correction of Deformations, Grinding, Preparation for Finishing
After the heat treatment and initial quality checks, the blade may require some correction to address deformations or other issues that arose during the process.
-
Deformation Correction:
During heat treatment, blades can warp, twist, or become uneven due to cooling stresses. These deformities need to be corrected before proceeding to the next steps:
○ Straightening: The blade may be straightened using specialized tools or presses to ensure it is aligned properly.
○ Surface Grinding: Any minor warping or irregularities are corrected by grinding the surface to remove inconsistencies and ensure the blade is smooth and even.
-
Grinding:
The blade may be ground again after heat treatment to achieve the desired thickness, geometry, and smoothness. This grinding removes any surface imperfections from the heat treatment and prepares the blade for its final finishing steps.
-
Preparation for Finishing:
After correction, the blade is ready for the final stages:
○ Polishing: The blade might be polished to give it a smooth, shiny surface, which also helps with corrosion resistance.
○ Edge refinement: The edge of the blade may need additional work to perfect the grind and ensure it is sharp and symmetrical.
Why Many Blades Are “Rejected” at This Stage
Despite the precision and attention to detail during heat treatment, many blades are still “rejected” or discarded during quality control. This is due to several reasons:
- Hardness Outside the Range: If the blade does not meet the required hardness, it will either be too soft (won’t hold an edge) or too hard (brittle and prone to cracking). Both are unacceptable.
- Cracks or Surface Flaws: Even the smallest crack or surface imperfection can be enough to reject a blade. These flaws could compromise the blade’s integrity and lead to failure during use.
- Warping or Distortion: If a blade warps or distorts during heat treatment, it may be difficult or even impossible to correct without compromising the overall shape. A warped blade is not suitable for fine use.
- Improper Cooling or Heating: If the heat treatment process was not performed correctly (e.g., improper temperature or cooling rate), the blade might not have the right microstructure, leading to subpar performance.
- Inconsistent Properties: Sometimes, even if the blade passes hardness tests, other areas of the blade (like the tang or spine) may show inconsistencies in hardness, which can lead to problems down the line.
In high-end knife manufacturing, quality control is strict, and even minor imperfections are often grounds for rejection. The goal is to ensure that every blade meets the highest standards before moving on to the final finishing and assembly stages.
Conclusion
And this is how knives are made! Forging a good blade has always been, and still is, a great art. It requires in-depth knowledge of metallurgy and blacksmithing, a well-equipped forge, an anvil, and a fully stocked workshop. And why not? Why not learn this craft and start working in this direction? Perhaps you’re the one who will challenge the knifemakers like Ray Laconico and Chris Reeve, and your knives will make waves around the world! Everyone will gasp and ask, “Who made knives of such beauty?!”. But if not – no worries. You can always craft knives for yourself and your friends; it could become an enjoyable and rewarding hobby. With that, allow us to take my leave. Until we meet again, in thrilling new encounters ofcourse!