

Let’s say you are stranded in the wilderness! Tropics, forest, taiga or some desert island! What would you do?
Introduction to Survival Using Natural Resources
At first glance, it looks like starting a DnD game in a cosy home environment with your friends, but life often throws up worse plots! You should be able to survive in any situation, even if you don’t plan to leave the comfortable city conditions, everything can happen. It is better to be able and not need, than to need but not know how, as they say! And any survival starts with finding resources.
Water Sources and Purification
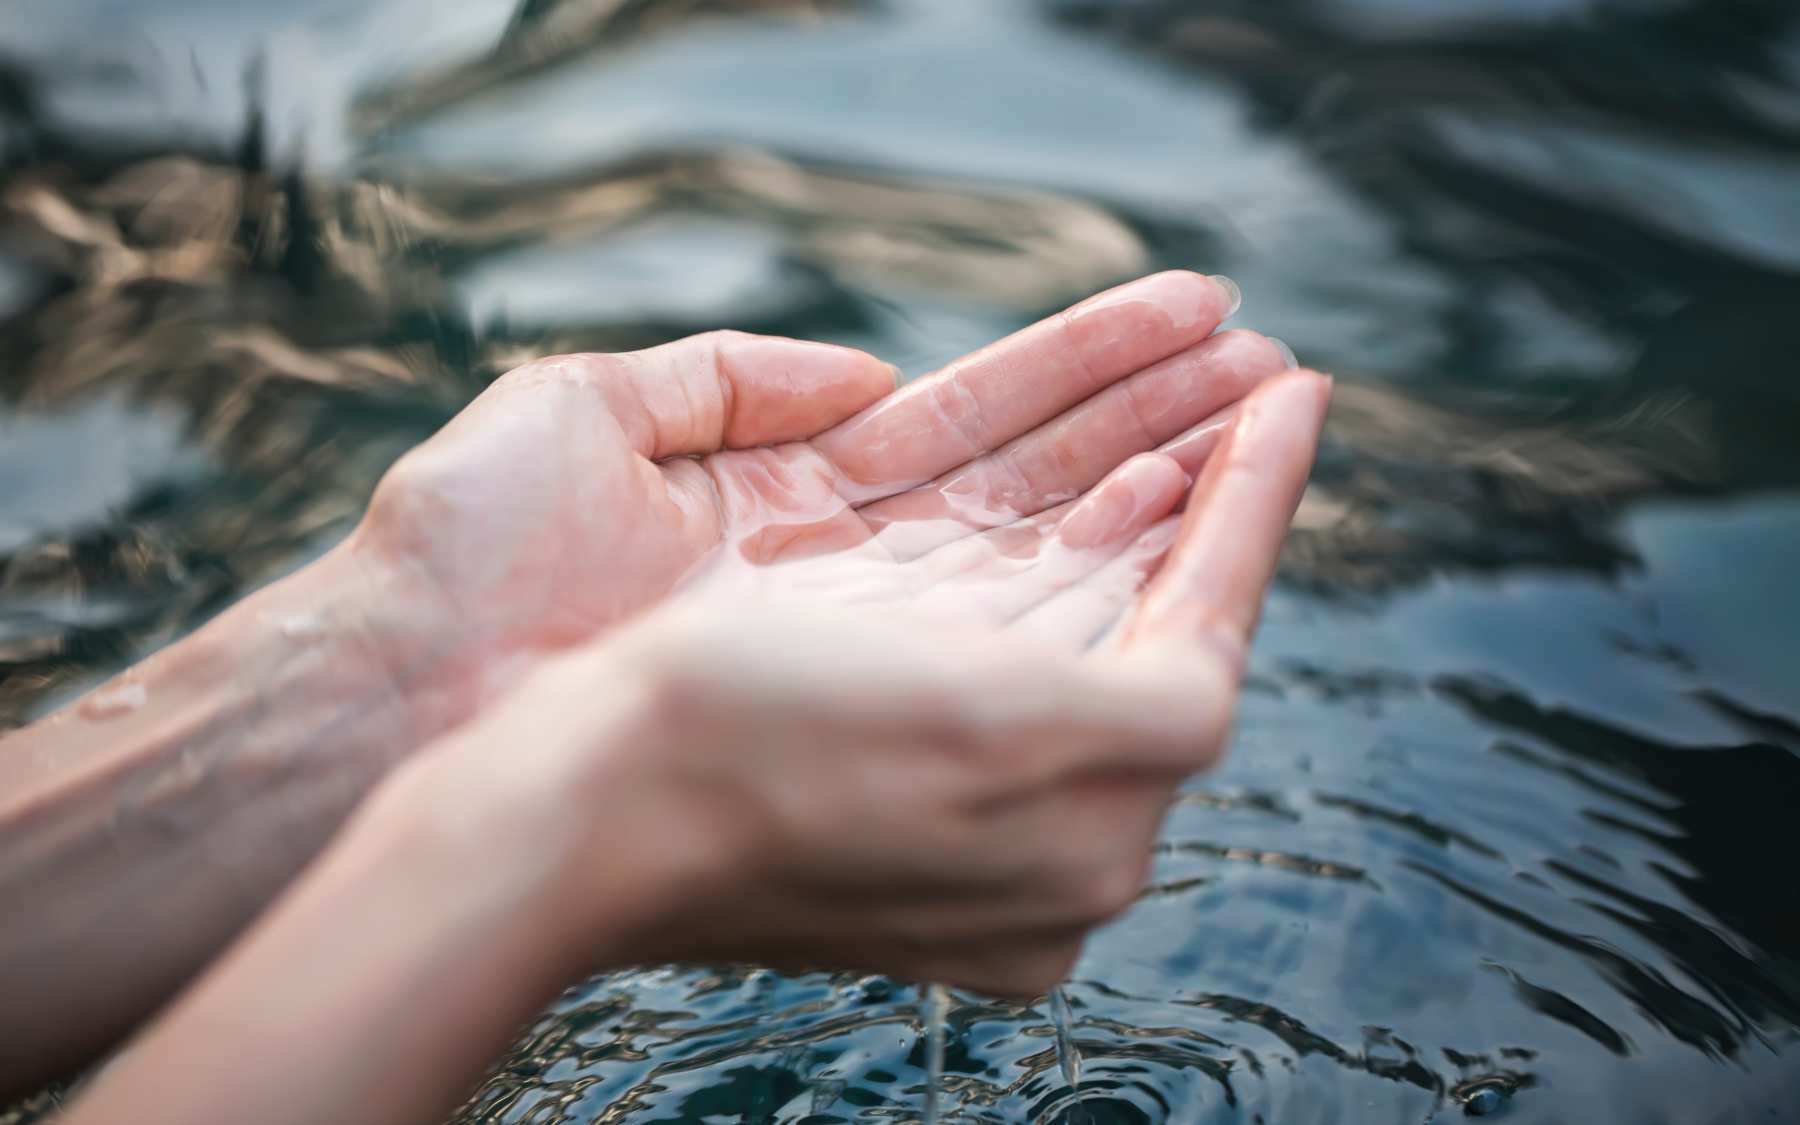
The first thing you will look for is water! While you can last 7 or even 10 days without food, you won’t survive more than 4 days without water. So, how to find water in the wild.
Finding Water in the Wild
Look for Natural Sources:
- Streams and Rivers: Follow the flow of water downhill to find a stream or river.
- Lakes and Ponds: Look for these bodies of water, but be cautious of their quality; always purify water before drinking.
- Vegetation: Dense, green vegetation often indicates a water source nearby. Look for areas with lush plant life or trees.
Collect Rainwater:
- Containers: Use any available container to catch rainwater.
- Tarp or Cloth: Stretch a tarp or cloth between trees or other structures to funnel rainwater into a container.
Use Solar Still:
- Setup: Dig a hole in the ground, place a container at the bottom, and cover the hole with a plastic sheet or tarp. Place a small rock in the center to create a low point where condensed water will drip into the container.
- Effectiveness: This method uses solar energy to evaporate and then condense moisture from the ground and plants.
Look for Dew:
- Morning Dew: Early in the morning, use a cloth to wipe dew off plants and then wring it out into a container.
Harvest from Plants:
- Cacti: In arid regions, some cacti like the prickly pear store water inside their pads. Cut and squeeze the pads to get the liquid, but be cautious of spines.
- Tree Bark: In some trees, like maples or birches, you can tap the trunk to collect sap, which can be consumed after boiling.
Dig for Water:
- Dry Riverbeds: Digging in dry riverbeds might yield water just below the surface.
- Soil Moisture: Dig in areas where the soil is moist or where you see signs of groundwater.
Follow Animal Trails:
- Tracks: Animals need water too, so following their tracks or trails might lead you to a water source.
Avoid water from stagnant ponds, pools, or areas near dead animals that can be contaminated. Always purify any water obtained from natural sources to avoid waterborne illnesses. Each environment will have different water sources and challenges, so adjust your methods based on the specific conditions you encounter.
Methods of Purifying Water
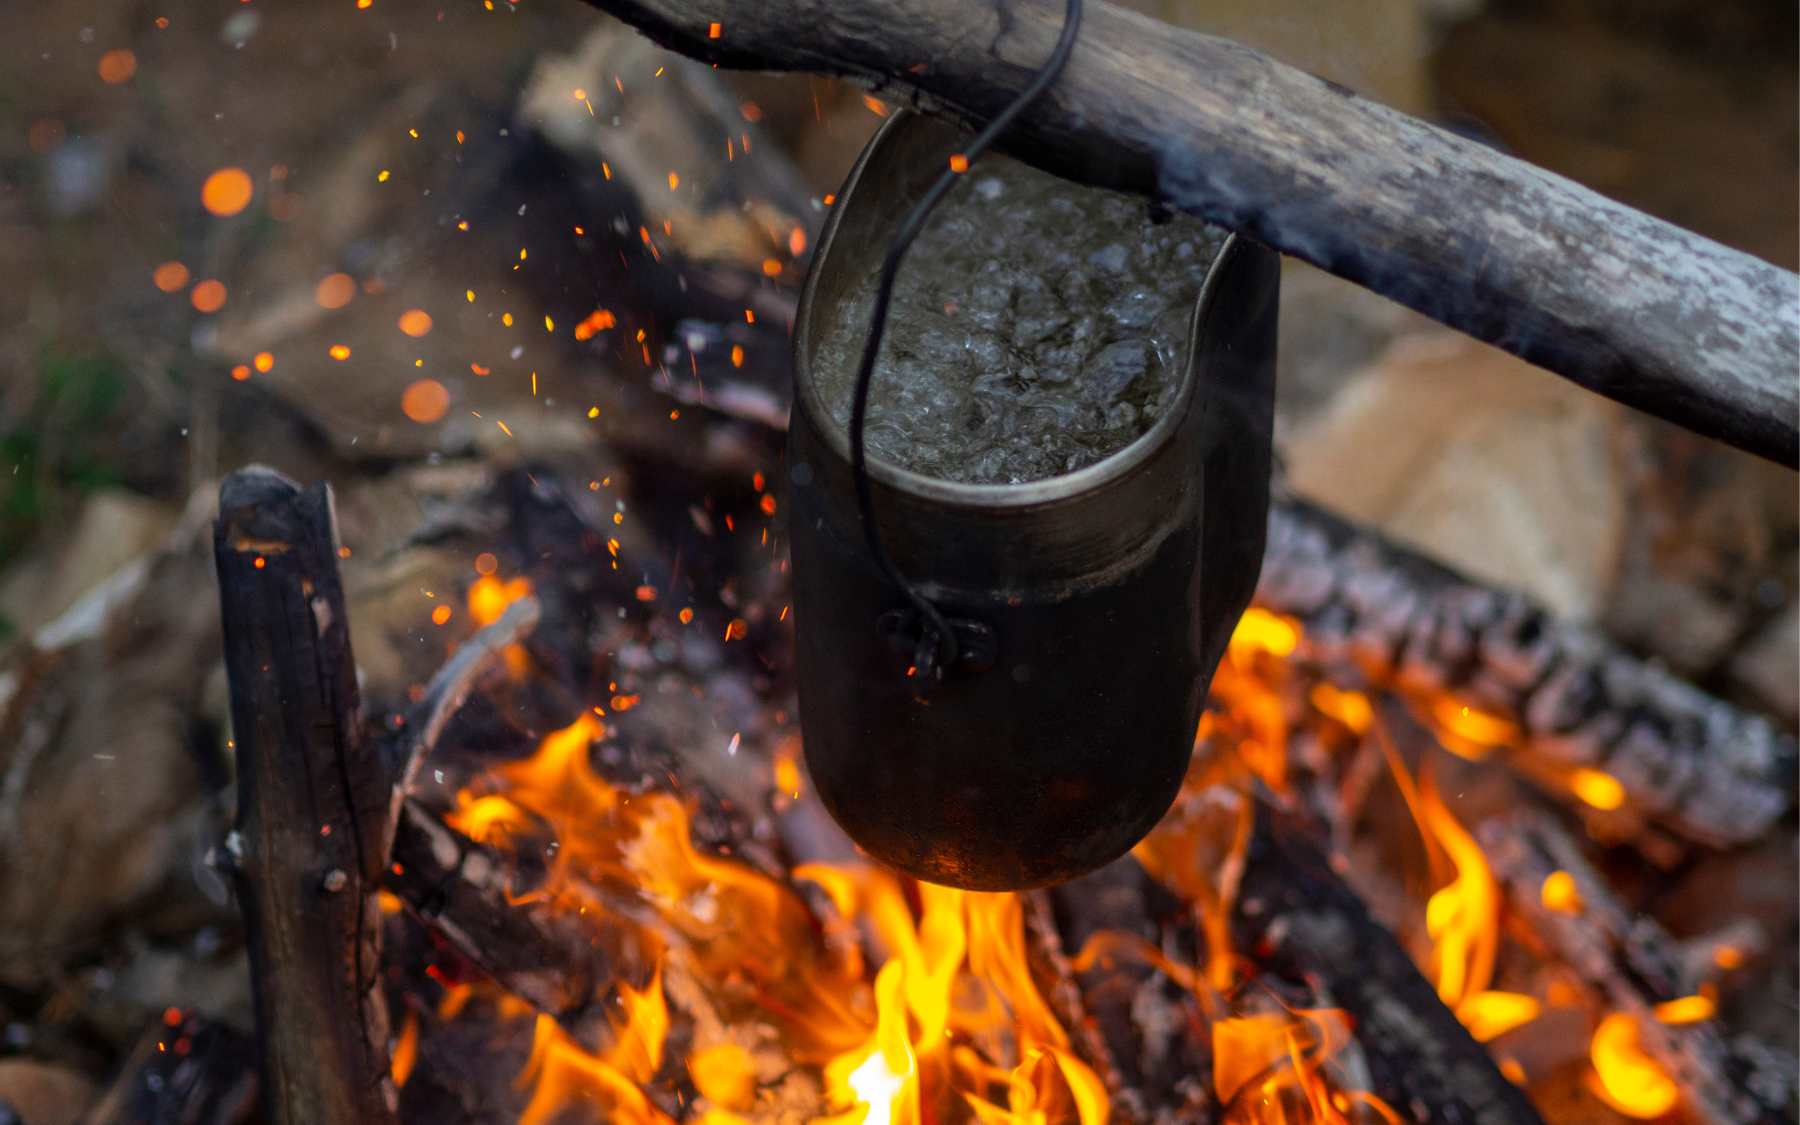
But don’t drink this water right away! First, it must be purified. Process of purifying water:
Boiling
- How It Works: Heating water to its boiling point (100°C or 212°F) kills most bacteria, viruses, and parasites.
- Pros: Simple and effective for microbial contaminants.
- Cons: Doesn’t remove chemical contaminants or impurities; energy-intensive.
Filtration
- Activated Carbon Filters: Remove chlorine, volatile organic compounds (VOCs), and some heavy metals.
- Ceramic Filters: Physically remove bacteria and protozoa.
- Reverse Osmosis (RO): Removes a broad range of contaminants including dissolved salts, heavy metals, and microorganisms.
- Pros: Can target specific contaminants; often improves taste.
- Cons: Filters need regular replacement; may not remove all contaminants.
Distillation
- How It Works: Water is boiled, and the steam is condensed back into liquid, leaving contaminants behind.
- Pros: Effective at removing a wide range of contaminants including salts, heavy metals, and microorganisms.
- Cons: Slow process and requires energy; doesn’t remove some volatile chemicals.
UV Radiation
- How It Works: Ultraviolet light is used to kill microorganisms by damaging their DNA.
- Pros: Effective against bacteria, viruses, and protozoa.
- Cons: Doesn’t remove chemical contaminants or sediments; requires electricity.
Chemical Disinfection
- Chlorination: Adding chlorine or chlorine compounds to kill microorganisms.
- Iodine: Used in tablet or tincture form, often for emergency or field use.
- Pros: Effective against a wide range of microorganisms; relatively inexpensive.
- Cons: May leave an aftertaste; not effective against some parasites; overuse can lead to harmful by-products.
Solar Water Disinfection (SODIS)
- How It Works: Uses solar energy to heat water in transparent containers, which can kill microorganisms.
- Pros: Simple and low-cost; effective in sunny conditions.
- Cons: Slow and depends on sunlight; may not be practical in cloudy regions.
Electrochemical Disinfection
- How It Works: Uses electrical currents to produce disinfectants like chlorine or ozone.
- Pros: Can be highly effective against a wide range of pathogens.
- Cons: Requires electricity and specialized equipment.
Ion Exchange
- How It Works: Exchanges undesirable ions in the water with more acceptable ones using resin beads.
- Pros: Effective for removing hardness (calcium and magnesium) and some heavy metals.
- Cons: Not effective against microorganisms; resins need regular regeneration or replacement.
Ozonation
- How It Works: Ozone gas is used to disinfect and oxidize contaminants.
- Pros: Effective against microorganisms and some chemical contaminants.
- Cons: Requires ozone generation equipment; can be expensive.
Each method has its own set of advantages and limitations, and the best choice often depends on the specific quality of the water and the contaminants present. Sometimes, a combination of methods is used to ensure comprehensive purification.
Food Sources from Nature
Quenched your thirst? That’s great! But you can’t go far without food! What about food and how do we get it?
Edible Plants and Berries
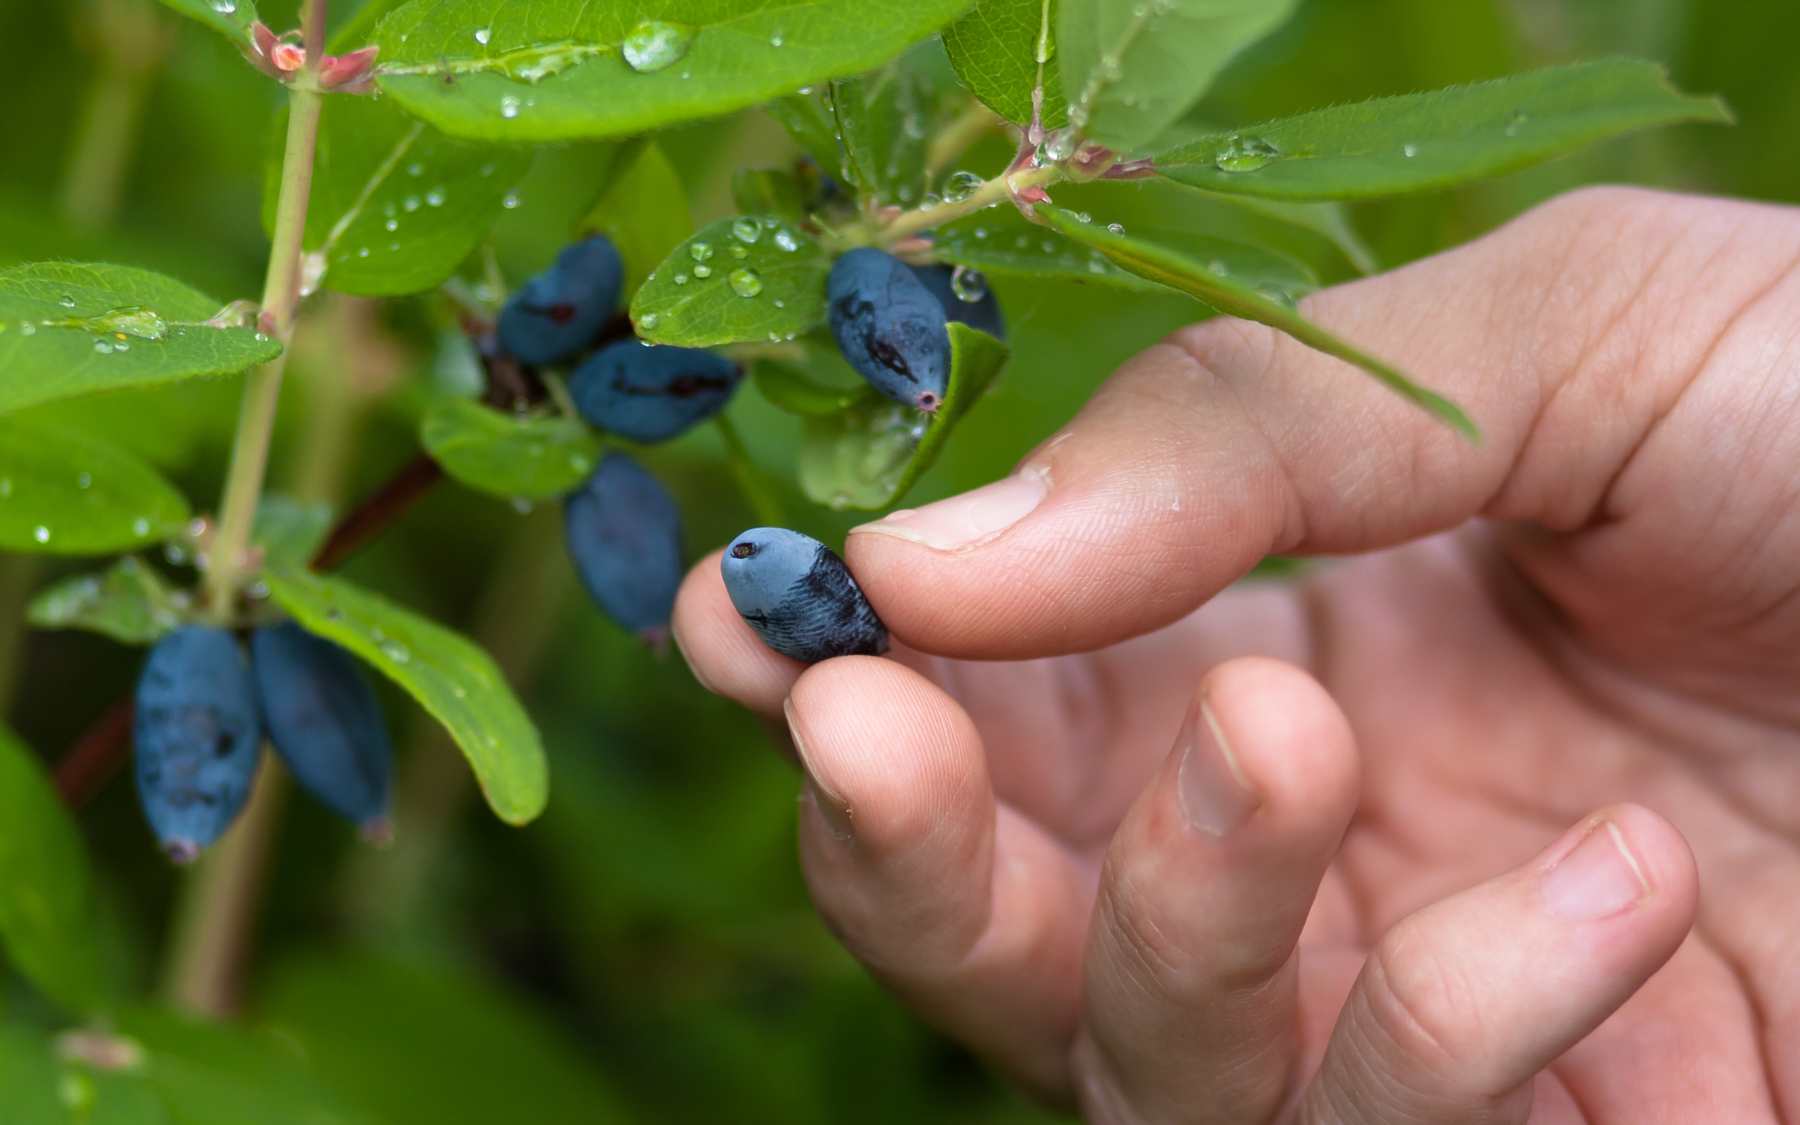
Gathering is one of the oldest forms of human economic activity, which consists in gathering natural resources suitable for food: wild edible roots, fruits, berries, honey, as well as mollusks, insects and others. As a basis was preserved up to the middle of XX century in some Indian tribes of tropical regions of South America and a small part of Australian aborigines. And you are no worse than they are!
Appearance:
- Leaves: Edible plants typically have recognizable leaves with specific shapes, colors, and textures. For example, spinach leaves are smooth and vibrant green.
Smell:
- Edible plants often have a pleasant smell. For example, fresh herbs like basil or cilantro have distinctive, appealing aromas.
Texture:
- Edible plants usually have a texture that is pleasant to the touch or taste. For instance, edible greens should be tender or crisp, not rough or spiky.
Flowers and Fruits:
- Edible plants might produce recognizable flowers or fruits. For example, squash blossoms are edible and are easily identifiable by their bright yellow-orange color.
Habitat:
- Edible plants often grow in certain environments, such as gardens or cultivated fields. If you find a plant in an unfamiliar area, make sure it’s not a toxic species that might look similar to edible ones.
Cultural and Traditional Use:
- Knowledge from local traditions and culinary practices can help identify edible plants. Plants commonly used in local cuisine are more likely to be safe to eat.
Consult Specialized Resources:
- Books on botany, foraging guides, and apps for plant identification can be very useful for confirming whether a plant is edible.
To avoid inadvertent poisoning, carefully study the following:
Signs of Poisonous Plants:
- Bright or Unusual Colors: Many poisonous plants have bright, eye-catching colors like red, yellow, or purple to warn potential consumers of their toxicity. Examples include belladonna and the red berries of the pokeweed.
- Distinctive Smell: Some poisonous plants emit unpleasant or unusual odors. For instance, the smell of the poison hemlock can be quite distinctive and off-putting.
- Unusual Shapes: The leaves or fruits of poisonous plants may have unusual shapes or forms that set them apart from non-toxic plants.
- Abnormal Growth: Poisonous plants might show signs of wilting or abnormal growth as they use toxins as a defense mechanism against herbivores or environmental stress.
- Dangerous Fruits and Seeds: The fruits and seeds of poisonous plants can look appealing but be hazardous. Examples include the berries of the deadly nightshade (belladonna) or the seeds of the castor bean plant.
Hunting and Fishing Basics
It is certainly more difficult than collecting, but you can still dare! If you have a firearm or have made a good bow, you are lucky. Hunting season is open to you!
In the wilderness, animals are usually not afraid and are not familiar with firearms and humans. This greatly increases your chances, try to move quietly, stealthily, do not hurry, aim for sure! Because an animal not killed by the first shot can run away from you for a long time, leaving you without dinner. In addition, remember that animals have a well-developed sense of smell, they can smell your scent if you get too close, it is important to keep a medium distance and approach the prey from the side in which the wind blows! The ideal place to ambush an animal is at a watering hole, where the animal is most vulnerable.
If the animal was wounded and ran away from you, do not despair, follow the traces of blood that it leaves on the ground and trees, carefully examine the ground/grass, etc. where your prey could have left traces. Remember that such animals as wild boar, bear, moose become very dangerous if they are wounded, so try not to mess with such prey without extreme necessity, it is unlikely that you will like the prospect of becoming a broken decoration on the horns of a moose.
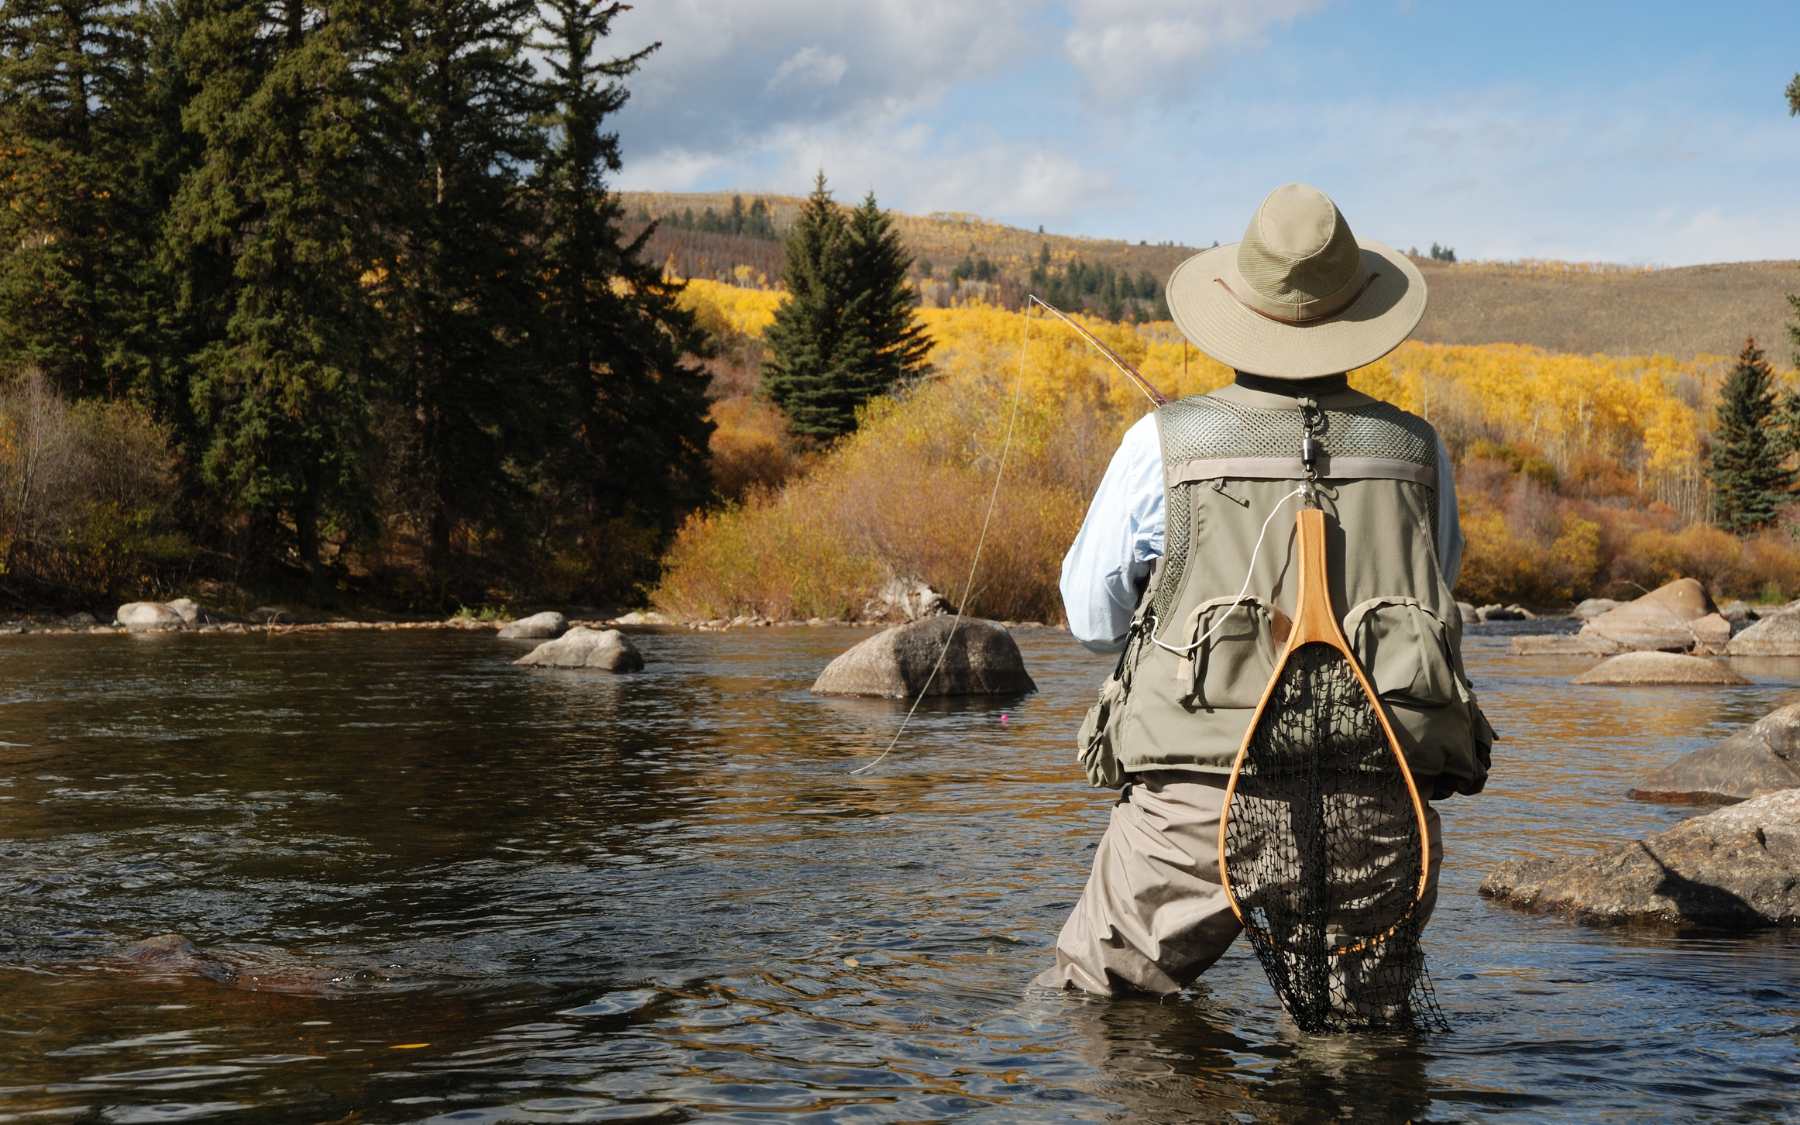
And then there is fishing, which is safer and easier!
Materials Needed:
- Stick or Branch: A sturdy, flexible stick about 4-6 feet long. It should be strong enough to handle the weight of a fish.
- Line: Natural fibers (like sinew, plant fibers, or vines) or improvised materials (like string or even the inner strands of a rope).
- Hook: A sharp object like a small thorn, a piece of metal bent into shape, or a safety pin.
- Bait: Small insects, worms, or other natural bait found in your environment.
Steps to Make a Basic Fishing Rod:
Find and Prepare the Stick:
- Look for a straight, flexible stick that’s roughly 4-6 feet long. Ideally, it should be slightly tapered and free of knots.
- Carve it with a knife or sharp rock to make it smoother and remove any branches or rough spots.
Create the Fishing Line:
- If you have natural fibers like plant stems, vines, or tree bark, strip them down and twist or braid them together to make a strong, flexible line.
- Alternatively, use any available string or cordage.
Attach the Fishing Line:
- Tie one end of the line to the tip of the stick. Ensure the knot is secure and that the line is long enough to reach the water.
Make the Hook:
- If you have metal scraps, you can bend them into a hook shape. For example, a small piece of wire can be twisted into a hook.
- If no metal is available, use a sharp thorn or a carved piece of wood.
- Sharpen the end of your hook if necessary.
Attach the Hook to the Line:
- Tie the hook securely to the end of your fishing line. You might need to use a strong knot to ensure it doesn’t come loose.
Prepare the Bait:
- Attach the bait to the hook. Use whatever you have on hand, like worms or insects.
Fishing:
- Find a good spot to fish, ideally where fish are likely to be. Cast your line into the water and wait patiently.
Tips for Success:
- Flexibility: Make sure the stick has some flexibility but is still strong enough to handle the tension of a fish.
- Line Strength: If you’re using natural fibers, test the strength before casting. It should be able to handle the weight of the fish you’re targeting.
- Hook Design: Ensure the hook has a good curve to hold the bait and catch the fish effectively.
In a survival situation, improvisation is key. Adapt these steps based on the materials you have available and the environment you’re in. You don’t have to worry about your hunting licence or fishing licence, no one will ask you for it in the wilderness area.
Avoiding Poisonous Animals
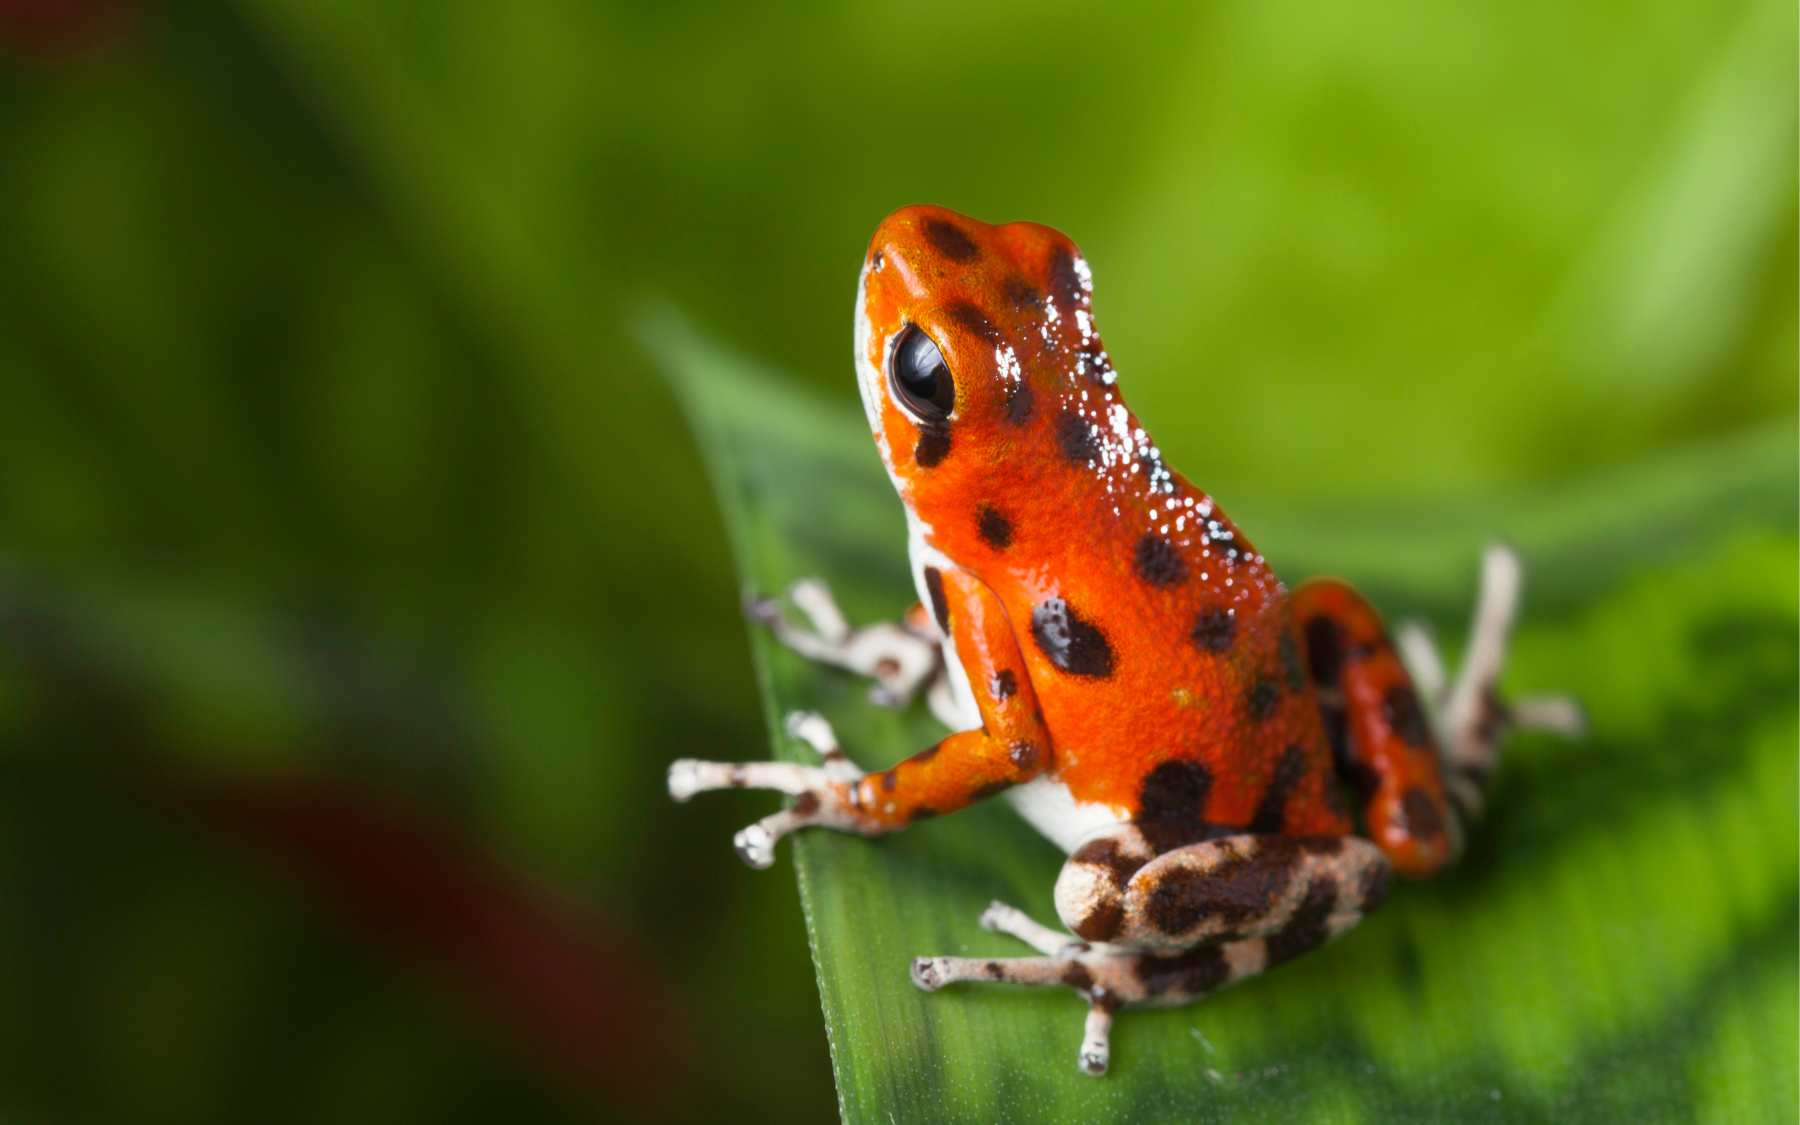
Learn how to distinguish between poisonous animals and those that are safe to eat! It’s not that hard:
Signs of Poisonous Animals:
- Bright Colors: Many poisonous animals have bright or contrasting colors to warn predators of their toxicity. Examples include poison dart frogs and some venomous snakes.
- Special Features: Poisonous animals often have unique anatomical features like spines, needles, or venom glands. For example, certain spiders like the black widow have specialized venomous fangs.
- Specific Behavior: Poisonous animals might exhibit aggressive or defensive behavior as a warning. For instance, some snakes may hiss or spread their tails to appear more threatening.
- Dangerous Body Parts: Poisonous animals may have special structures for delivering venom, such as fangs in snakes or stingers in bees and wasps.
- Environmental Clues: You might notice environmental signs around poisonous animals, such as dead insects, which can indicate their toxicity.
Conclusion
Ultimately, survival is about balance — between using resources wisely and respecting nature’s boundaries. Developing these skills not only enhances personal resilience but also fosters a deeper connection with the environment, encouraging responsible stewardship of our planet’s resources. Whether in a survival situation or simply exploring the great outdoors, the ability to procure and utilize natural resources wisely is an empowerment, transforming potential adversity into harmonious coexistence with nature.