

Part 1 covered essential water and food sources in a survival situation. Now, in Part 2, we’ll tackle equally crucial aspects: building a protective shelter, mastering firecraft using only natural resources, and crafting essential tools and weapons from the wild. These skills are vital for increasing your chances of survival and rescue.
Building Shelter from Natural Materials
We have water and food, perfect! Now we need to think about shelter and lodging.
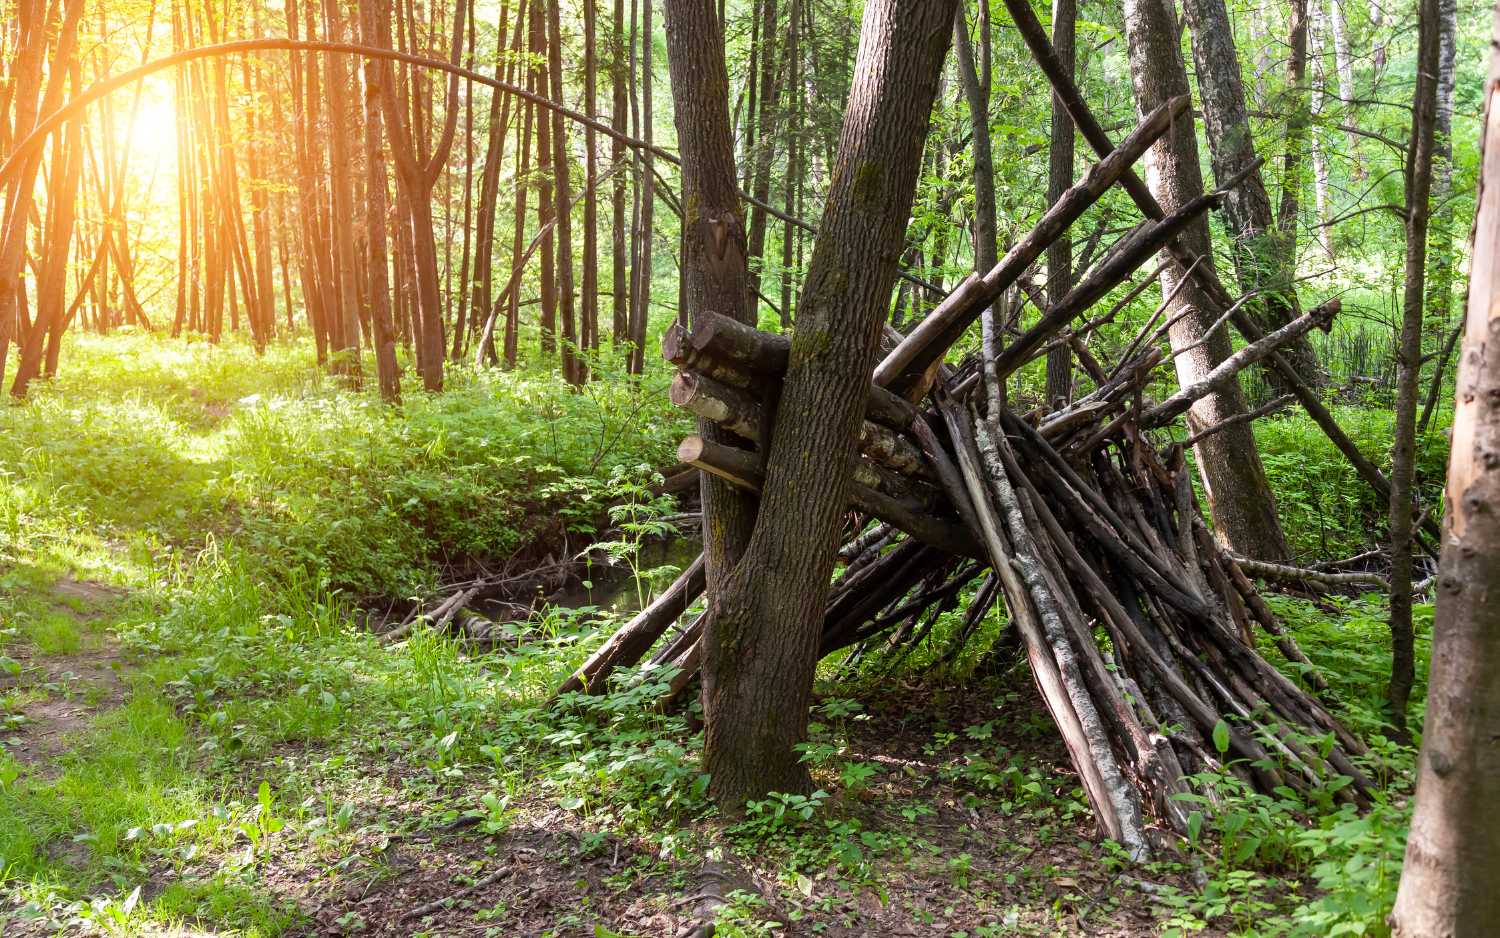
Finding the Right Location
You don’t want to put your shelter anywhere! Look for a flat or gently sloping area that will help with drainage and stability. Avoid low-lying areas where water might collect. Position your shelter in a location that is naturally shielded from prevailing winds. This could be near a hill or under a stand of trees, building shelter in the woods.
Consider the shelter’s orientation for solar gain. In colder climates, a south-facing location can help with passive solar heating. In warmer climates, you might want to avoid too much direct sunlight.
Ensure you are close to natural resources like water and materials for building, but not so close that you risk flooding or damage. Avoid building near potential hazards such as loose rock, overhanging branches, or unstable ground.
Types of Natural Shelters
Natural shelters are fascinating and diverse, offering protection and refuge through the natural environment. Here are some common types:
- Caves: Formed by geological processes such as erosion and volcanic activity, caves provide protection from weather and predators. They often have stable temperatures and can be found in various landscapes.
- Rock Overhangs: These are formations where a rock ledge extends out over an area below, creating a sheltered space. They’re typically found in mountainous or rocky regions.
- Tree Canopies: The dense foliage of trees can create a protective cover from rain and sun. In dense forests, the canopy provides shelter and a habitat for many animals.
- Hollows and Burrows: Various animals dig burrows in the ground for protection. These can be simple holes or complex networks of tunnels. Some plants also have hollow stems that provide shelter.
- Cliffs and Rock Faces: Natural rock faces can offer shelter, especially if they have crevices or ledges where animals can take refuge.
- Snow Shelters: In snowy environments, snow can be used to create shelters. Snow caves or igloos, for instance, are constructed from packed snow and provide insulation from extreme cold.
- Beaches and Sand Dunes: Sand dunes can act as natural barriers against the wind and waves, providing a sheltered area behind them. Some animals, like sea turtles, use sand for nesting.
- Mangroves and Marshes: These coastal ecosystems offer shelter and protection from storms. Their complex root systems and dense vegetation create safe havens for many species.
- Bushes and Shrubs: Dense bushes and shrubs can provide cover from predators and the elements. They often serve as hiding spots for smaller animals.
Making Fire with Natural Resources
Fire, like water, is one of the most important sources of life on earth! It keeps you warm on cold nights and gives you the opportunity to cook! So you should building a shelter with fireplace.

Gathering Suitable Tinder and Kindling
Tinder
Tinder is the material that catches the initial spark and starts the fire. It should be highly flammable and able to catch a spark easily. Examples of good tinder include:
- Dry leaves and grass: Collect small, dry leaves or grass. They should be crispy and easily broken apart.
- Bark: Shredded bark from certain trees, like birch, can work well.
- Pine needles: They’re resinous and light, making them great for catching a spark.
- Paper: If you’re in a pinch, paper can be a useful substitute.
- Cotton balls: Especially if you coat them with a bit of petroleum jelly, they can catch fire quickly.
Kindling
Kindling is slightly larger than tinder but still small enough to catch fire from the tinder. It helps to build the fire and gradually prepare for the larger logs. Examples of good kindling include:
- Small twigs: Collect sticks that are about the diameter of a pencil.
- Dry branches: Look for branches that are small and dry, which will catch fire easily.
- Wood shavings or small splits: If you have access to a knife or axe, you can create small wood shavings or split some wood into thin strips.
- Birch bark: If you have it, birch bark can serve both as tinder and kindling due to its flammability.
Tips for Gathering and Using Tinder and Kindling
- Dryness is Key: Ensure all materials are dry. Wet tinder and kindling will be much harder to ignite.
- Preparation: Prepare your tinder and kindling before starting your fire. Have them ready and sorted.
- Build a Structure: Arrange your tinder in a small pile, then place your kindling on top in a crisscross or teepee structure to allow airflow.
- Ignition: Light the tinder with a match, lighter, or fire starter. Once the tinder is burning, it will ignite the kindling.
With the right materials and preparation, you’ll have a successful fire-starting experience!
Fire-Starting Techniques without Modern Tools
Bow Drill Method

Materials Needed
A fireboard (softwood)
- A spindle (hardwood)
- A bow (a flexible piece of wood)
- A hearth board (a base for the fireboard)
- A fire set (a small piece of bark or wood to catch the ember)
- A handhold (a piece of wood or a rock to press down on the spindle)
Steps
Prepare the Fireboard and Spindle:
- Carve a small notch in the fireboard. The notch should be about 1/4 inch deep.
- Make a small depression at the edge of the notch.
Prepare the Bow:
- Use a flexible piece of wood to create a bow. Attach a cord or string to both ends.
Assemble the Bow Drill:
- Wrap the spindle with the cord from the bow.
- Place one end of the spindle in the depression on the fireboard.
- Hold the spindle in place with the handhold.
Create Friction:
- Move the bow back and forth to spin the spindle.
- Apply downward pressure with the handhold.
- As friction heats up the wood, it will produce an ember.
Transfer the Ember:
- Carefully transfer the ember to a tinder bundle.
- Gently blow on the ember to ignite the tinder.
Fire Plough Method

Materials Needed
A fireboard (softwood)
A plough (a hard, straight stick)
Steps
Prepare the Fireboard:
- Carve a groove into the fireboard.
Use the Plough:
- Place the plough stick in the groove.
- Push the plough back and forth, creating friction and heat.
Create an Ember:
- As friction creates an ember, transfer it to a tinder bundle and blow gently to start a fire.
Hand Drill Method

Materials Needed
- A fireboard (softwood)
- A spindle (hardwood)
Steps
Prepare the Fireboard:
- Carve a small notch and a depression at the edge.
Prepare the Spindle:
- Make sure it’s straight and about the thickness of your thumb.
Create Friction:
- Place one end of the spindle in the depression on the fireboard.
- Roll the spindle between your palms while pressing downwards.
Create an Ember:
- The friction will create heat and eventually an ember.
- Transfer the ember to a tinder bundle and blow gently to start a fire.
Flint and Steel Method

Materials Needed
- Flint or quartz rock
- Steel (such as a piece of iron or steel striker)
- Tinder (such as char cloth)
Steps
Prepare the Tinder:
- Have char cloth or another fine, dry material ready to catch sparks.
Strike the Flint:
- Hold the steel striker against the flint.
- Strike the flint with the steel to create sparks.
Catch the Spark:
- Direct the sparks onto the tinder.
- Gently blow on the tinder to help it ignite.
Fire by Focusing Sunlight
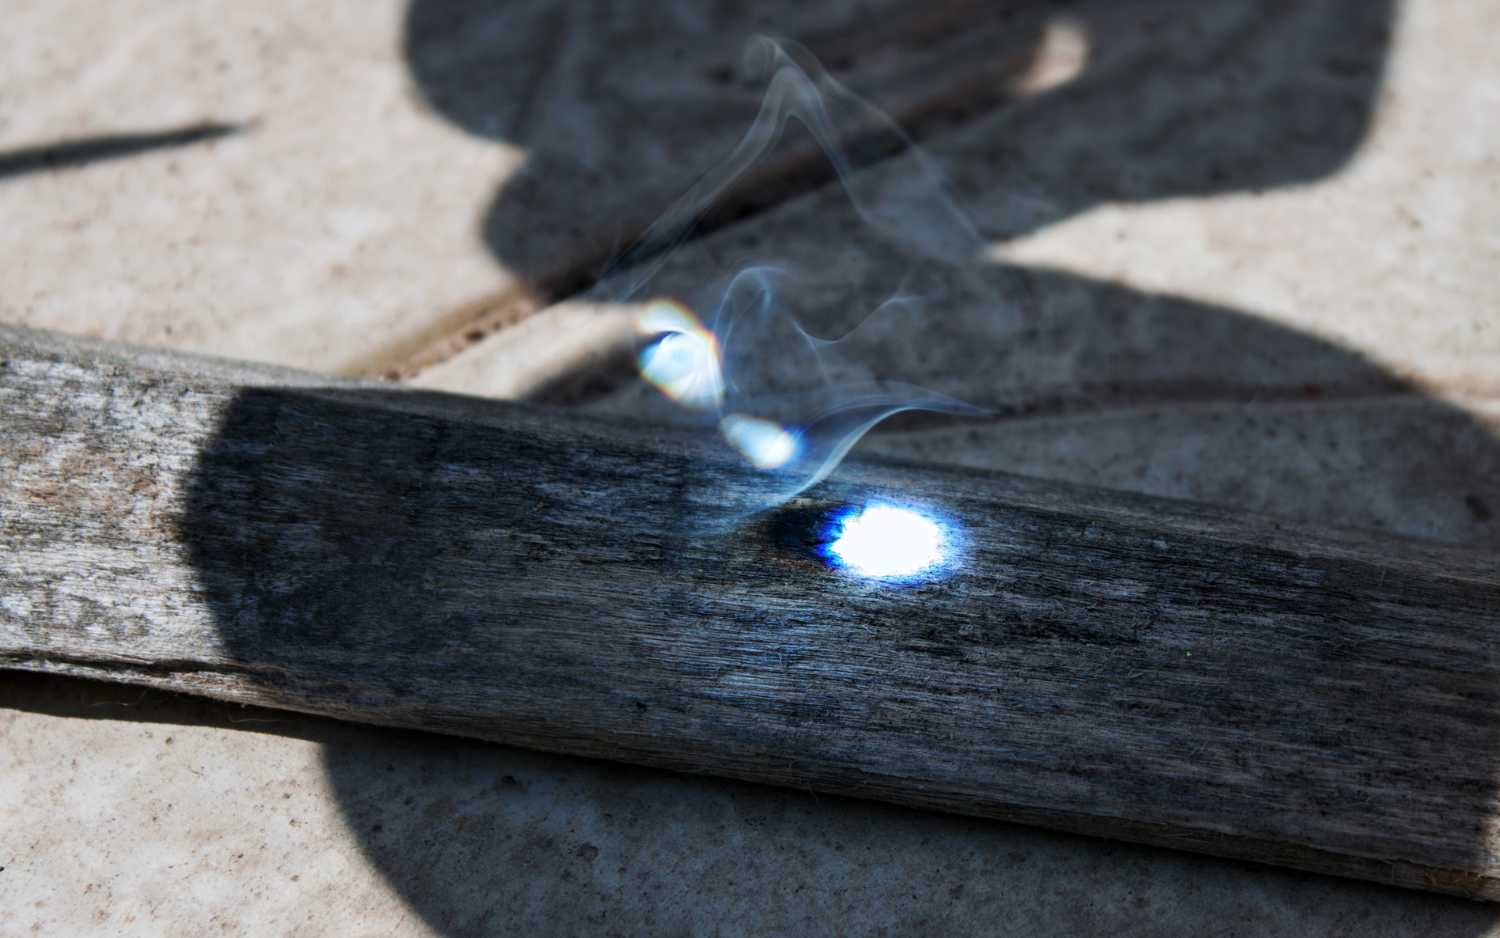
Materials Needed
- A magnifying glass or a clear piece of glass
- Tinder (such as dry leaves or paper)
Steps
Prepare the Tinder:
- Place the tinder in a sunny spot.
Focus Sunlight:
- Hold the magnifying glass or glass to concentrate sunlight onto the tinder.
- Adjust the angle to focus the sunlight into a small, intense spot.
Ignite the Tinder:
- The concentrated sunlight will create heat and ignite the tinder.
Tips for Success
- Choose Dry Materials: Ensure all your materials are dry. Wet wood or tinder will be much harder to ignite.
- Prepare Your Tinder: Have a well-prepared tinder bundle to catch the ember or spark. Use fine, dry, and fluffy materials.
- Practice Patience: These techniques require practice and patience. Don’t be discouraged if you don’t succeed on your first try.
Tools and Weapons from the Wild
Survival building shelter is complete! Now you need tools for self-defence and work. In the wilderness, the perfect materials for creating primitive but effective weapons are literally everywhere!
Crafting Simple Tools from Wood and Stone
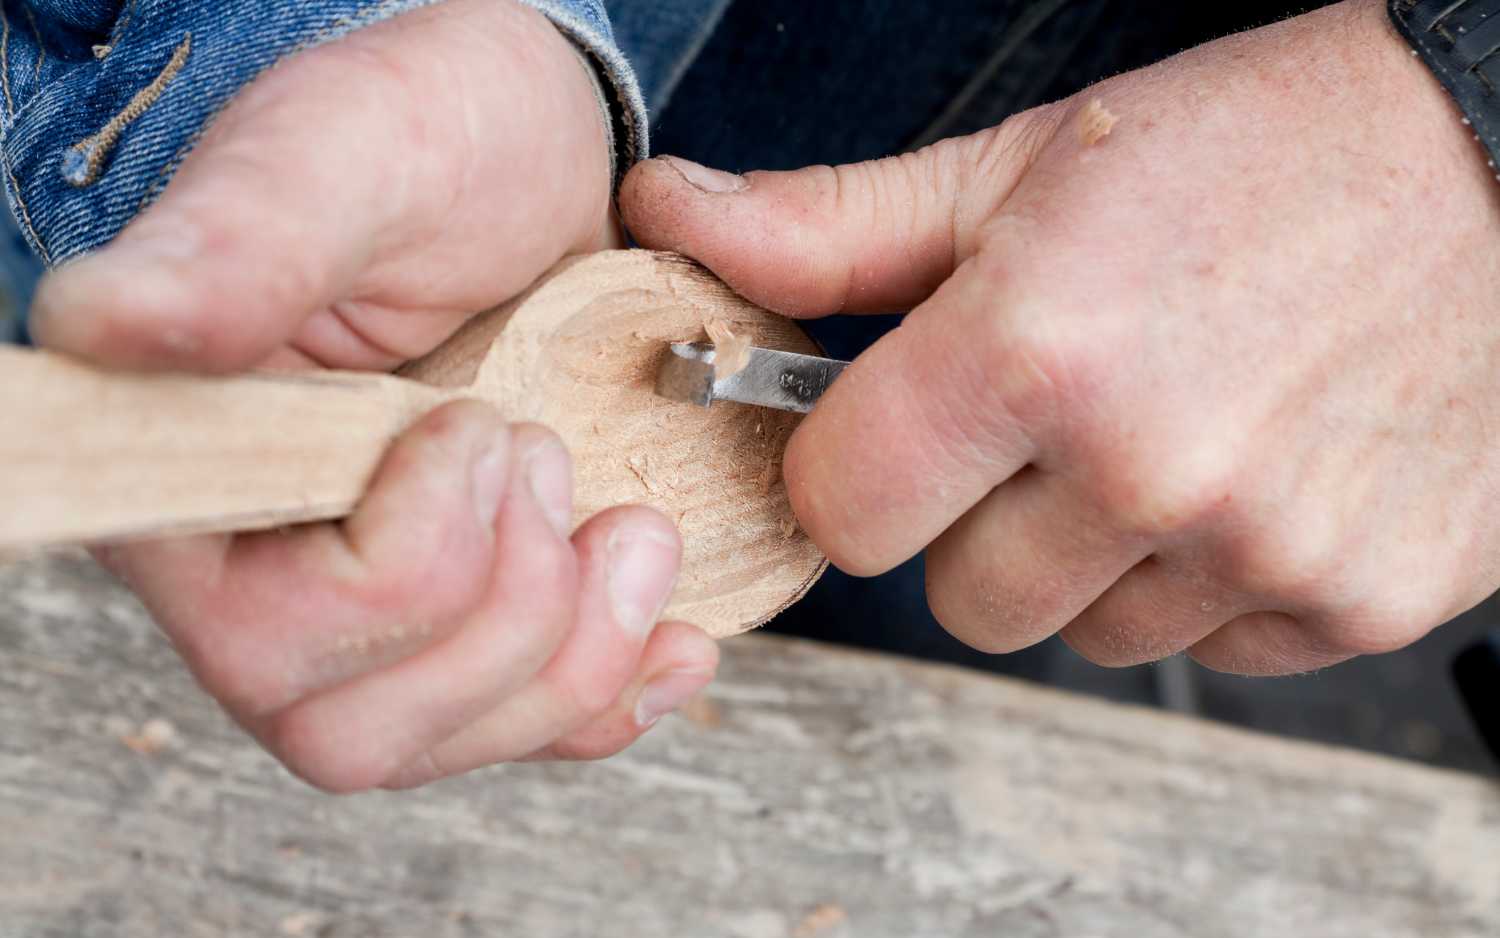
Stone Tools
Axe Head
- Materials: A piece of stone (preferably a hard, flint-like material), a stick, and some cord or vines.
Process:
- Shape the Stone: Use another hard stone to chip away at the stone piece to form a rough axe head shape. Aim for a sharp edge on one side.
- Attach to Handle: Carve a notch into one end of a sturdy stick to fit the stone axe head. Secure the axe head to the stick using cord or vines wrapped tightly around the notch and stone.
Chisel
- Materials: A piece of stone (e.g., flint or obsidian), a stick, and cord or vines.
Process:
- Shape the Stone: Shape the stone into a chisel form, with a pointed end for carving.
- Attach to Handle: Carve a notch in the end of a stick. Secure the stone chisel into the notch with cord or vines.
Hammer
- Materials: A rounded stone, a stick, and cord or vines.
Process:
- Shape the Stone: The stone should be rounded and heavy.
- Attach to Handle: Carve out a small depression in one end of the stick. Secure the stone into this depression with cord or vines.
Wooden Tools
Digging Stick
- Materials: A sturdy, straight stick.
Process:
- Select and Prepare: Choose a stick that is sturdy and has a pointed end.
- Shape the Point: Carve the pointed end to make it sharper for digging.
Fishing Spear
- Materials: A long, straight stick, and optionally, stone for tips.
Process:
- Prepare the Stick: Select a long, straight stick and sharpen one end to a point.
- Add Stone Tips (Optional): For added effectiveness, you can attach sharp stone tips to the end of the stick. Secure them using cord or vines.
Bow and Arrow
- Materials: A flexible stick (for the bow), a straight stick (for the arrows), and cord or vines.
Process:
- Bow: Bend the flexible stick into a bow shape and secure the ends with cord or vines to form a string.
- Arrows: Carve the straight stick into long, thin arrows. You can add stone tips to the arrows for better piercing.
General Tips
- Safety: Always be careful when working with sharp tools and materials. Use protective gear if available.
- Tools and Techniques: Use other stones as tools to shape and refine your stone implements. Knowledge of various stone-shaping techniques (like flint knapping) can be very helpful.
- Imagination: Experiment with different designs and improvements to suit your needs.
Creating Self-Defense Implements
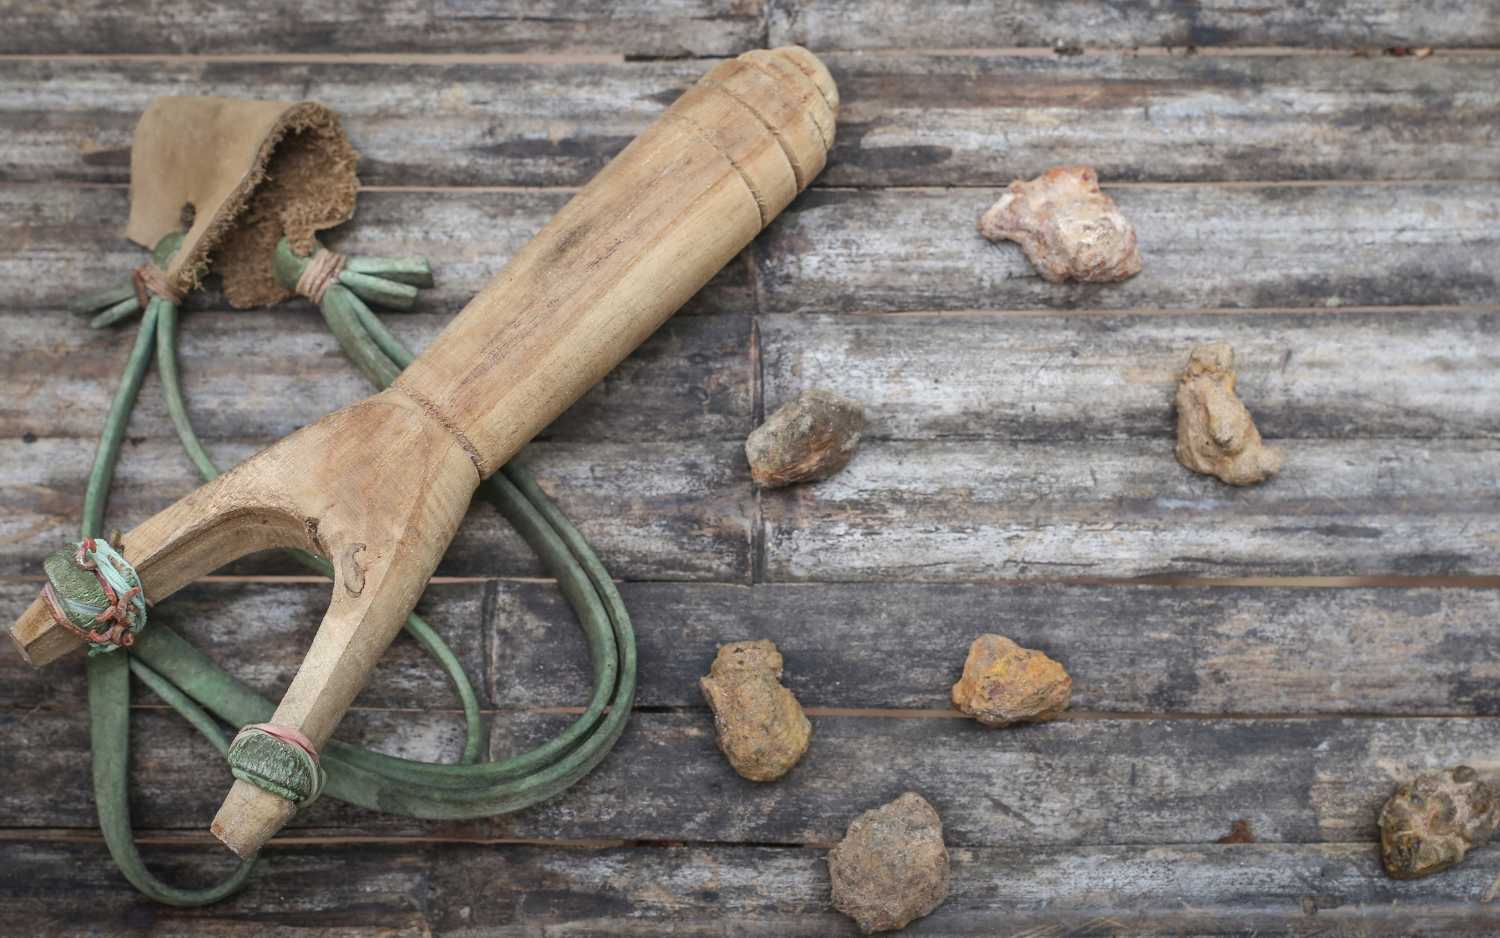
Creating self-defense implements in the wilderness can be crucial for survival and safety. Here are some methods and tools you might consider crafting from natural materials:
Improvised Weapons
- Wooden Spear: Sharpen a sturdy stick or branch to create a spear. Use a knife or a sharp stone to whittle the end to a point. You can enhance its effectiveness by hardening the tip by heating it over a fire.
- Slingshot: Find a Y-shaped branch for the frame. Attach a piece of elastic material (such as inner tubes or strong vines) to the ends of the Y. For the pouch, use a piece of leather or strong fabric. This can be used to launch small rocks or other projectiles.
- Stone Tools: Sharp stones can be used as cutting or stabbing tools. Flint or obsidian is particularly effective for making sharp edges. Use a technique called “knapping” to shape and sharpen the stone.
- Bows and Arrows: A flexible branch can serve as the bow, and you can fashion arrows from straight twigs. The arrows should have sharp tips made from stones or bone. Use vines or strong bark for the bowstring.
Trap and Deterrent Techniques
- Snare Traps: Use thin, flexible branches or vines to create snares. These can be set up around your camp to catch small animals or as a deterrent for larger predators. Be sure to set them up carefully to avoid injury.
- Pitfalls: Digging a pit and covering it with branches and leaves can act as a trap or deterrent. Ensure it’s deep and well camouflaged to prevent accidental injury.
- Noise Makers: Hanging cans, bells, or even making a simple noise-making device can alert you to the presence of intruders or animals. String up items that will jingle or clatter when disturbed.
Fire-Based Defenses
- Fire: Creating a fire not only provides warmth and cooking capability but also acts as a deterrent for wildlife and potential threats. Make sure you understand fire safety and local regulations.
- Firebrands: If you need to defend yourself, a stick with a burning end can be used to scare off animals or potential attackers. Ensure the fire is well-contained and won’t spread uncontrollably.
Natural Deterrents
- Animal Repellents: Use strong-smelling substances like crushed garlic or hot peppers around your camp to keep animals away. You can also use large, visible objects to make your campsite seem larger and more intimidating.
- Barriers: Construct barriers using branches, rocks, or other natural materials to create a perimeter around your camp. This can help keep larger animals at bay and give you an early warning if something approaches.
Conclusion
This article is the bare minimum that everyone should know. Of course it’s not enough to become a rugged survivalist like Leonardo DiCaprio in “Survivor”, but it’s a great start! Next, sign up for full-fledged survival and medical courses and in time you will become a real survival machine, the main thing is to start. We wish you the best of luck!